AttributePro simplifies dynamic cart and product customization for your store. Easily add engaging cart attributes and line properties with single or multiple conditions even at the same time, no coding required. Plus, seamlessly integrate with other apps for enhanced functionality.
Let's start with the tutorial!
STEP 1
Install Attribute Pro on Shopify. If you need you can use this link https://apps.shopify.com/attributepro
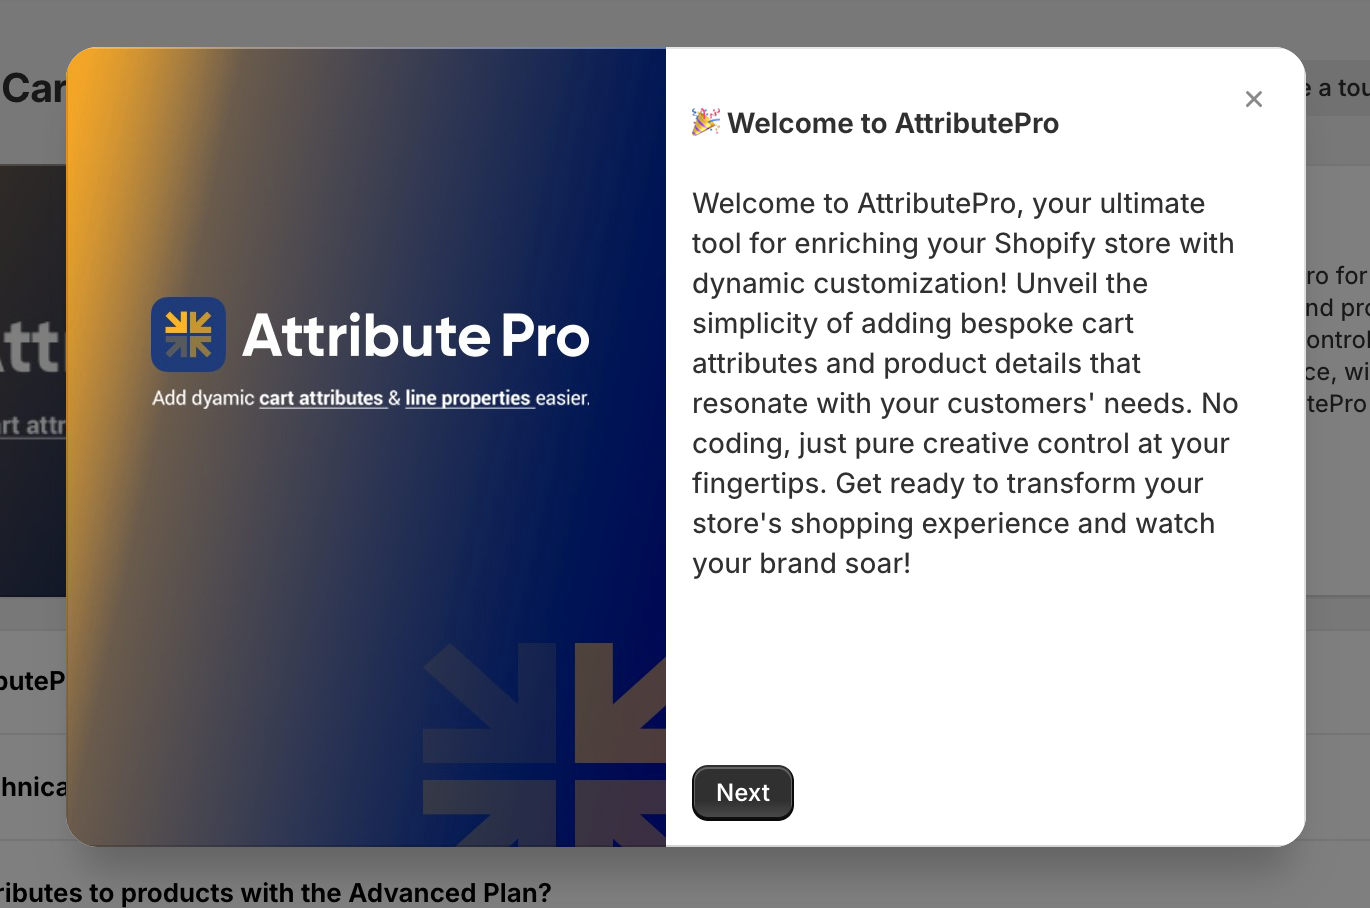
STEP 2
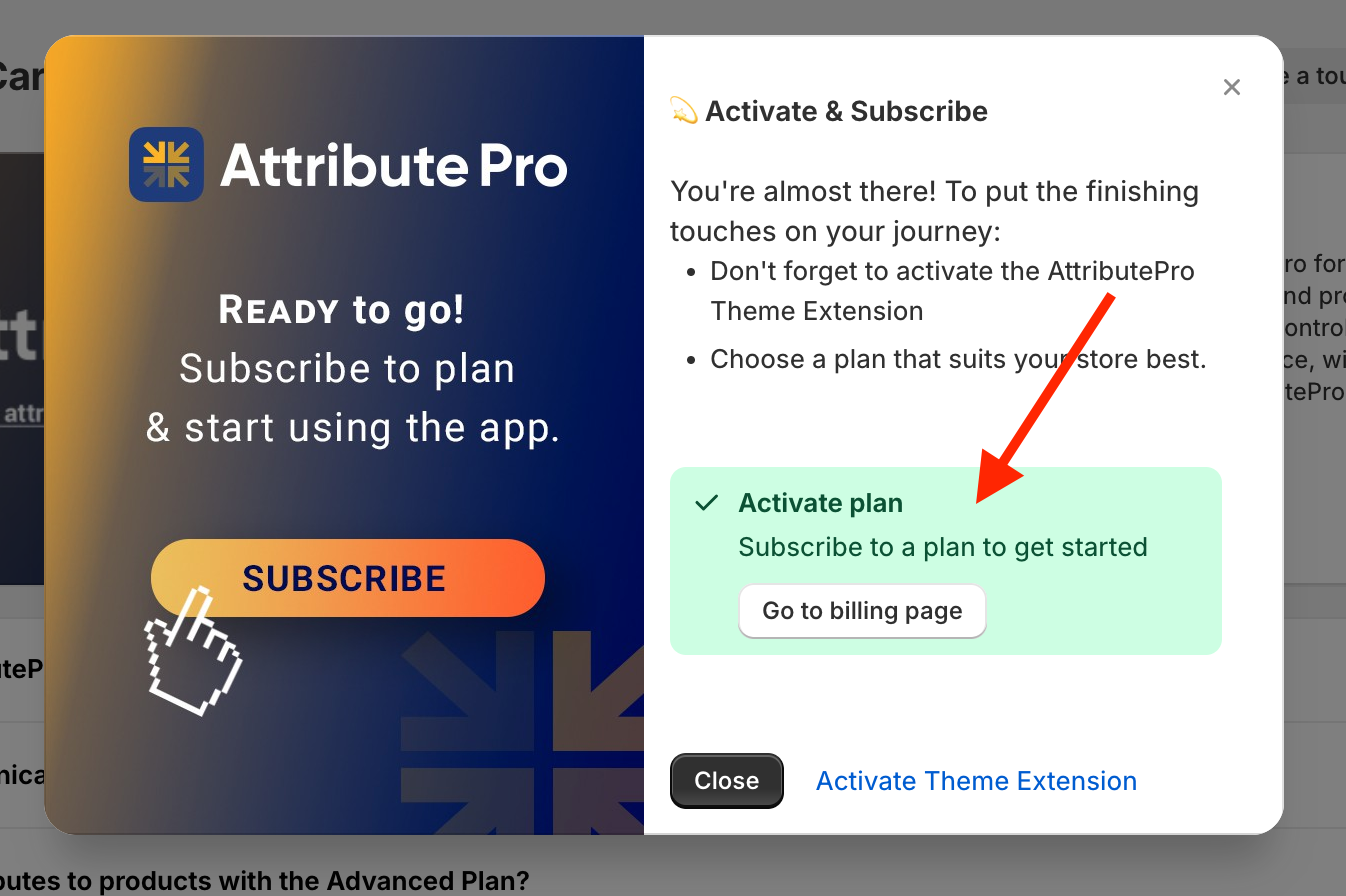
Click on Go to billing pages, choose a plan and activate it. You will have a 7-day free trial period.
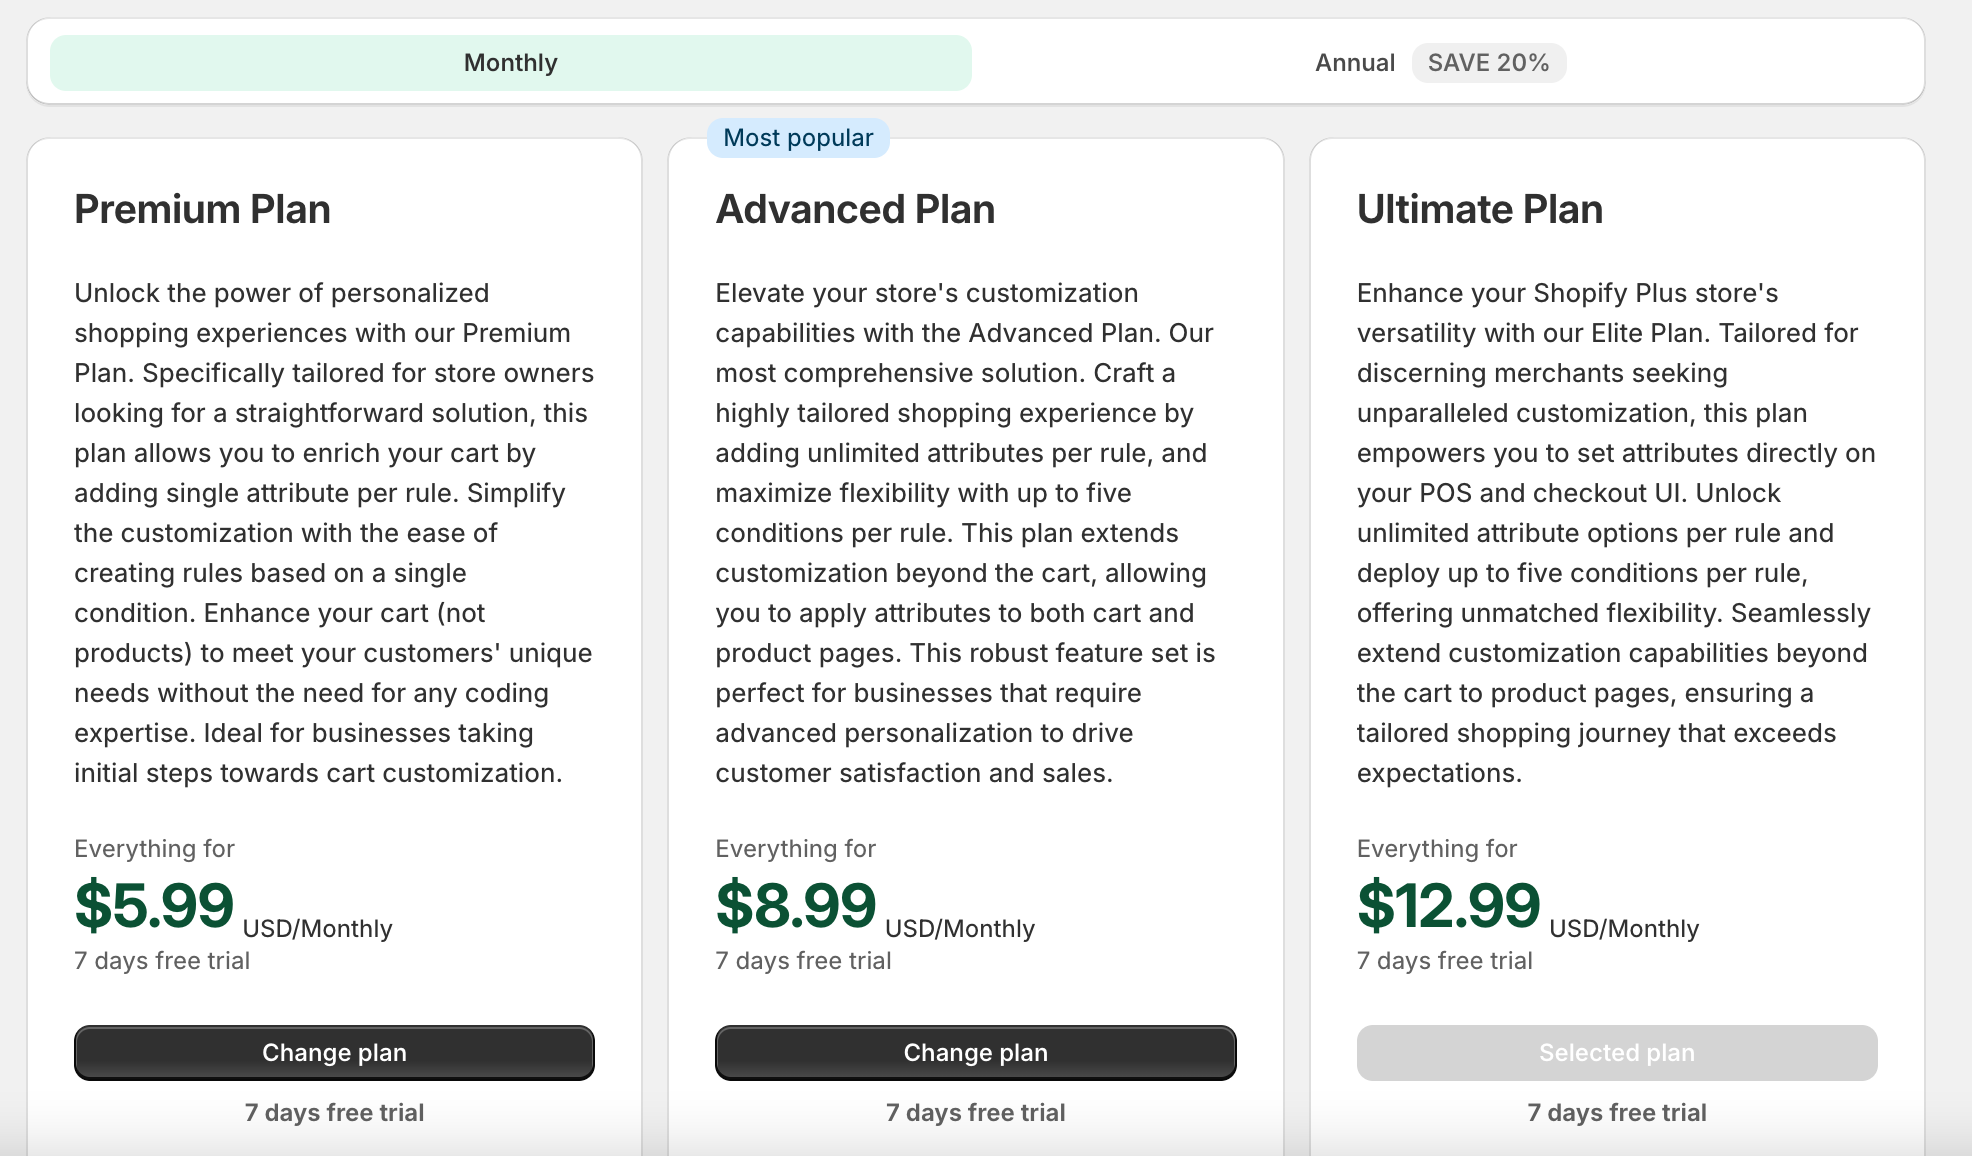
After approving the app charge, you will be redirected to the AttributePro index page. Now you can start using AttributePro.
STEP 3
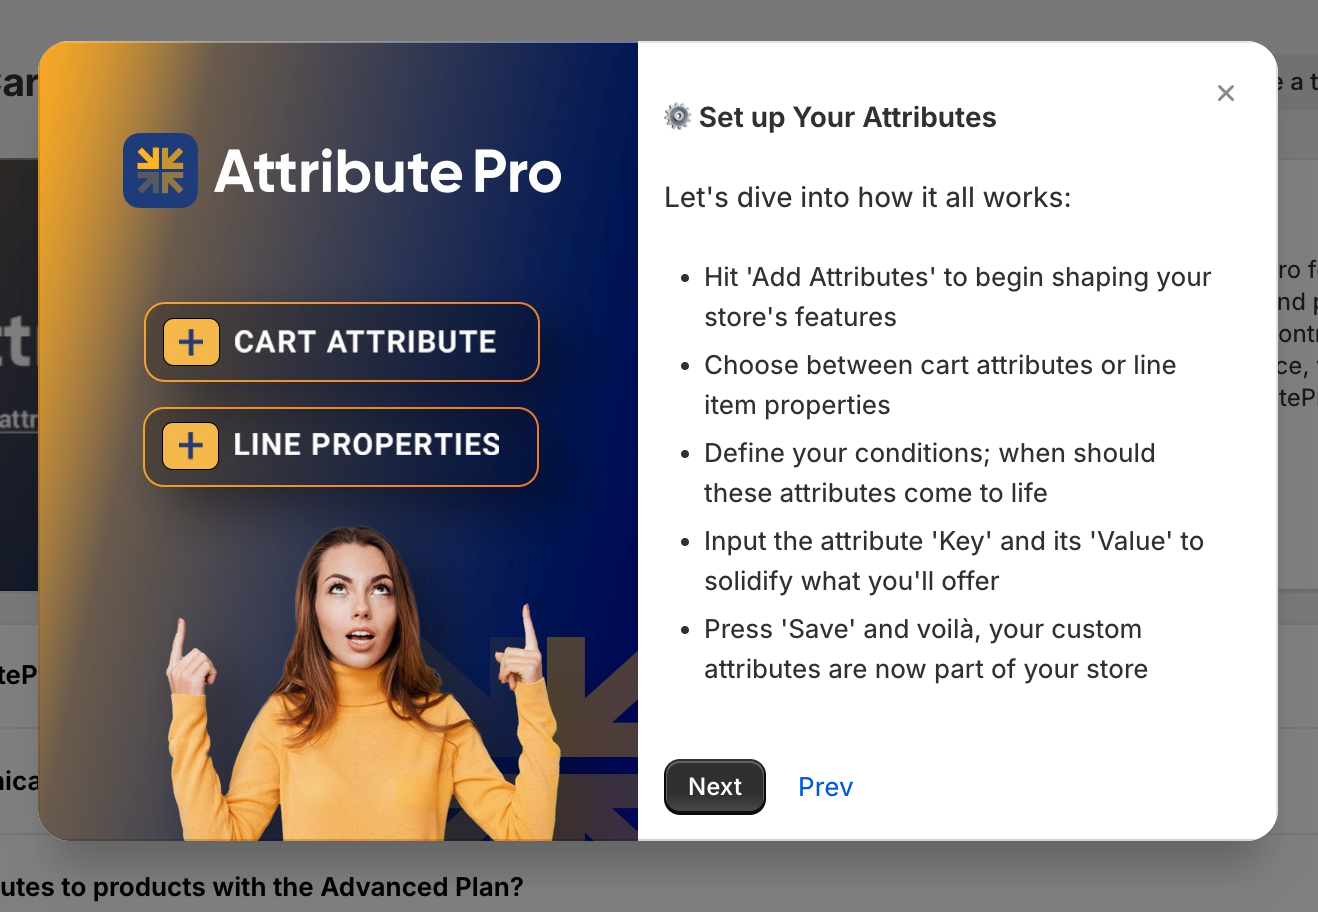
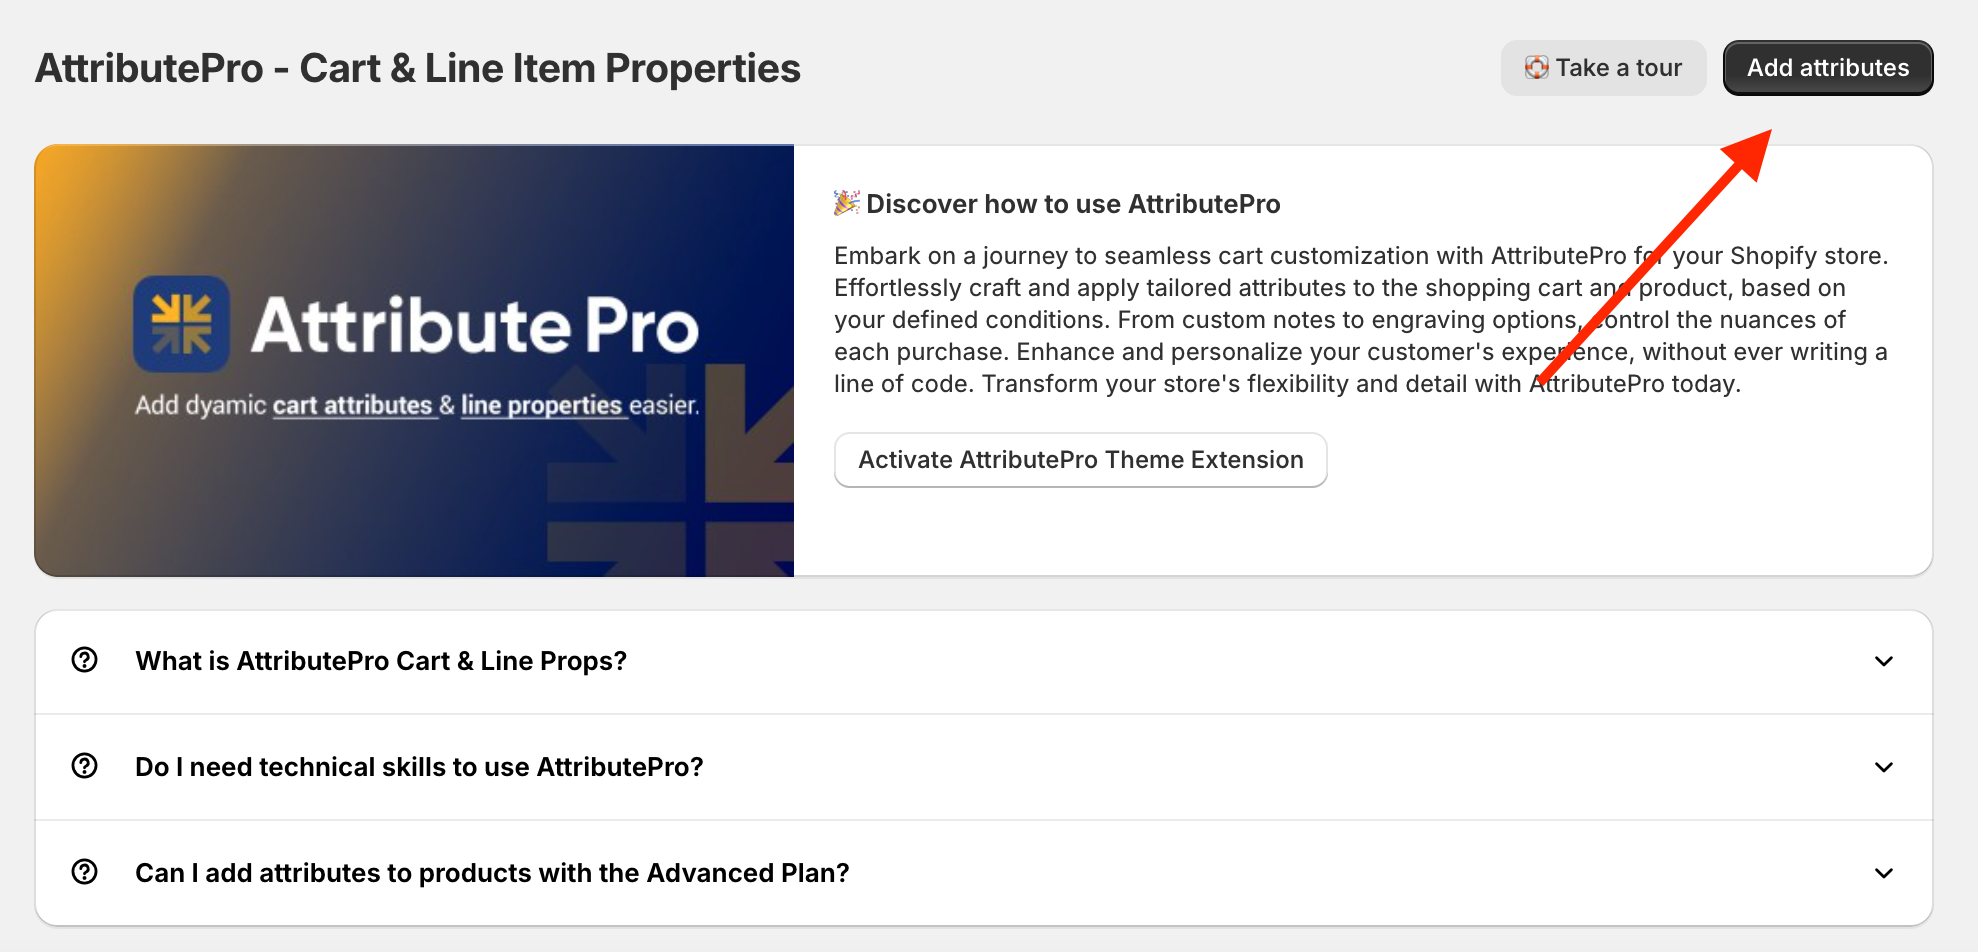
Click on Add Attributes.
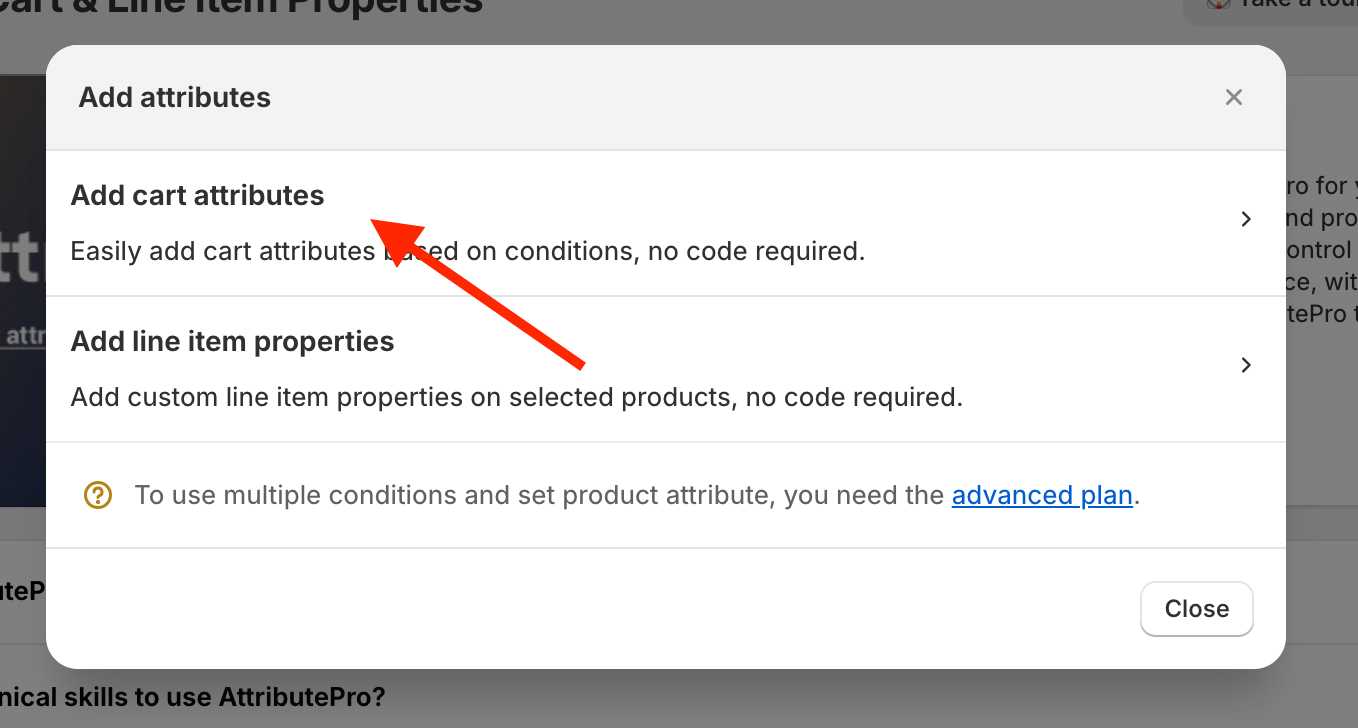
There are two options, one for cart attribute and one for line item properties. Now we'll choose Cart Attributes.
STEP 4
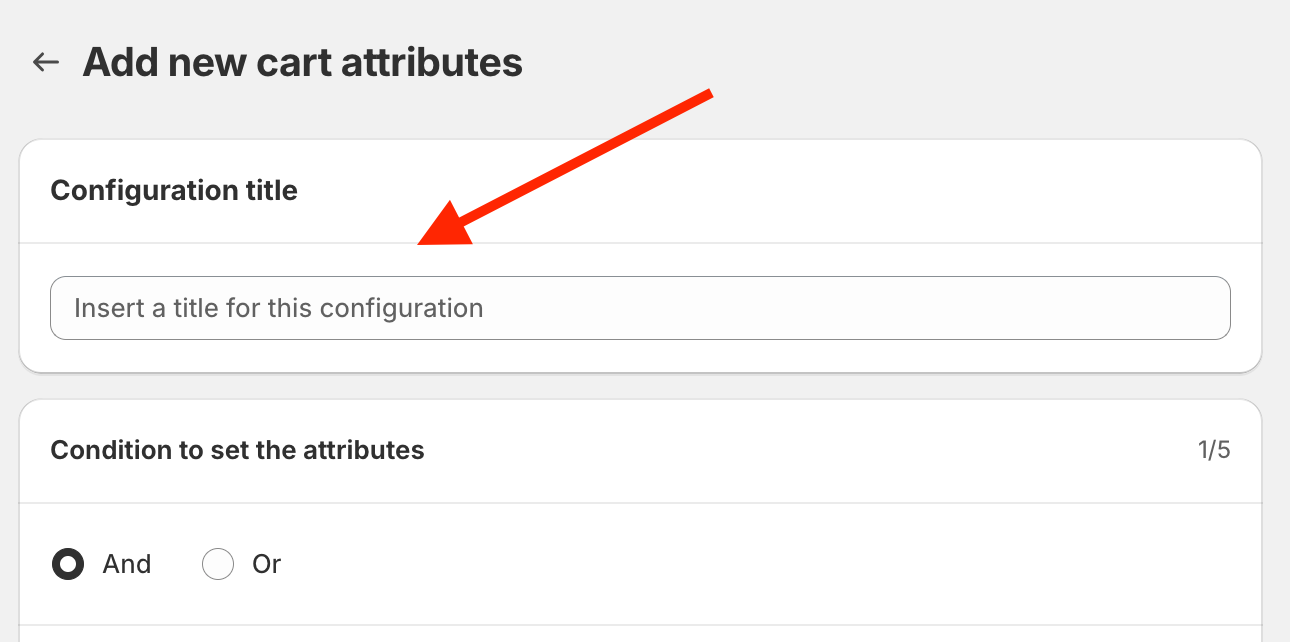
Fill in the title. For example, "Expensive Cart".
STEP 5
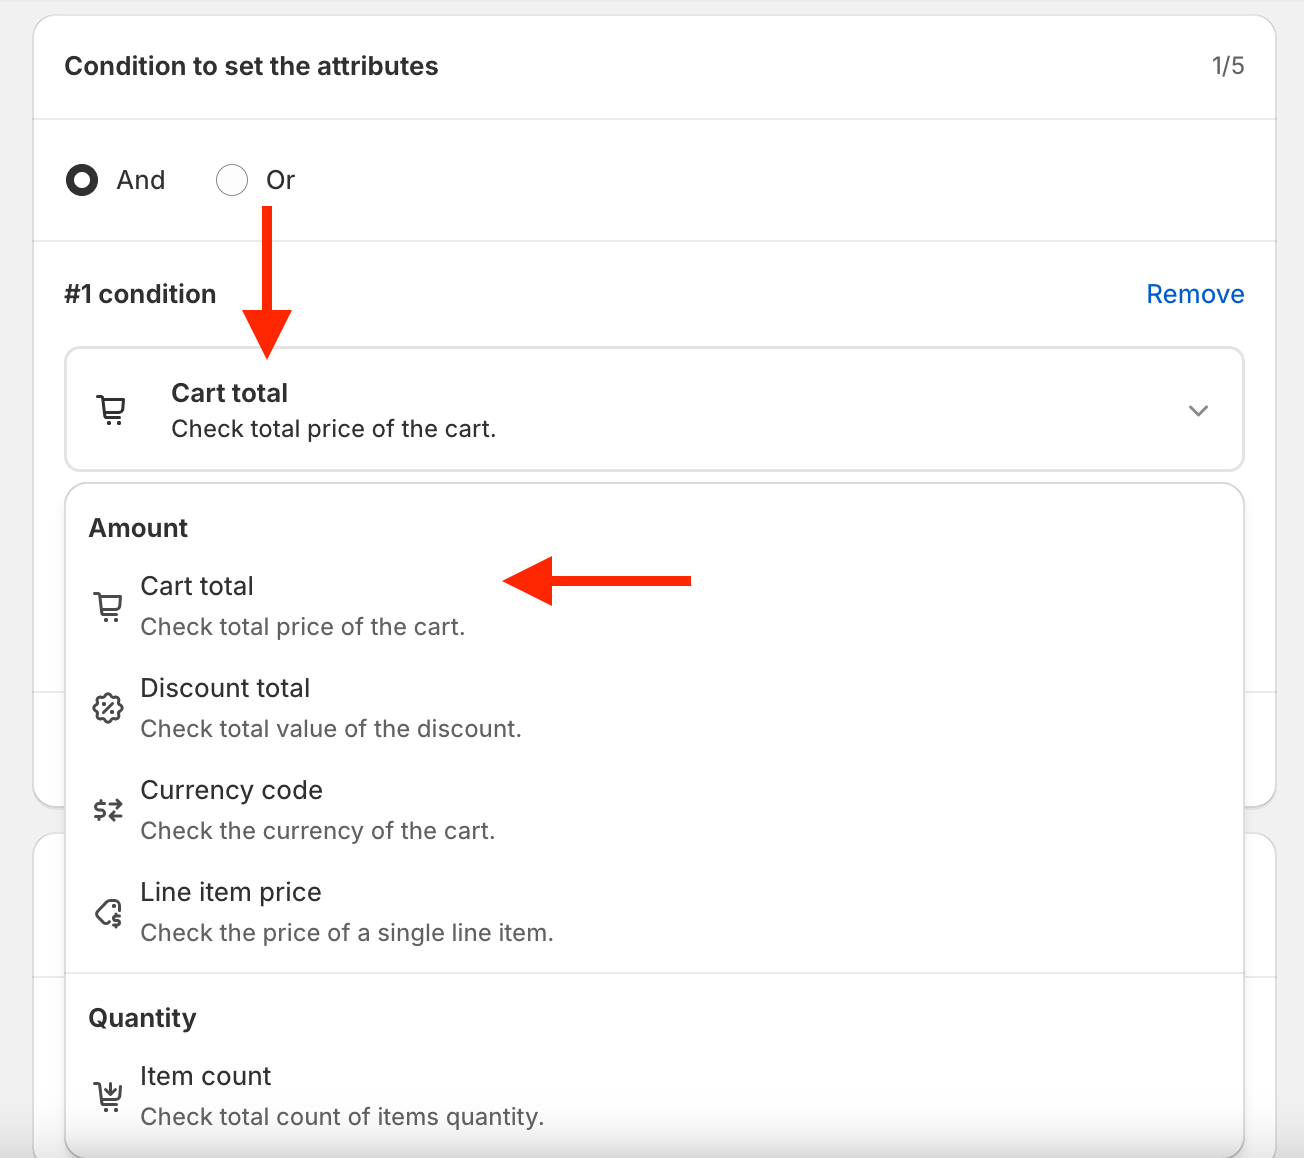
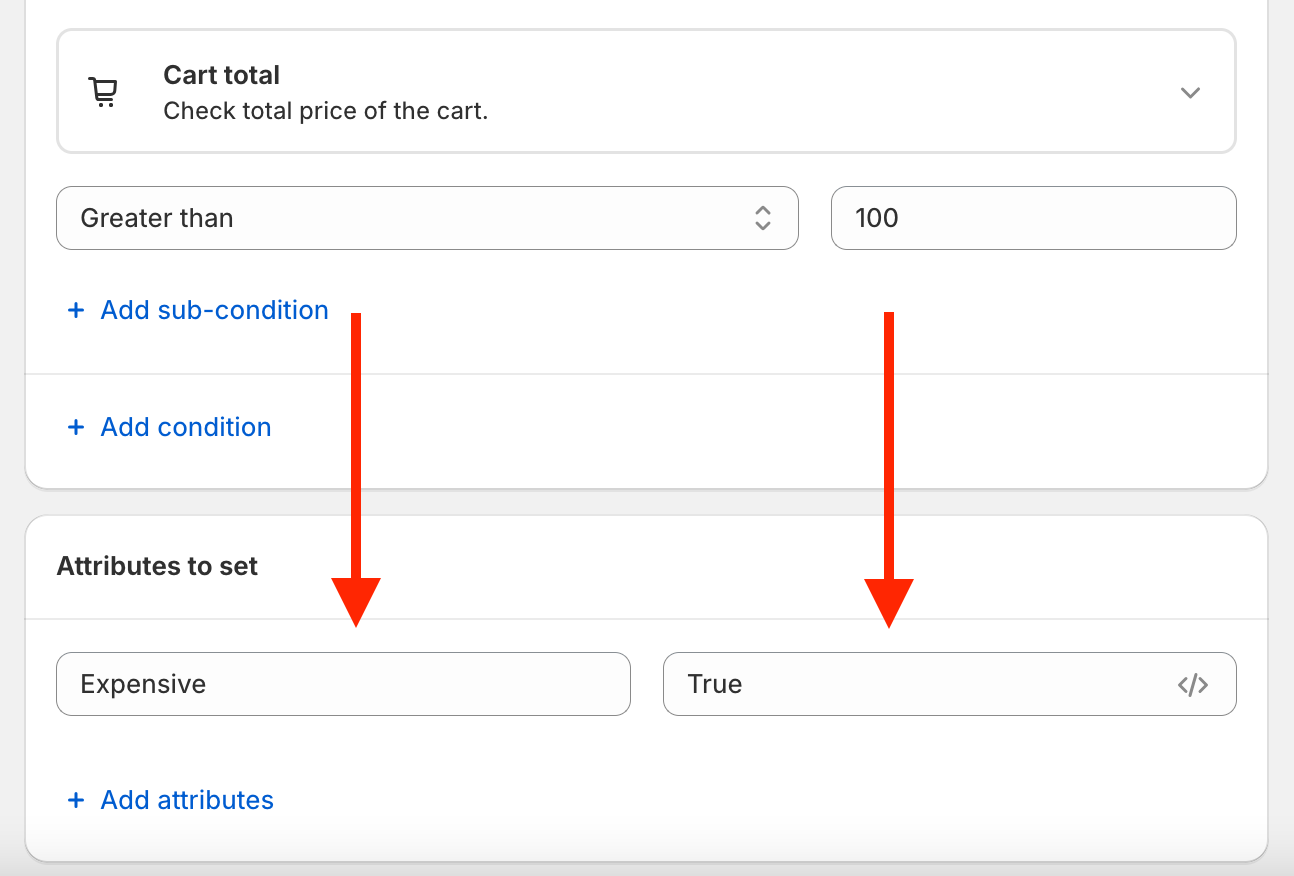
Fill in the condition and key value.
Choose Cart total
 Now select greater than
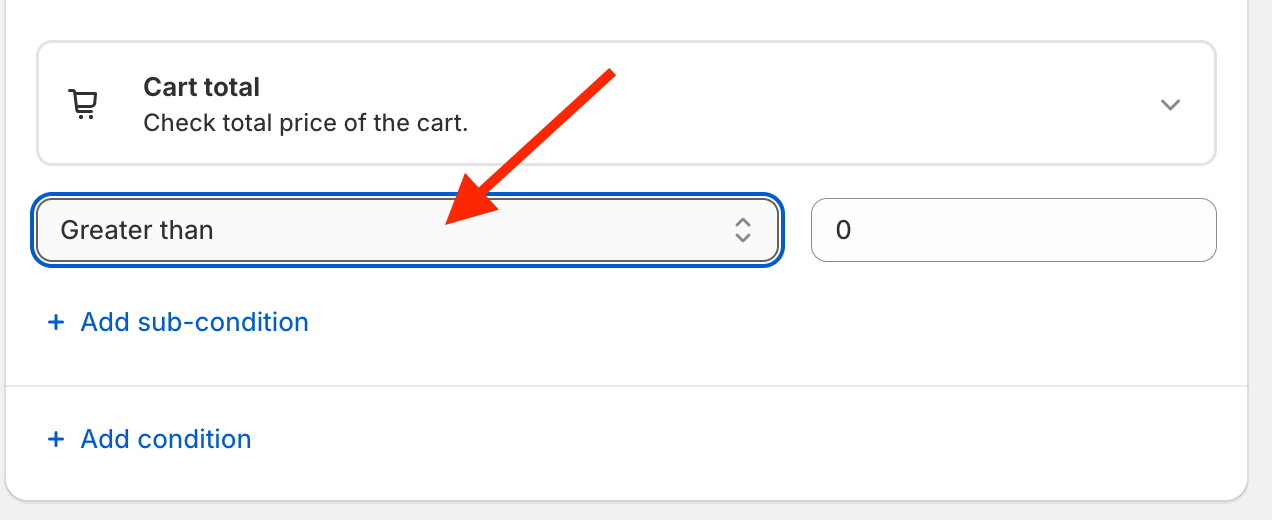
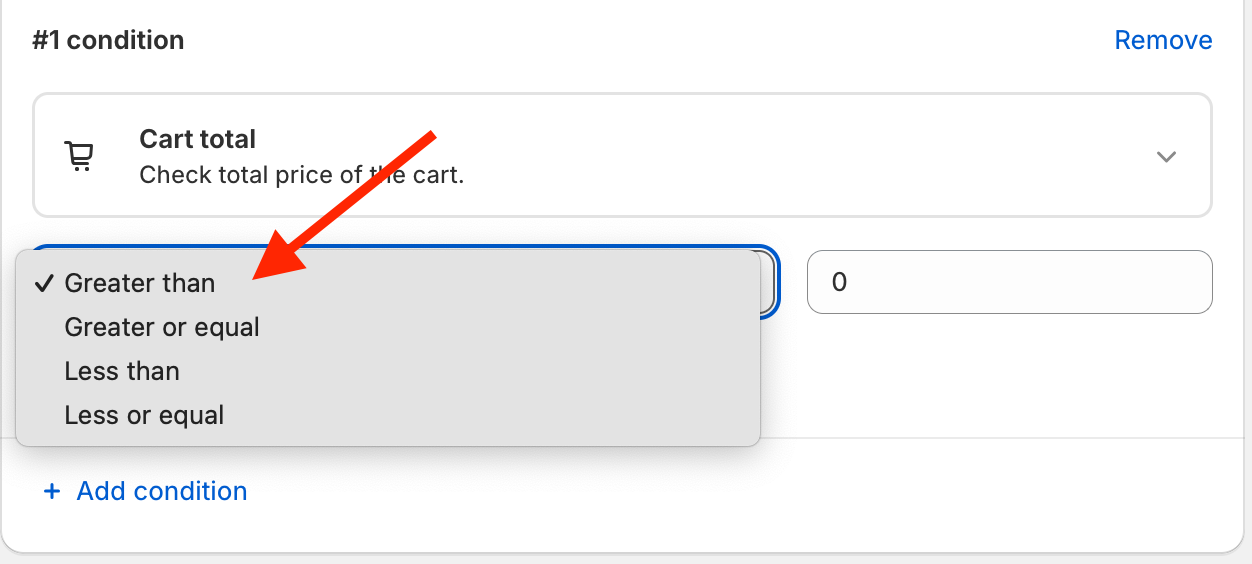 and type 100.
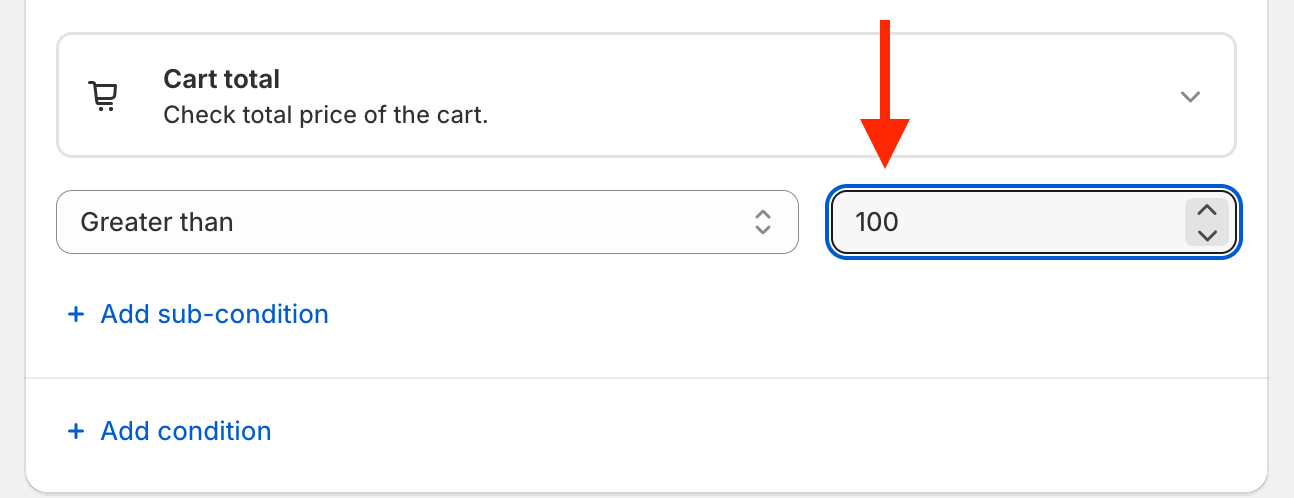
Now, if the cart total is greater than 100, then the attribute will be called expensive and the key value is true.
STEP 6
Now click SAVE.
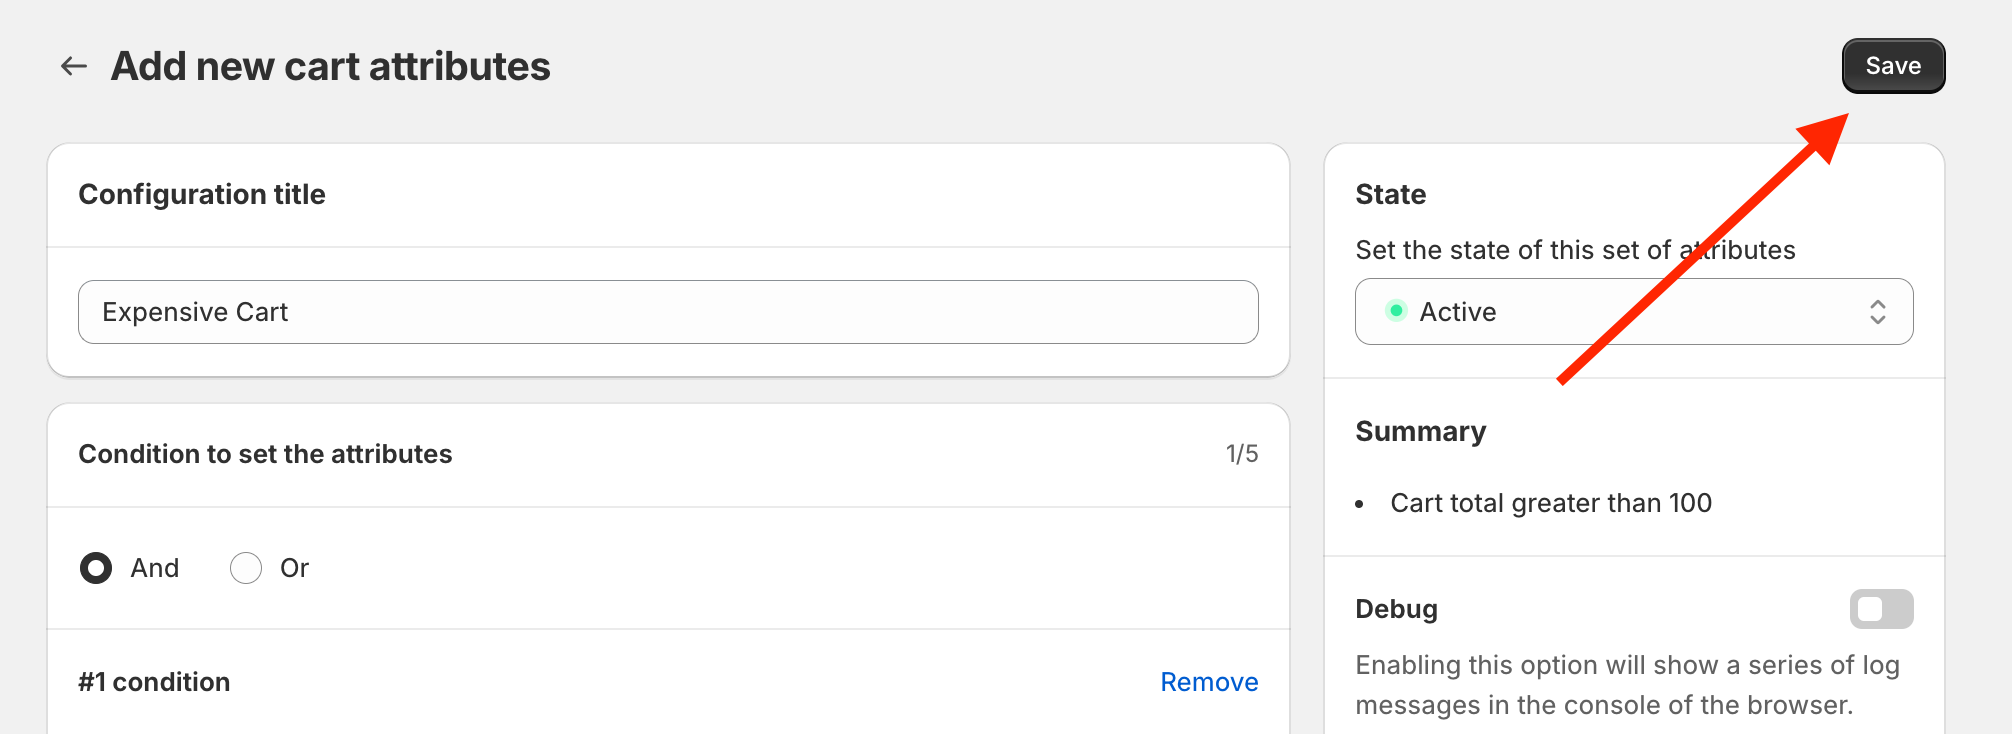
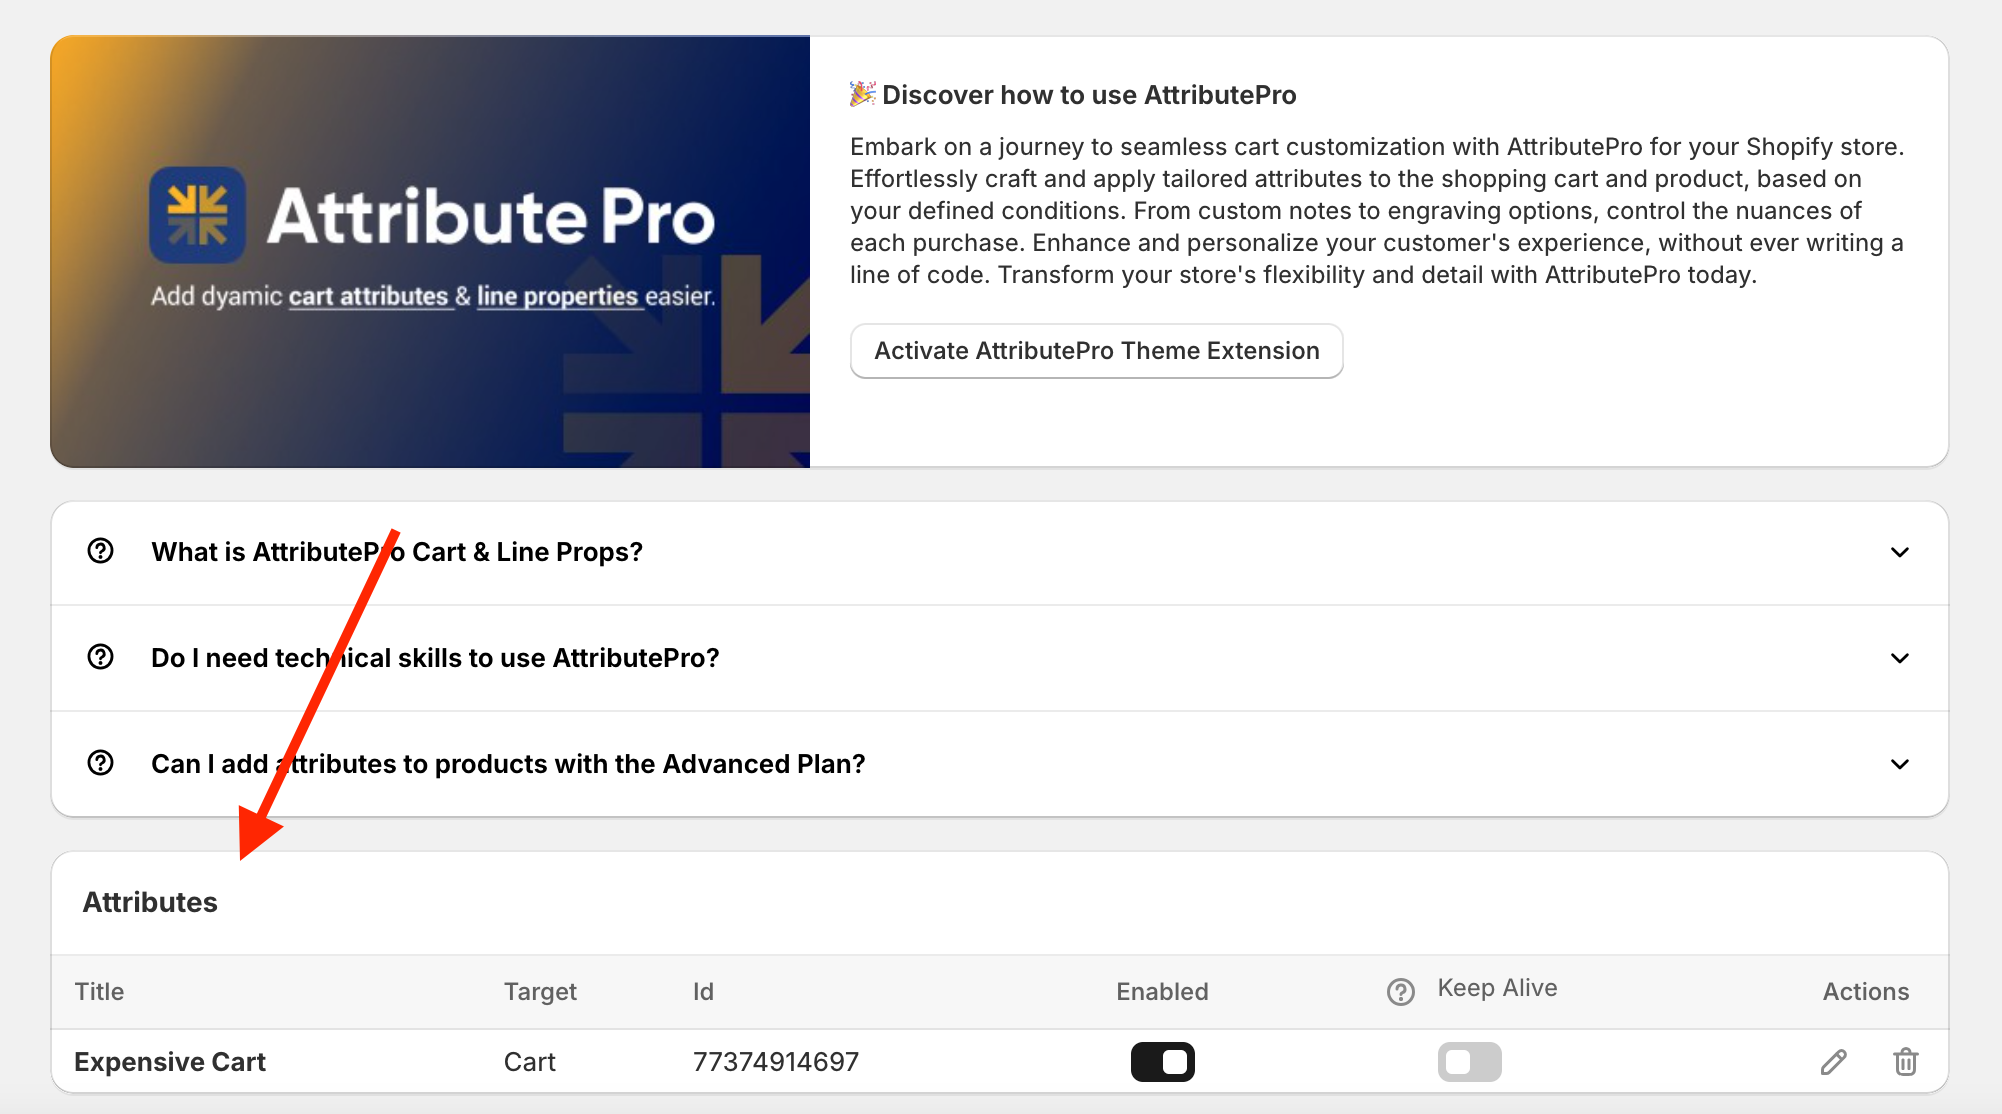
You created your first cart attribute! If you go back to the dashboard you can see it on the list.
STEP 7
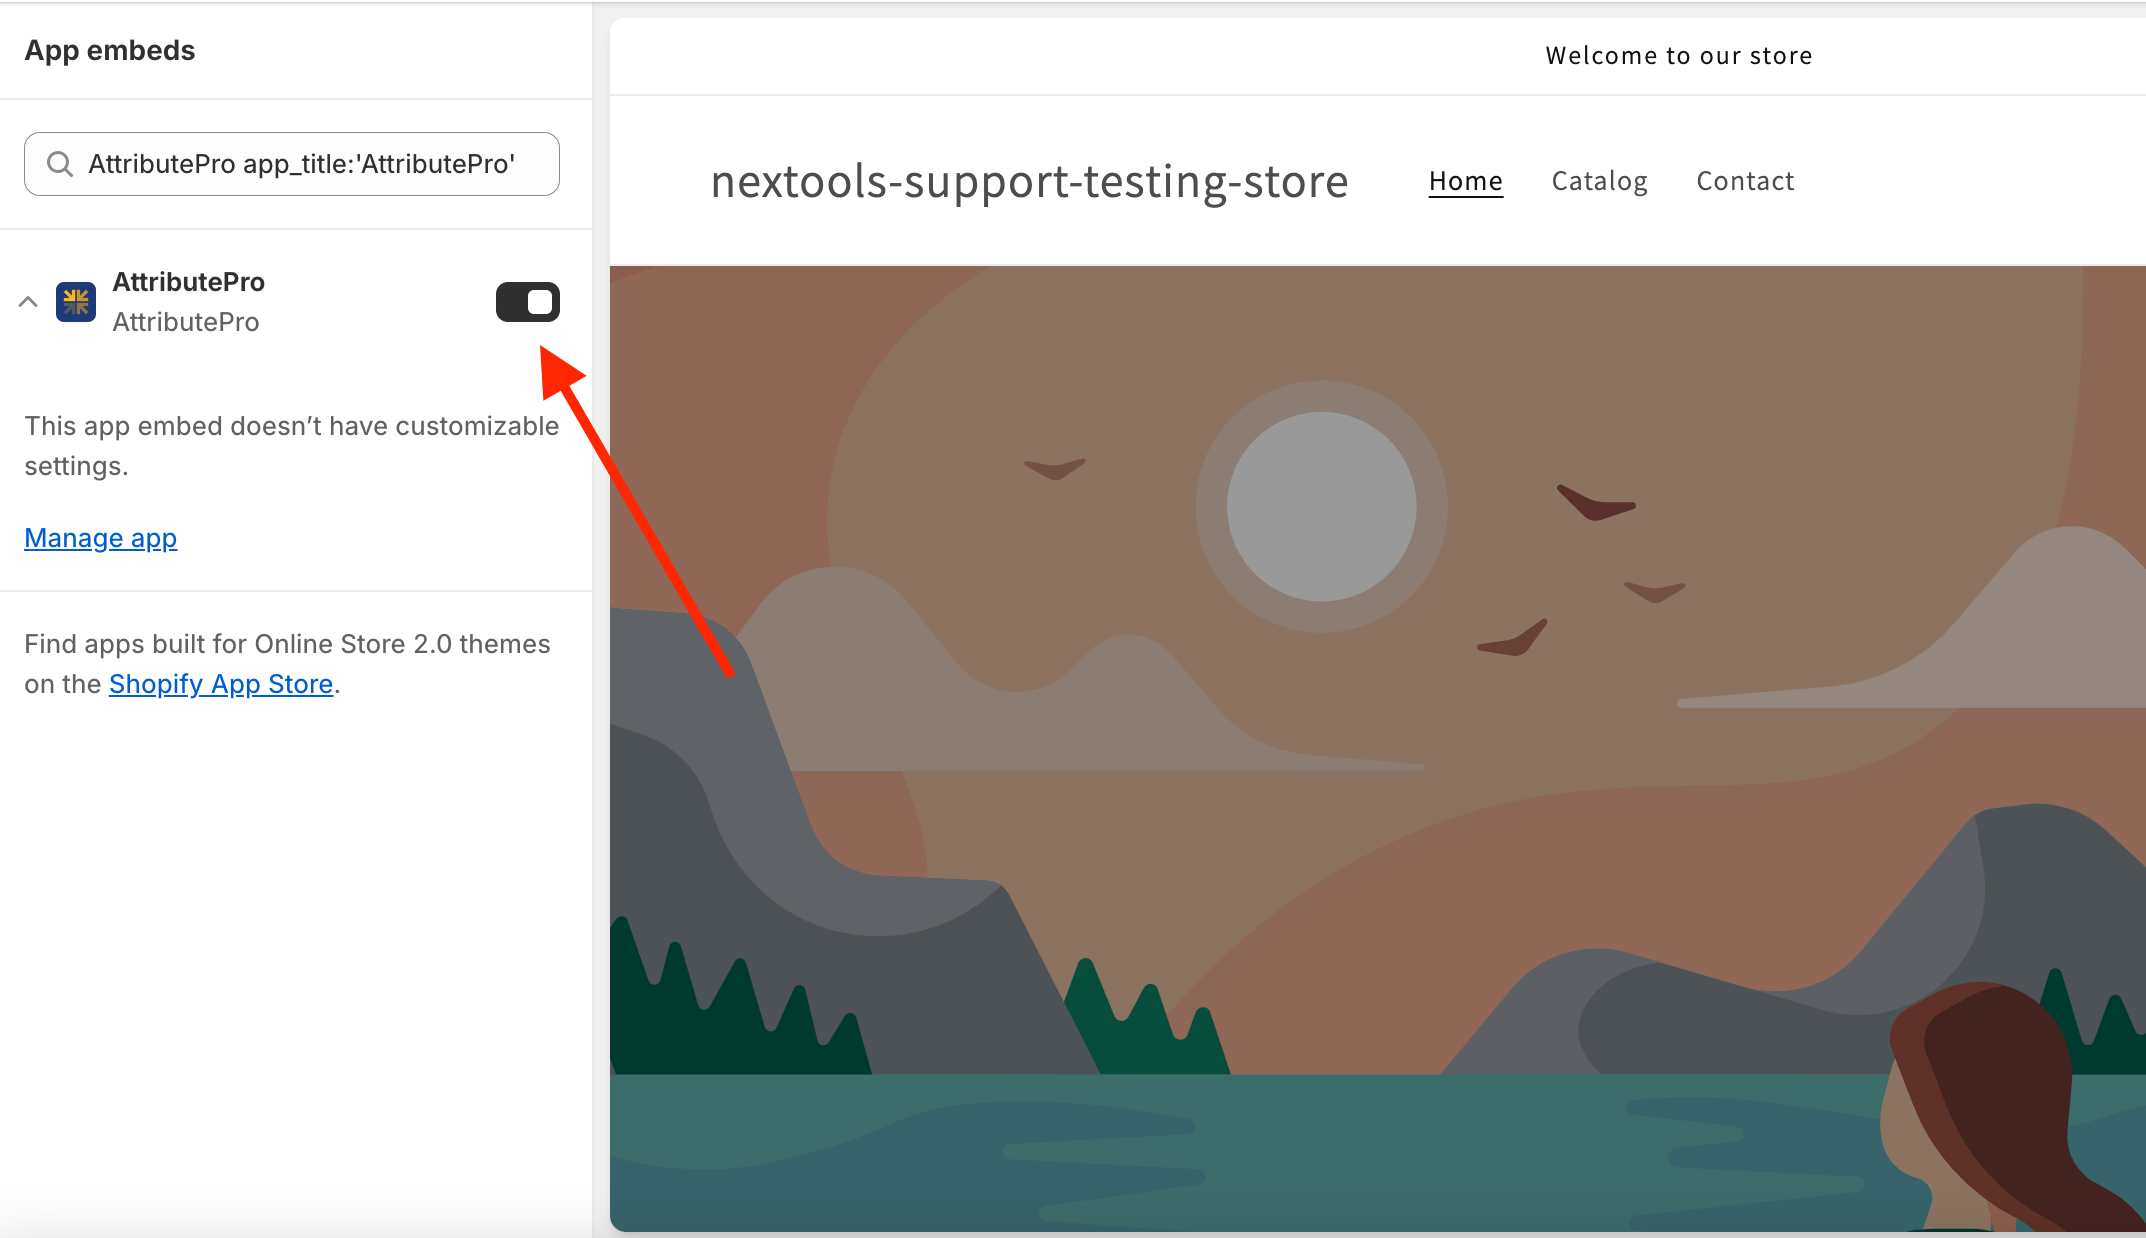
To have the attributes added to the cart you need to activate the Theme Extension.
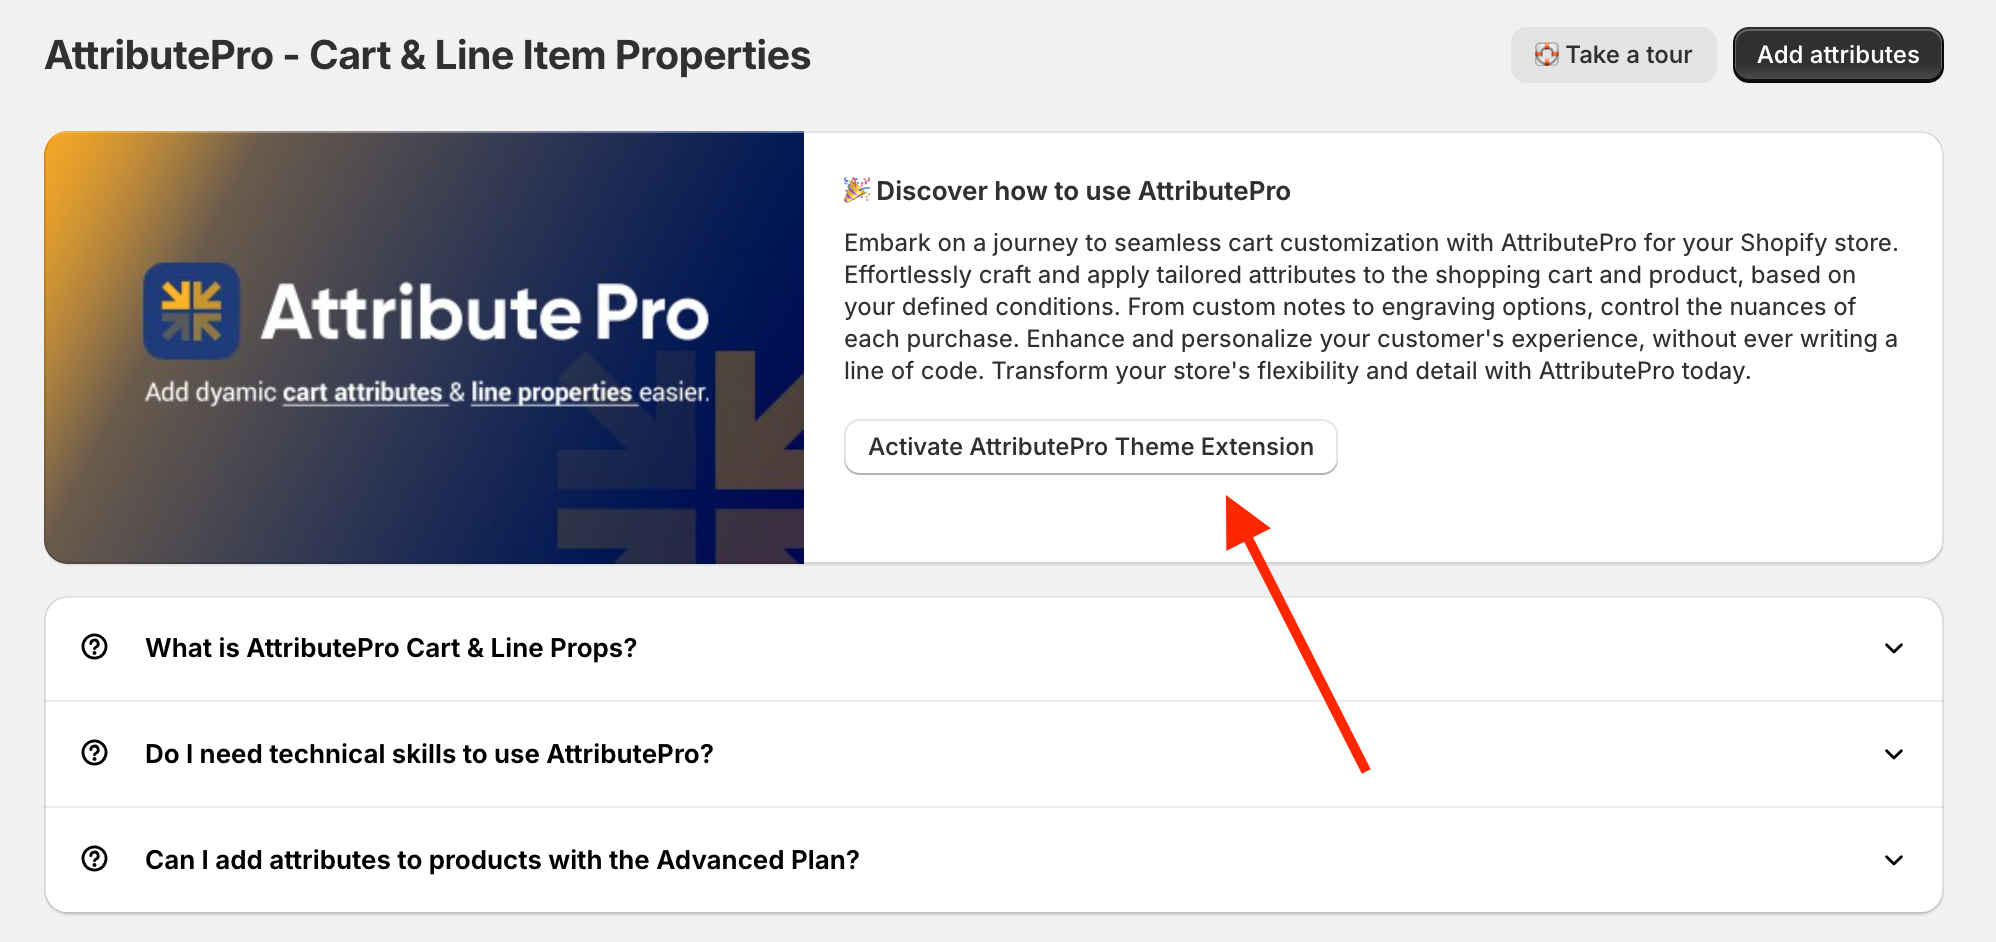
Click on the button Activate.
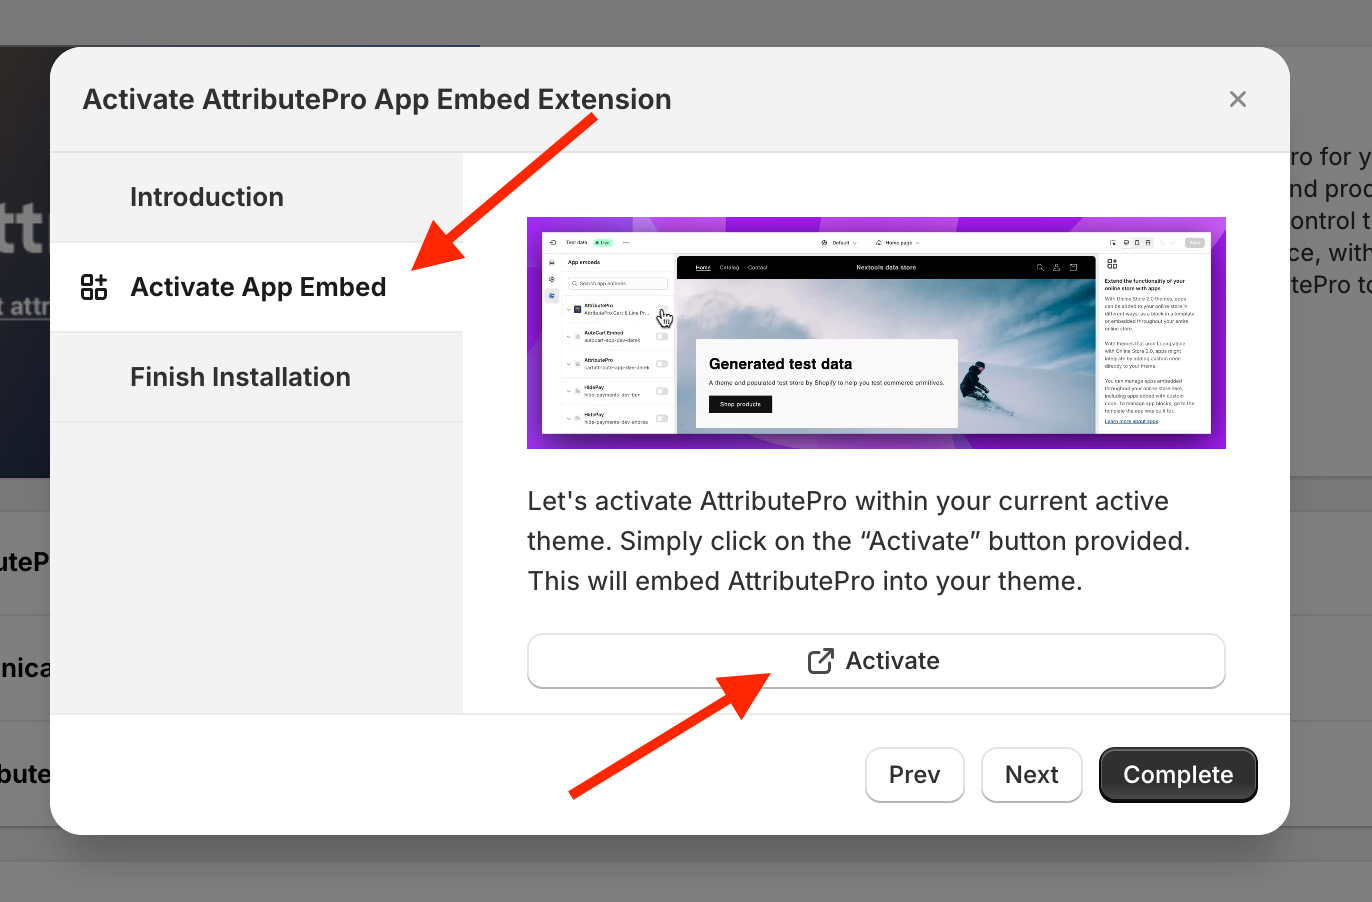
Toggle the switch to correctly activate the theme extension.
FINAL STEP
Test the app on your store. Add some products to the cart with a total amount over 100$ and proceed with the checkout. You should see the attribute expensive equal to true in your order.
For a smoother process you can watch our dedicated video tutorial!
If you have any question don't be afraid to ask. We are here for you!