Once your conditions and logic are in place, the final step is telling ShipKit what to display at checkout. This happens through the Result node, where you define the actual shipping rate shown to customers.
To add it, click the + icon and select Result → Shipping Rate.
A new Shipping Rate node will appear in your flow. Click it to open the full configuration menu.

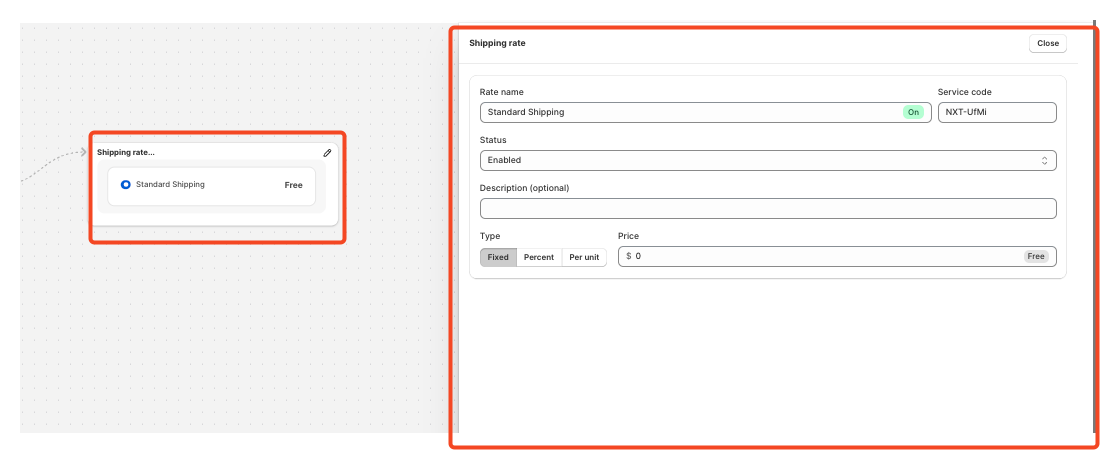
Customizing Your Shipping Rate
-
Rate Name
This is the label customers will see at checkout. Choose a clear, descriptive name (e.g., Express Delivery, Free Shipping over €50, Eco Shipping).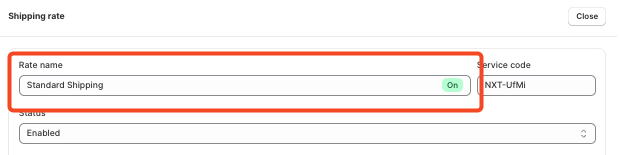
-
Activation Toggle
Each rate can be individually enabled or disabled.
This is especially useful when you want to keep the flow active but temporarily turn off a specific rate without deleting it.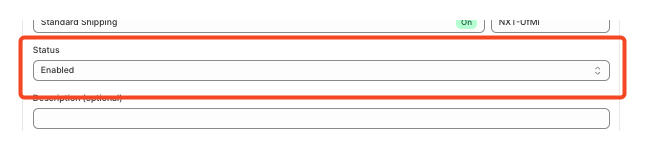
-
Customer-facing Description
You can add a short explanation under the rate to help customers understand what it includes.
-
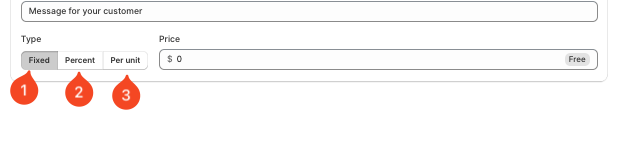
Pricing Options
ShipKit lets you choose the method that best fits your scenario: -
A fixed fee
-
A percentage of the order total
-
A per-unit calculation, ideal for weight-based or quantity-based shipping models
-
Enter your value in the Price field once the method is selected.
After saving, the shipping rate is instantly active and ready to be used in checkout whenever its conditions are met.
You can update, disable, or manage the rate at any time from the dashboard via the status button.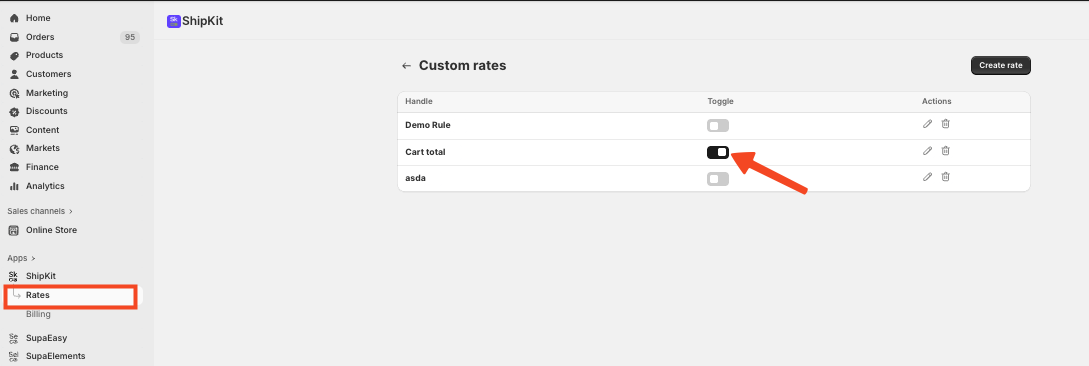
ShipKit’s Result node makes it effortless to turn your shipping logic into a fully functional, customer-facing shipping option.
If you have any questions or need assistance during setup, our team is here to help. You can contact the Nextools Support Team anytime via the in-app live chat or by email. We’ll be happy to assist you.