This tutorial details the installation and initial setup of the SupaElements application for Shopify.
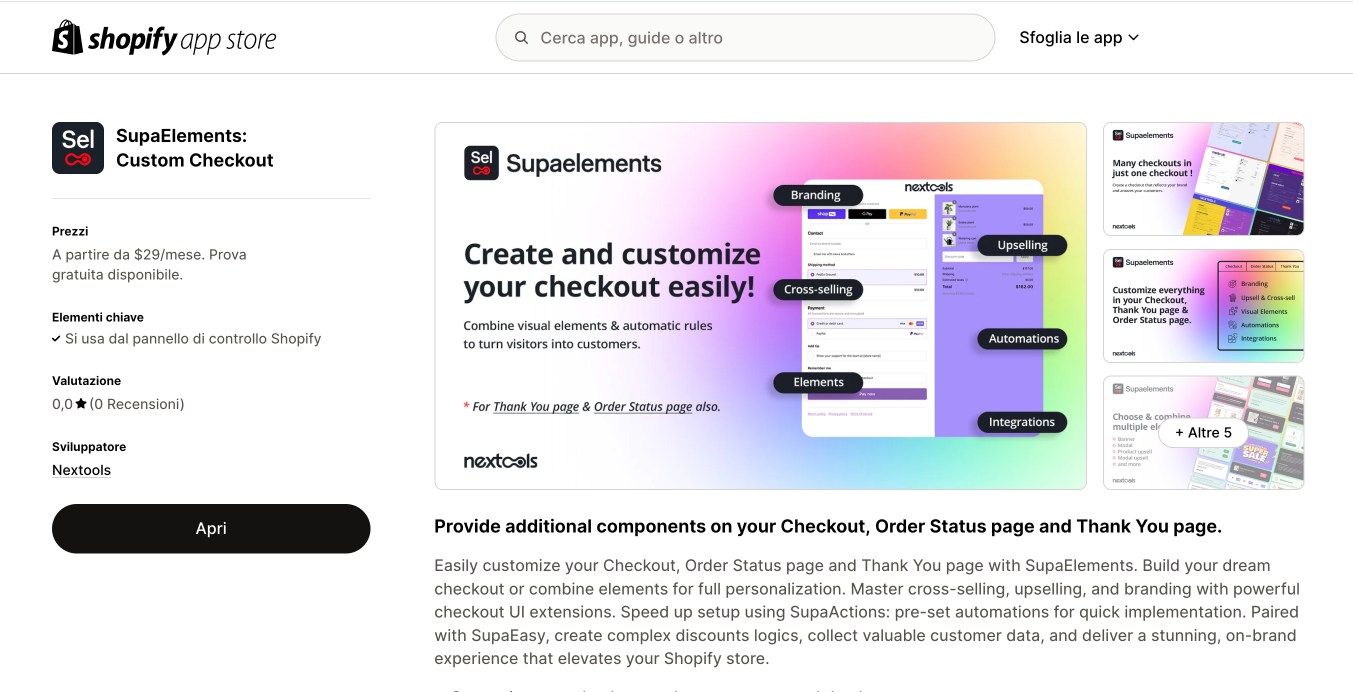
To begin, locate "SupaElements" within the Shopify App Store, or navigate directly to the application's product page here. Click "Install" to add SupaElements to your store's app list.
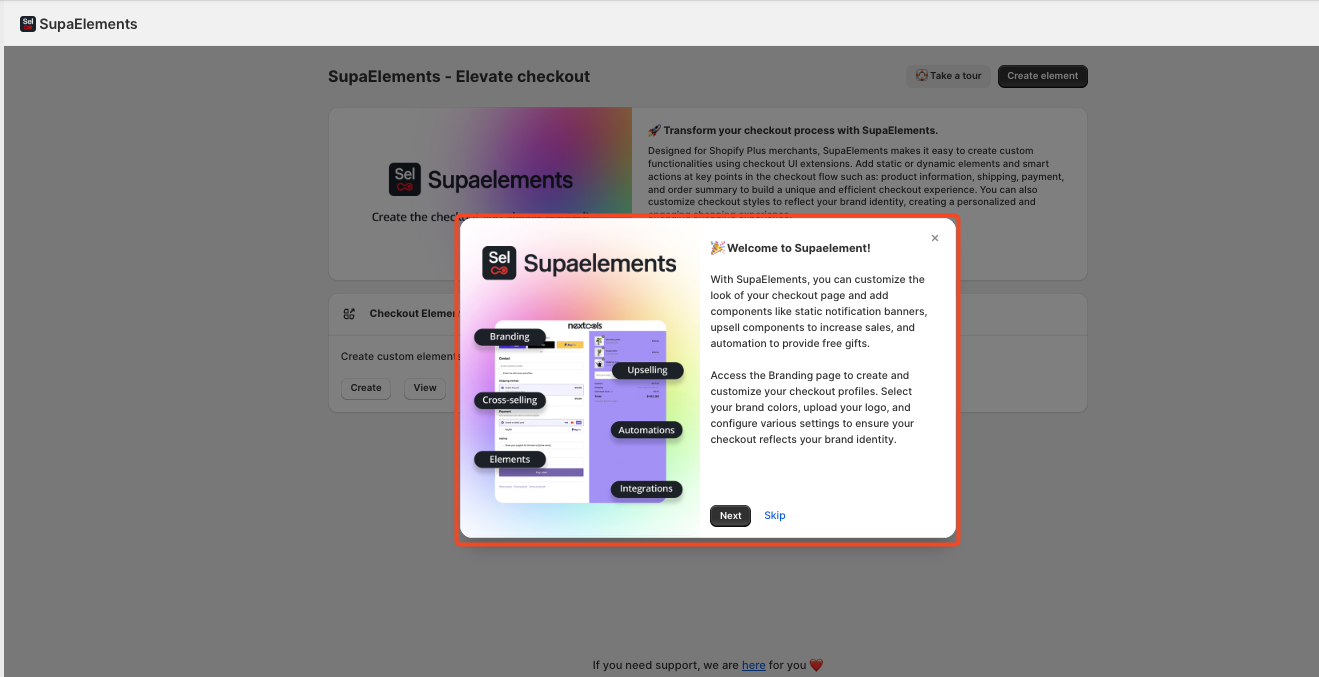
Upon opening SupaElements, a welcome window presents a brief overview of its core functionalities. Select the next button to view the full description, or choose "Skip" to proceed directly to the application's dashboard.
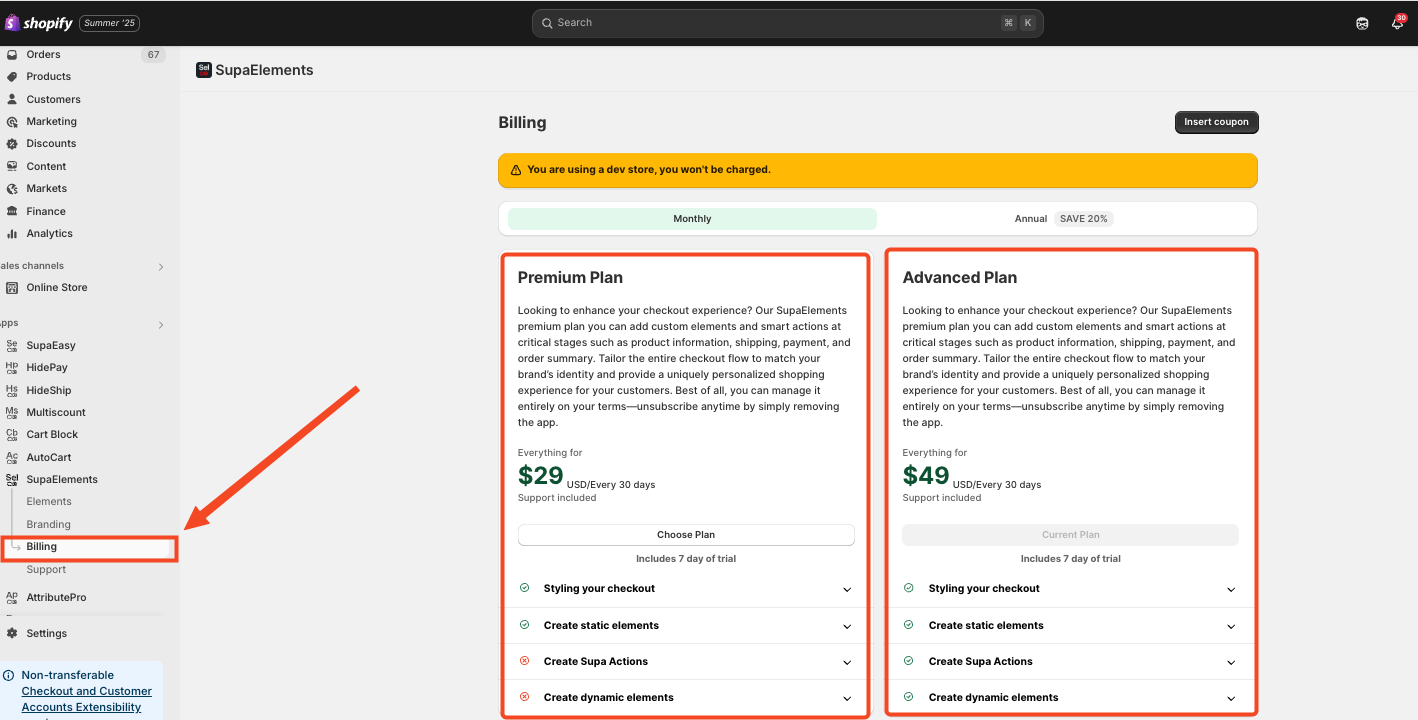
Subscription to a SupaElements plan is required to proceed. Navigate to the billing page to select either the Premium or Advanced plan.
Note that the Advanced plan uniquely enables the creation of dynamic checkout elements.
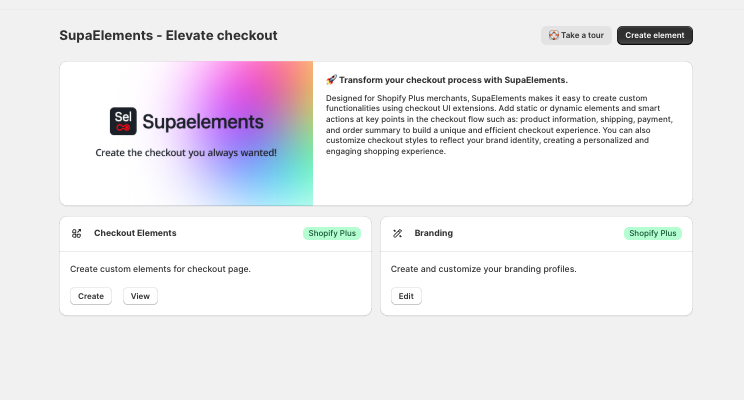
The SupaElements dashboard provides access to two primary functions: checkout styling "Branding" and element creation "Checkout Elements".
These sections are located on the right-hand side of the dashboard.
The side menu facilitates navigation between created elements and customizations. The "Elements" section displays a list of all created elements, along with their current status (active or inactive).

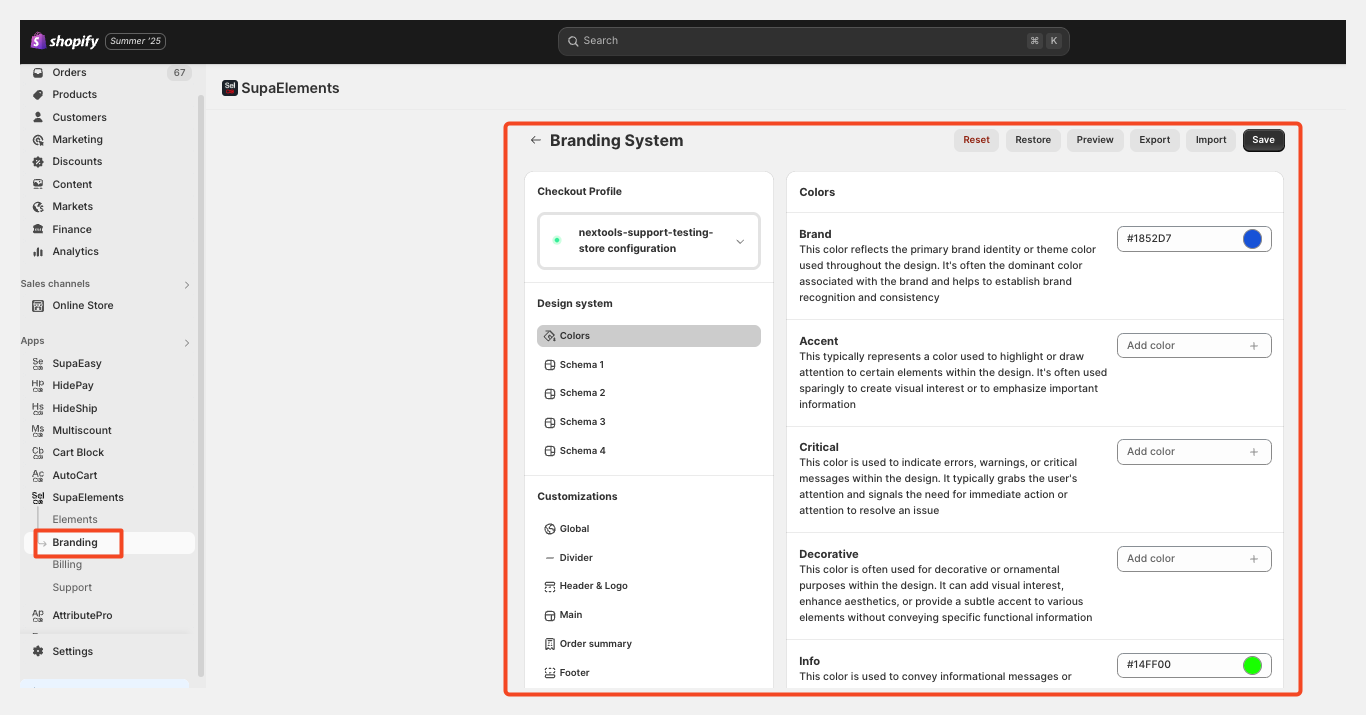
The "Branding" section directly accesses the customization page, allowing immediate modification of preferred parameters.
The "Support" section provides access to the SupaElements support team via email or live chat.
Now, the only thing left is to jump into the app and start creating your Super Elements for your customer and personalizing your Checkout as you prefer.