In this tutorial, we'll walk you through the step-by-step process of creating a special offer with the "Payment Methods" feature using the SupaElements application by Nextools.
Let's see how to set up the rule!
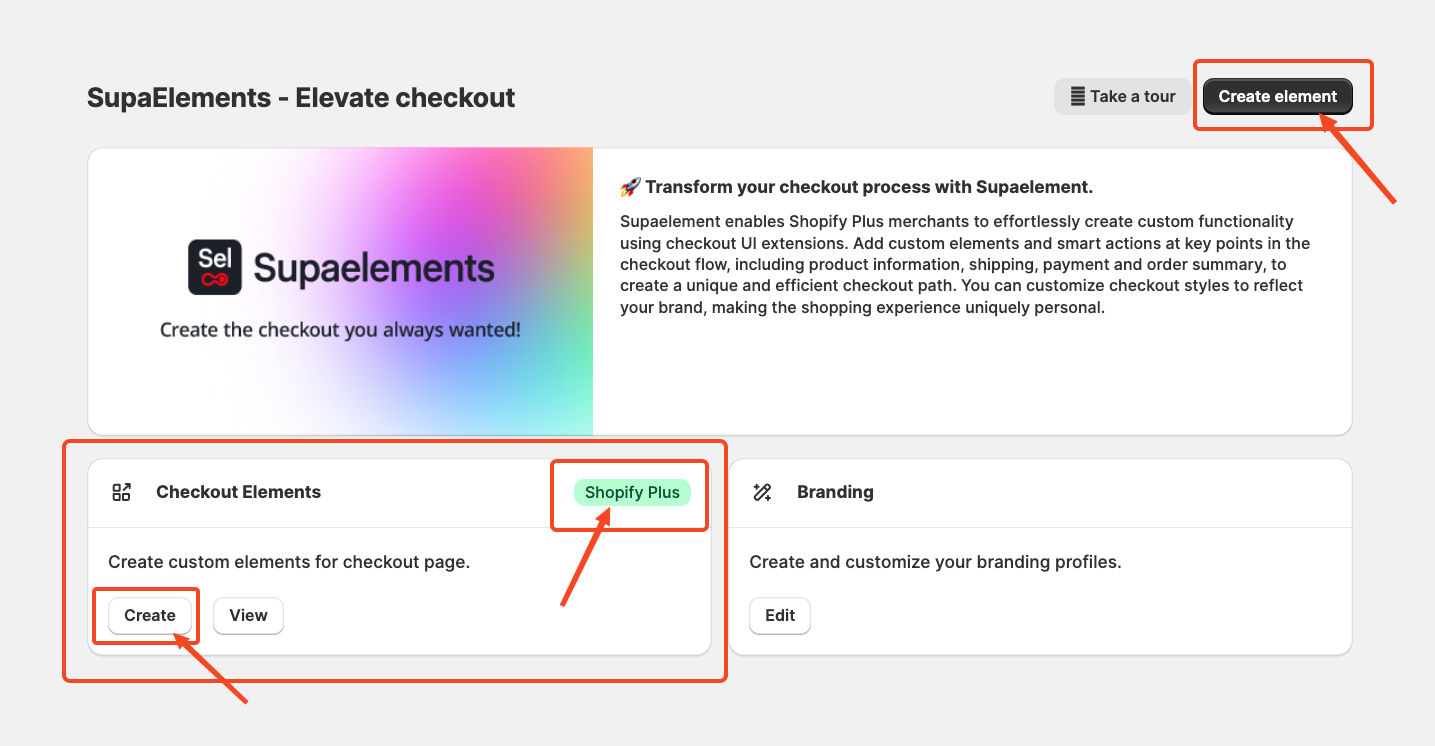
Click on "create element" or the "create" button in the highlighted part.
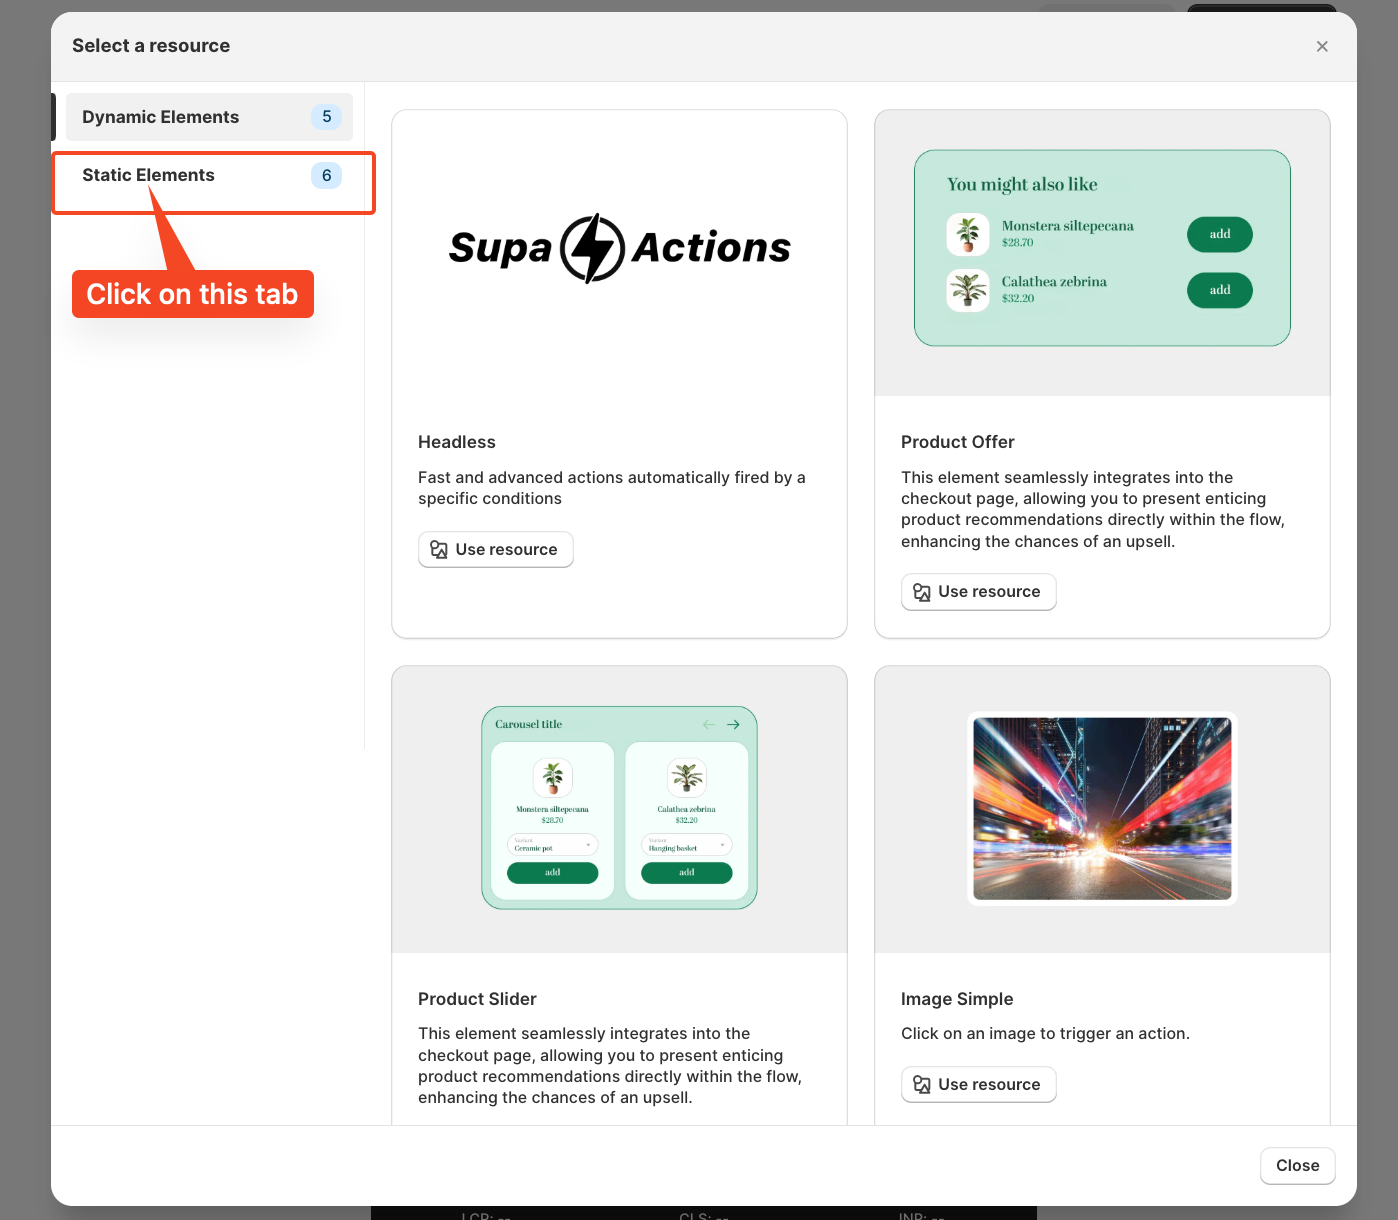
A pop-up window will appear. From there, select “Static Elements”
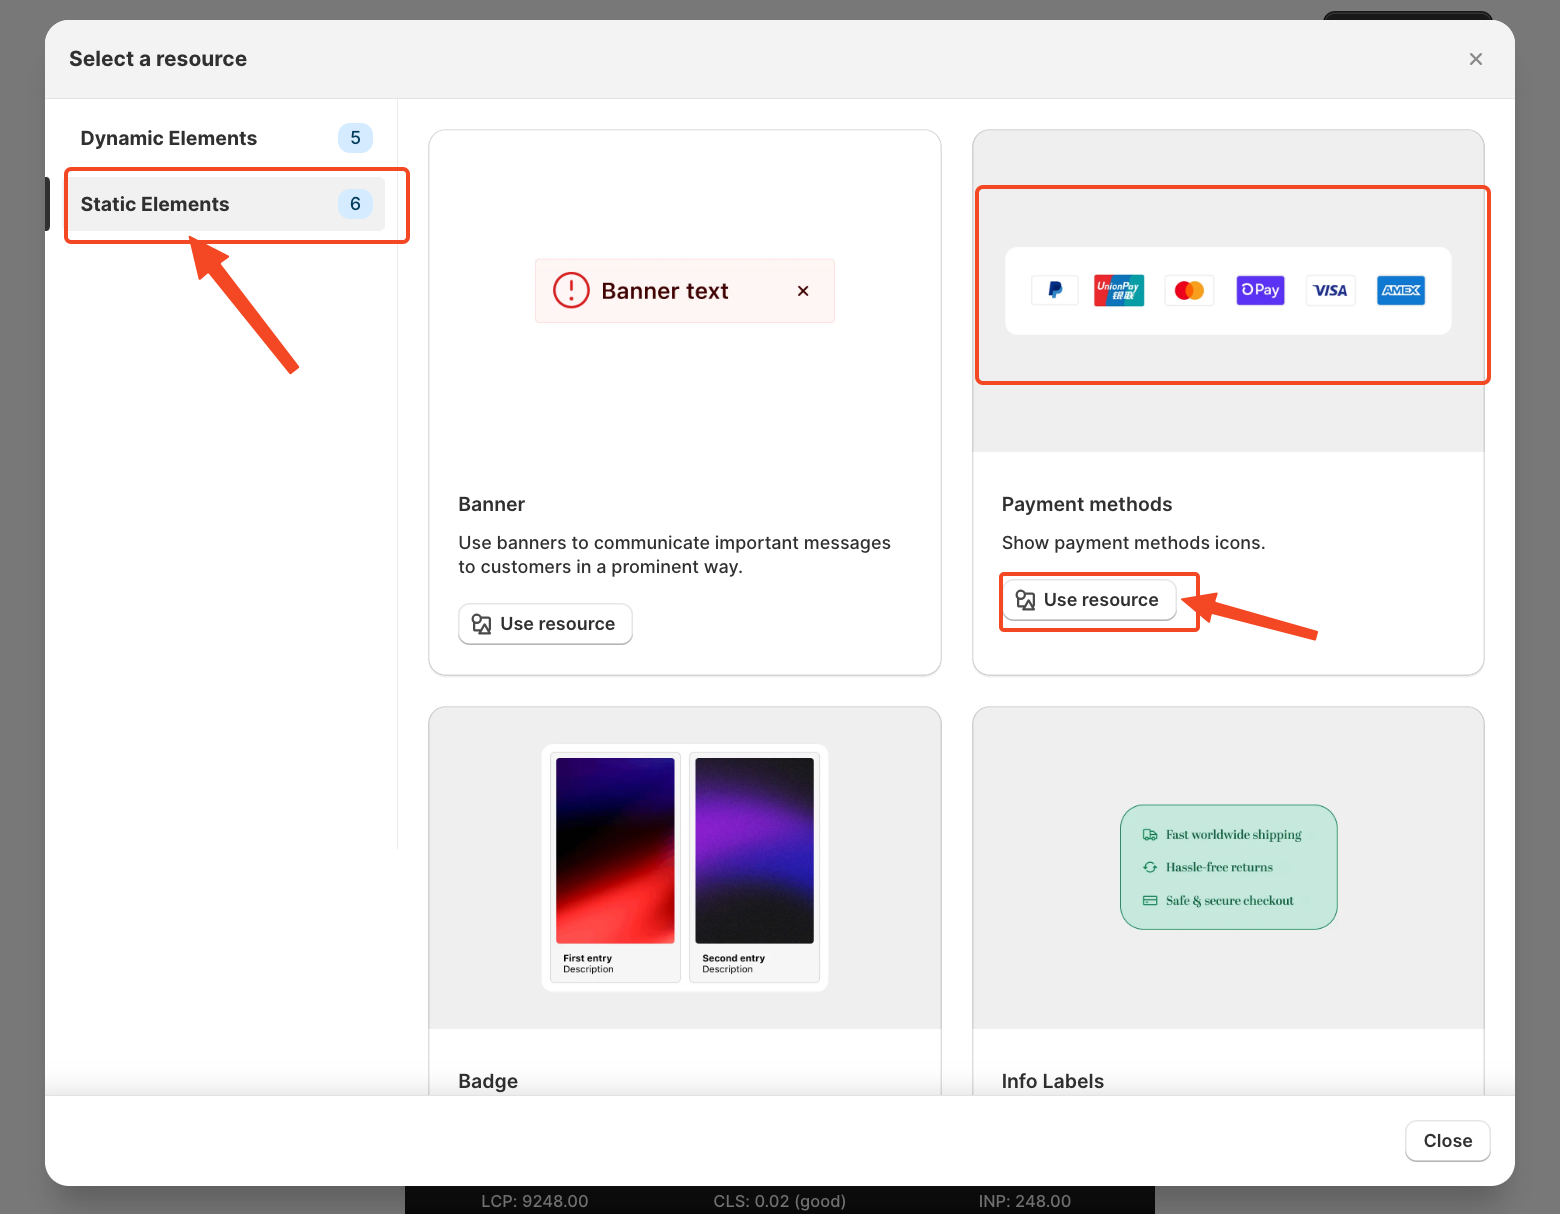
Select Payment methods, and you can even see the preview of how the payment methods will look on your checkout, and click on Use Resources to start creating the configuration.
Start Creating the Element Configuration
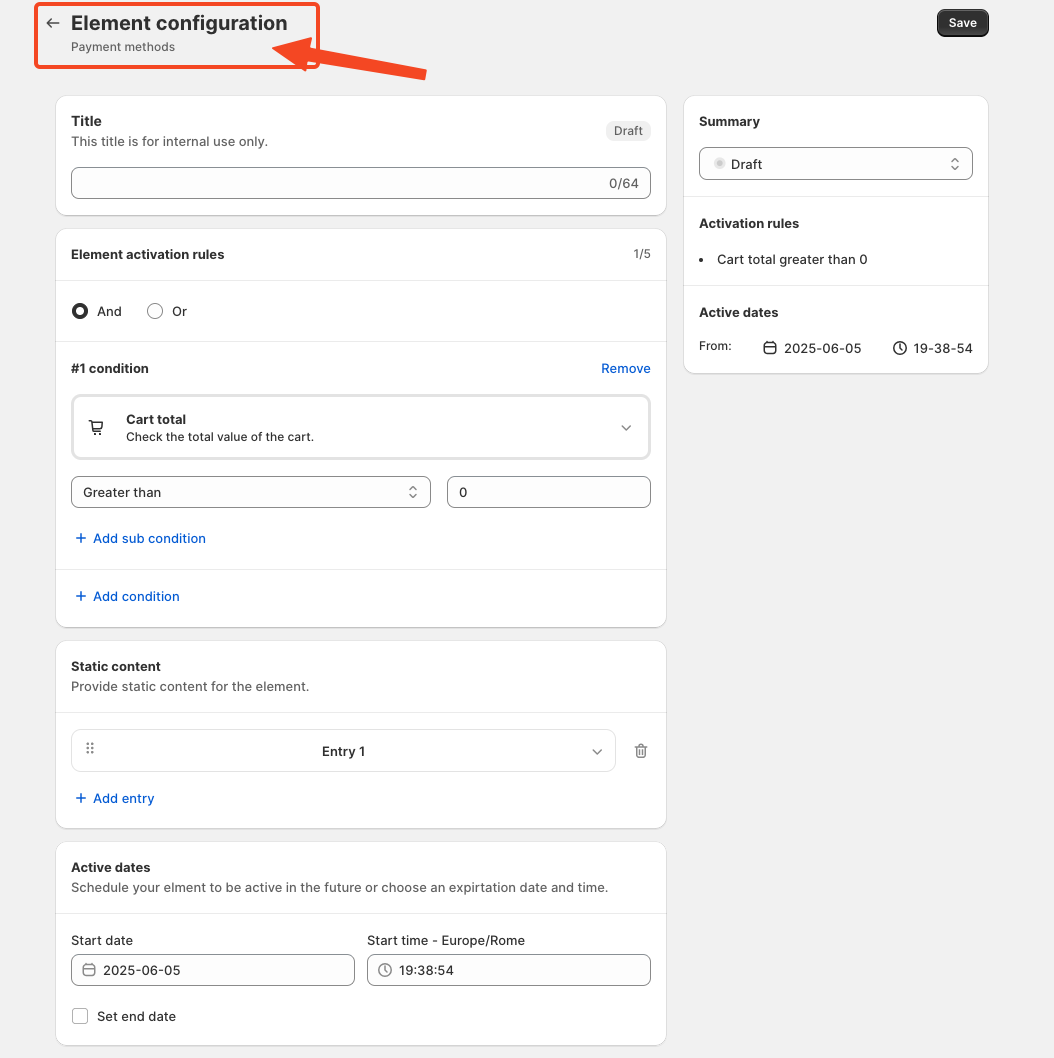
Once you click on 'use resources', you will see the configuration page, which looks like this for payment methods.
 Add a Title:
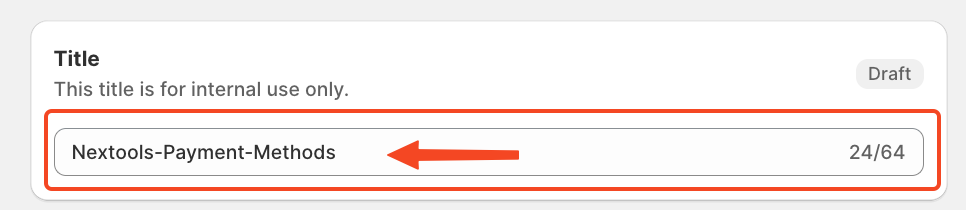
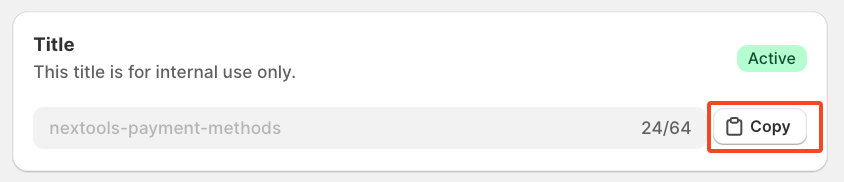
Write a title for the rule that helps to know what the rule does and to connect the element in the Checkout page.
However, choosing an appropriate title is important, as it will also be used later in the App Block. I will explain again later in the article where and how to use the title.
Set Element Activation Rules
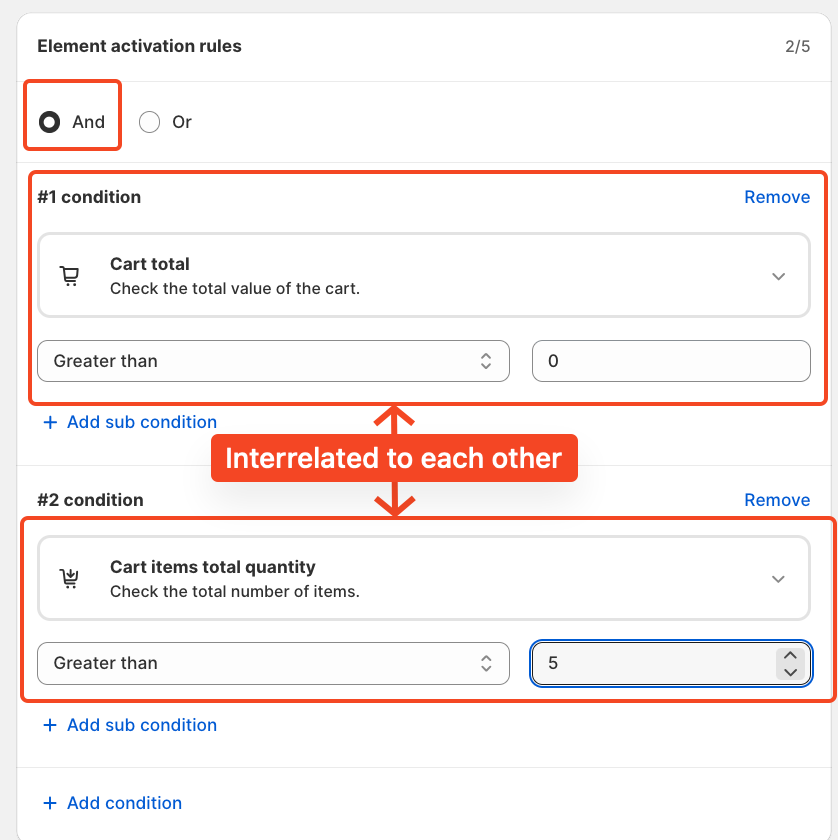
After naming your SupaElements rule, you'll configure the Element Activation Rules. You can choose between AND and OR logic based on your specific requirements. How to use this feature?
Use AND logic when you want multiple conditions to be true at the same time.
For example, if the cart total is greater than 0 and the total cart quantity is greater than 5.
Use OR logic when you want any one of the conditions to be true.
In this case, the same conditions apply to cart total greater than 0, or cart quantity greater than 5, but they are evaluated independently.
The rule will fire if either of the conditions is met.

Each rule contains up to five conditions, and you can also create sub-conditions for more detailed targeting.
We've included multiple options to give merchants greater flexibility in how they present payment options icons at checkout and to choose the condition. Click on the drop-down and choose as per your need.
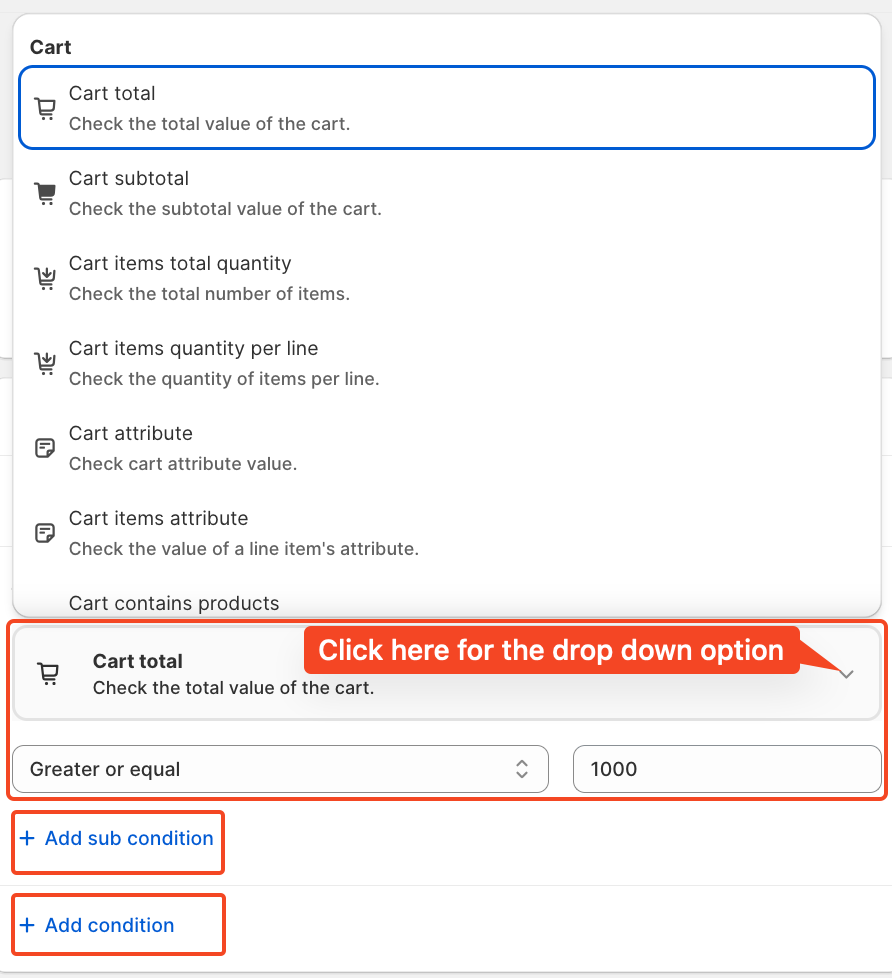
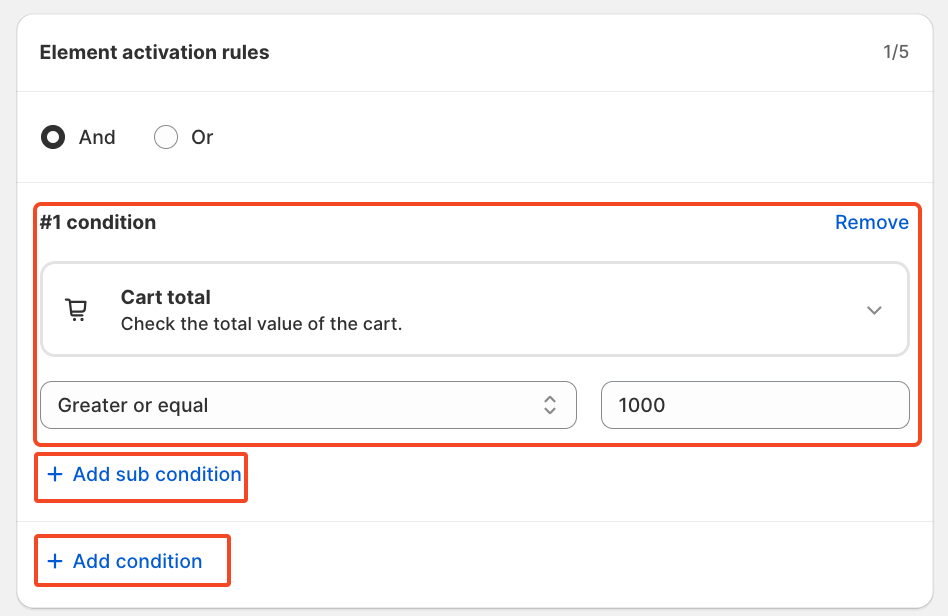
For this tutorial, we'll use the condition: Cart total greater than 1000. And a single condition.
Static content
Here, you will click on the drop-down options and select multiple options available in terms of payment icons.

After you click on the drop-down, you will see different types of payment method options, whichever you want to show in the checkout page. 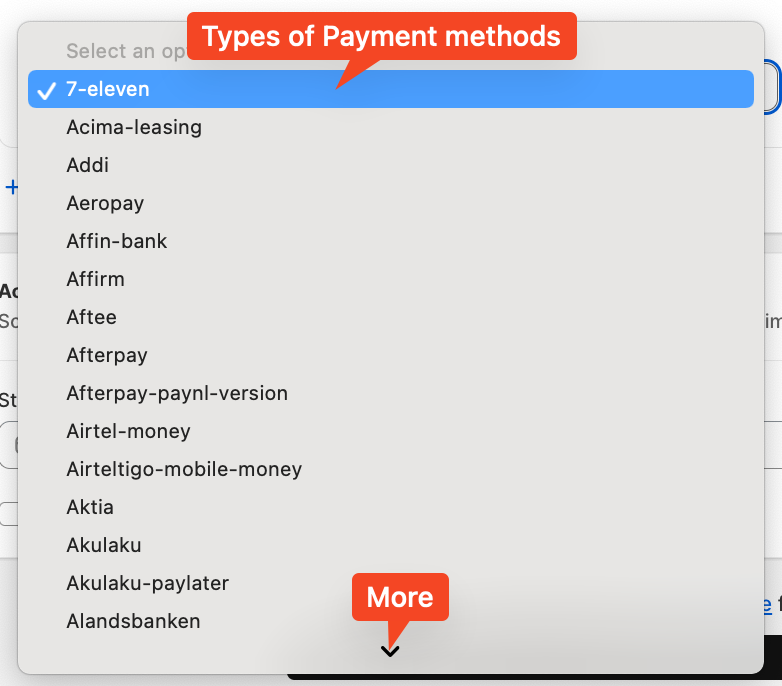
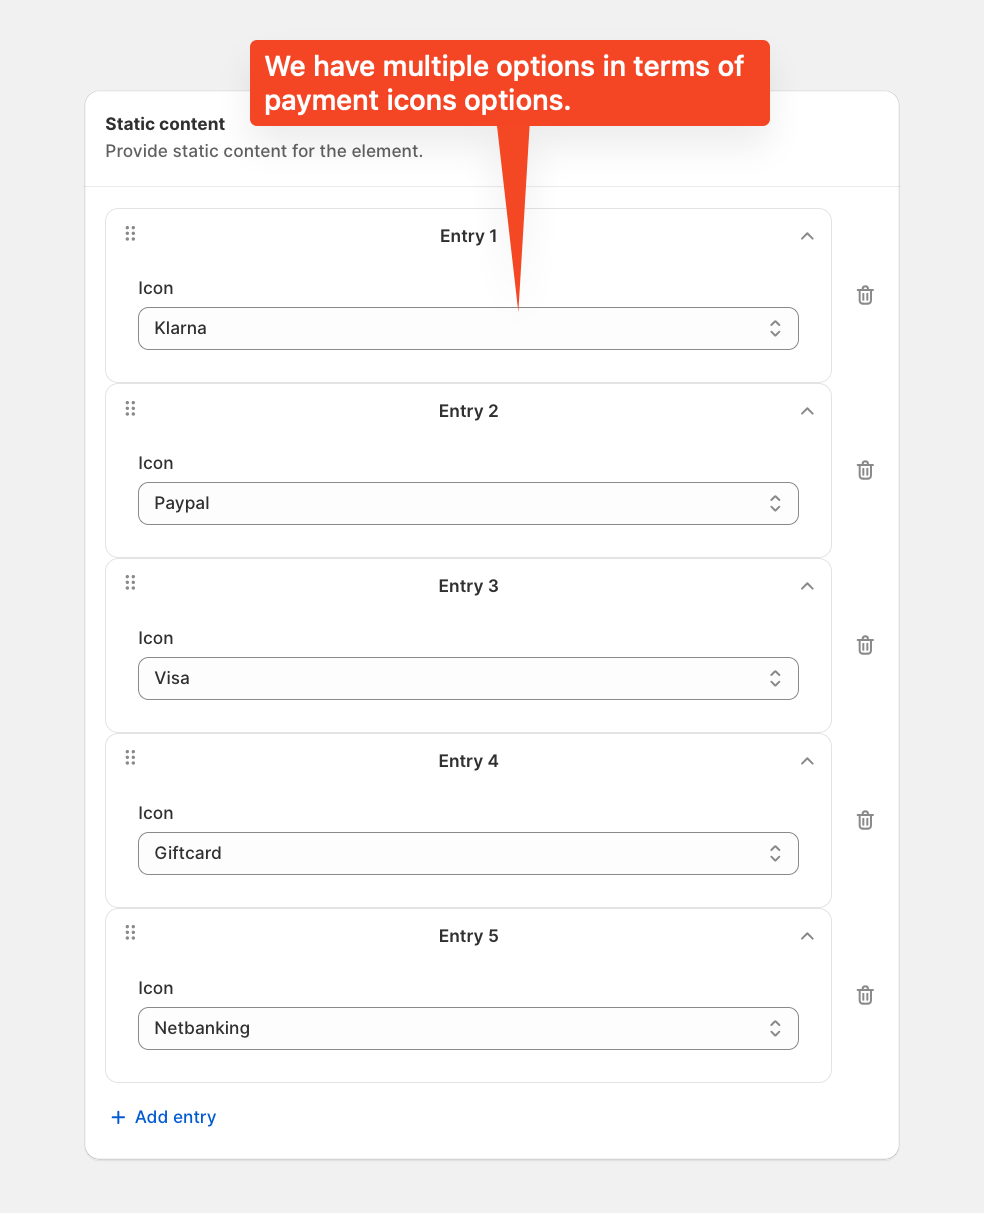
We've included almost every major payment method worldwide, from A to Z, so customers in various countries can use their preferred options. For this tutorial, I've selected six different payment methods that I want to display on the checkout page as per the screenshot below;
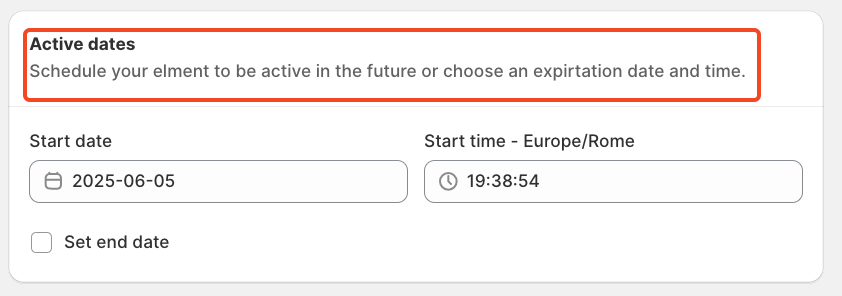
If you wish, you can set the start and end dates, along with the time, to control when the offer appears.
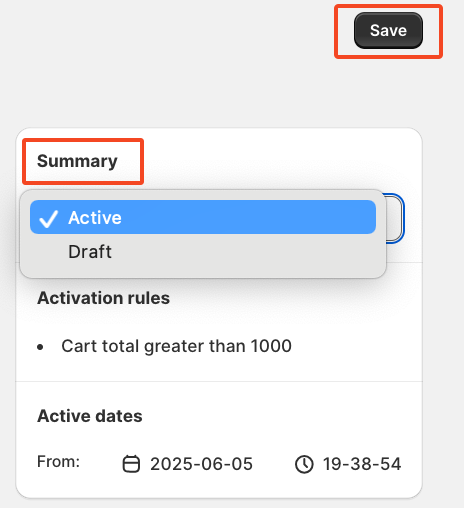
Finally, review the summary, activate the rule, and save it.
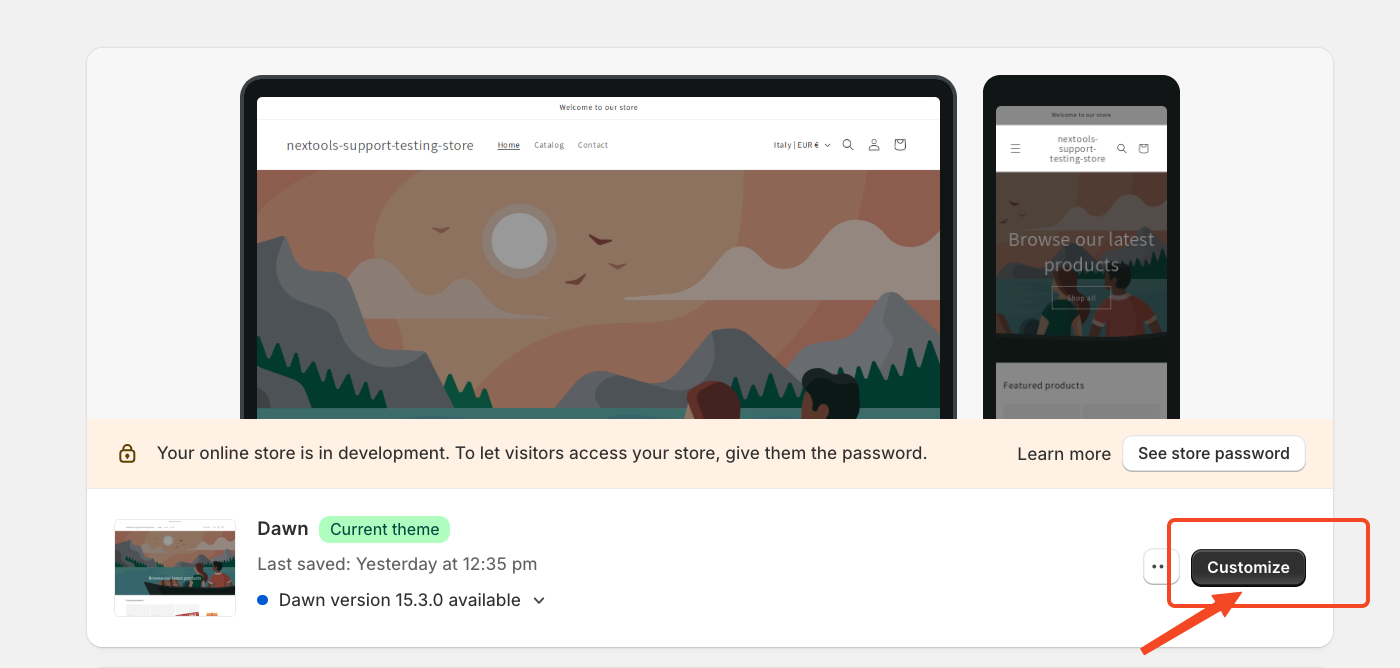
After saving and activating the rule, the final step is to choose where to display your customer payment method icons. To do this, go to your store's checkout page customisation section and add the SupaElements app block (if it's not already added).
Then,
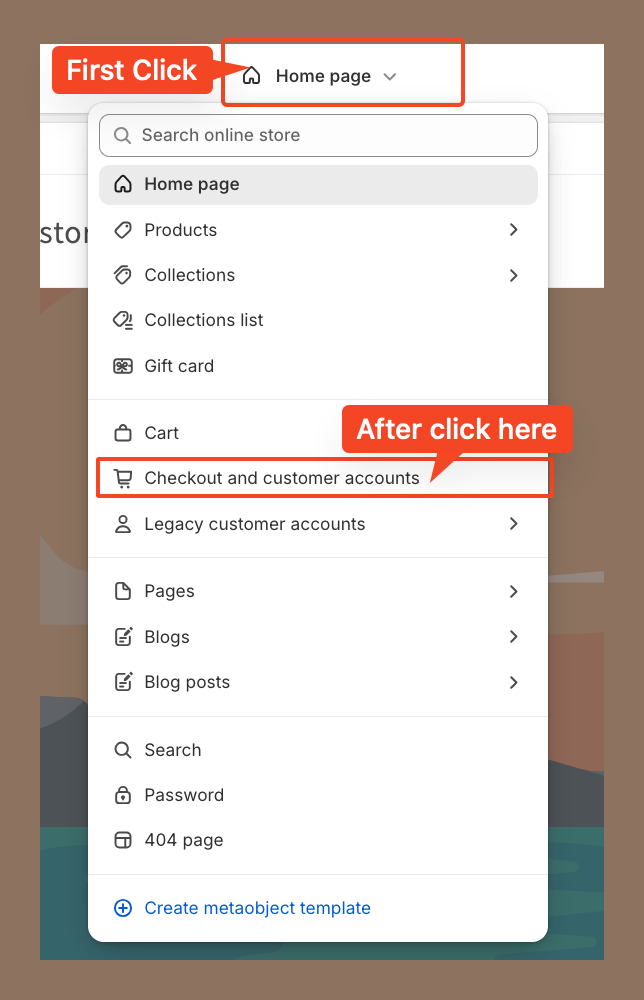
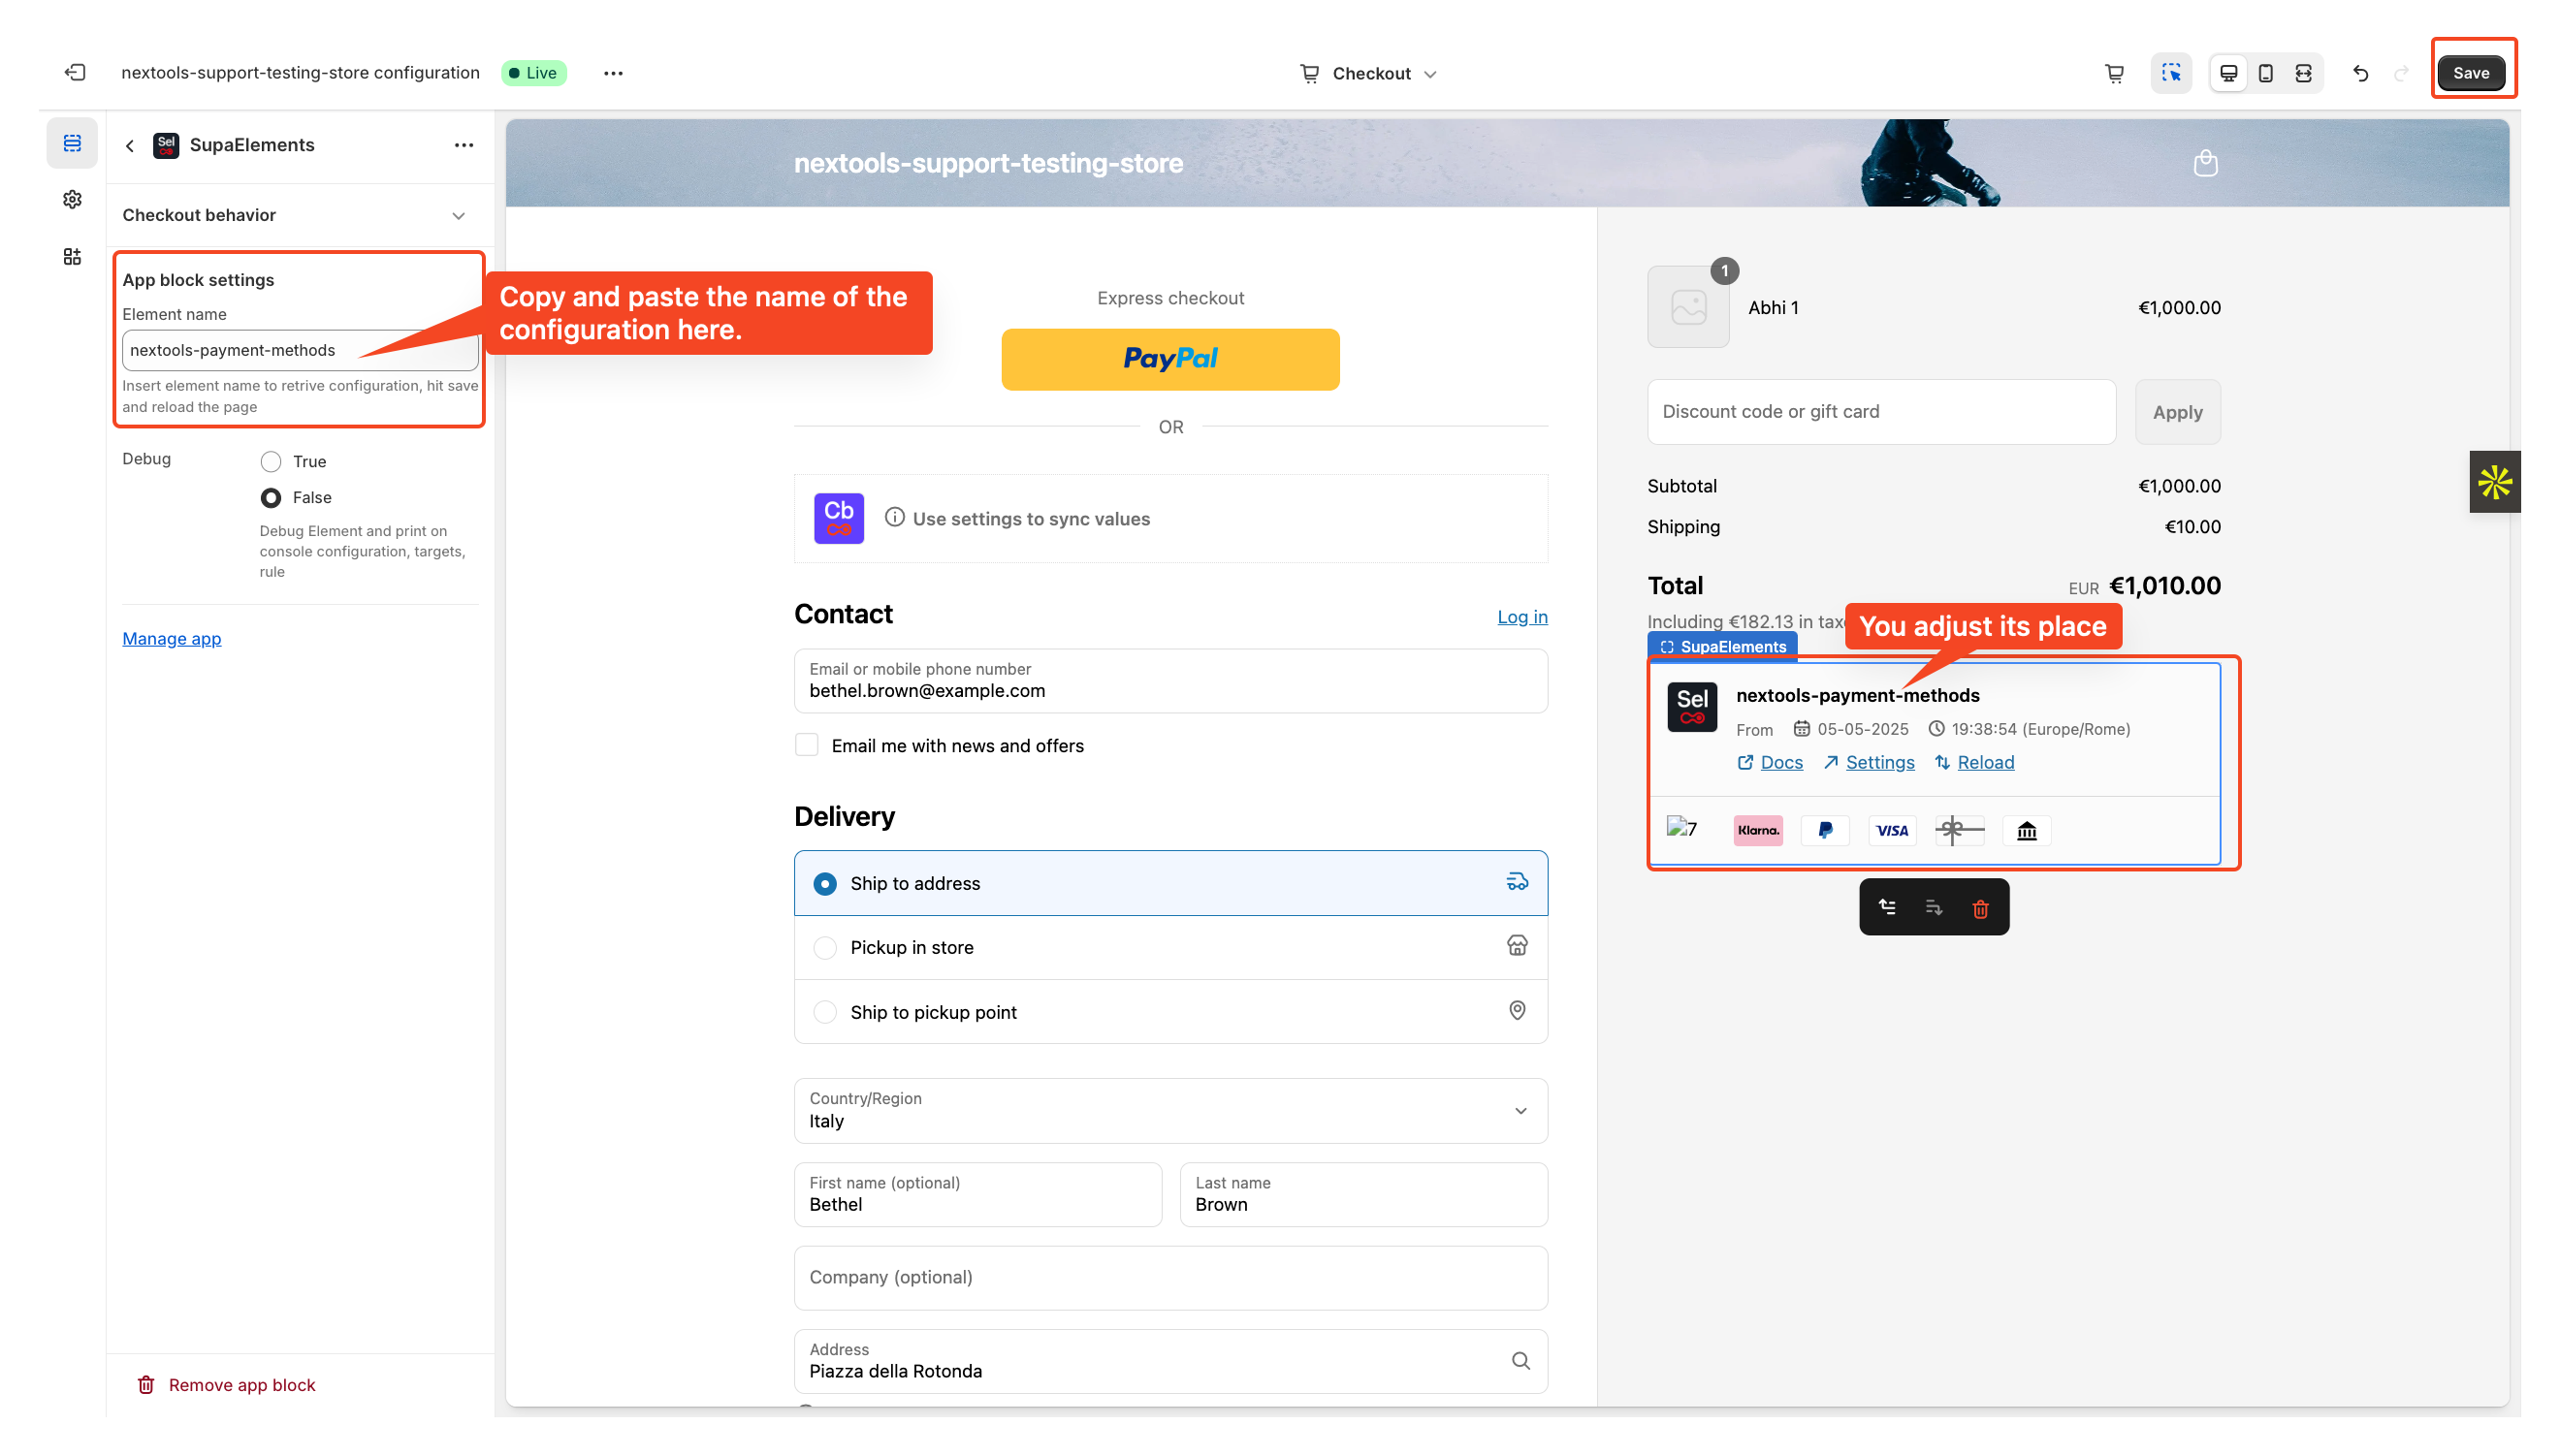
Then, go to the corresponding page to continue the setup. In our case, we placed the element at the top of the checkout page.
However, you can drag and drop the element to position it anywhere you'd like the customer payment methods to appear.
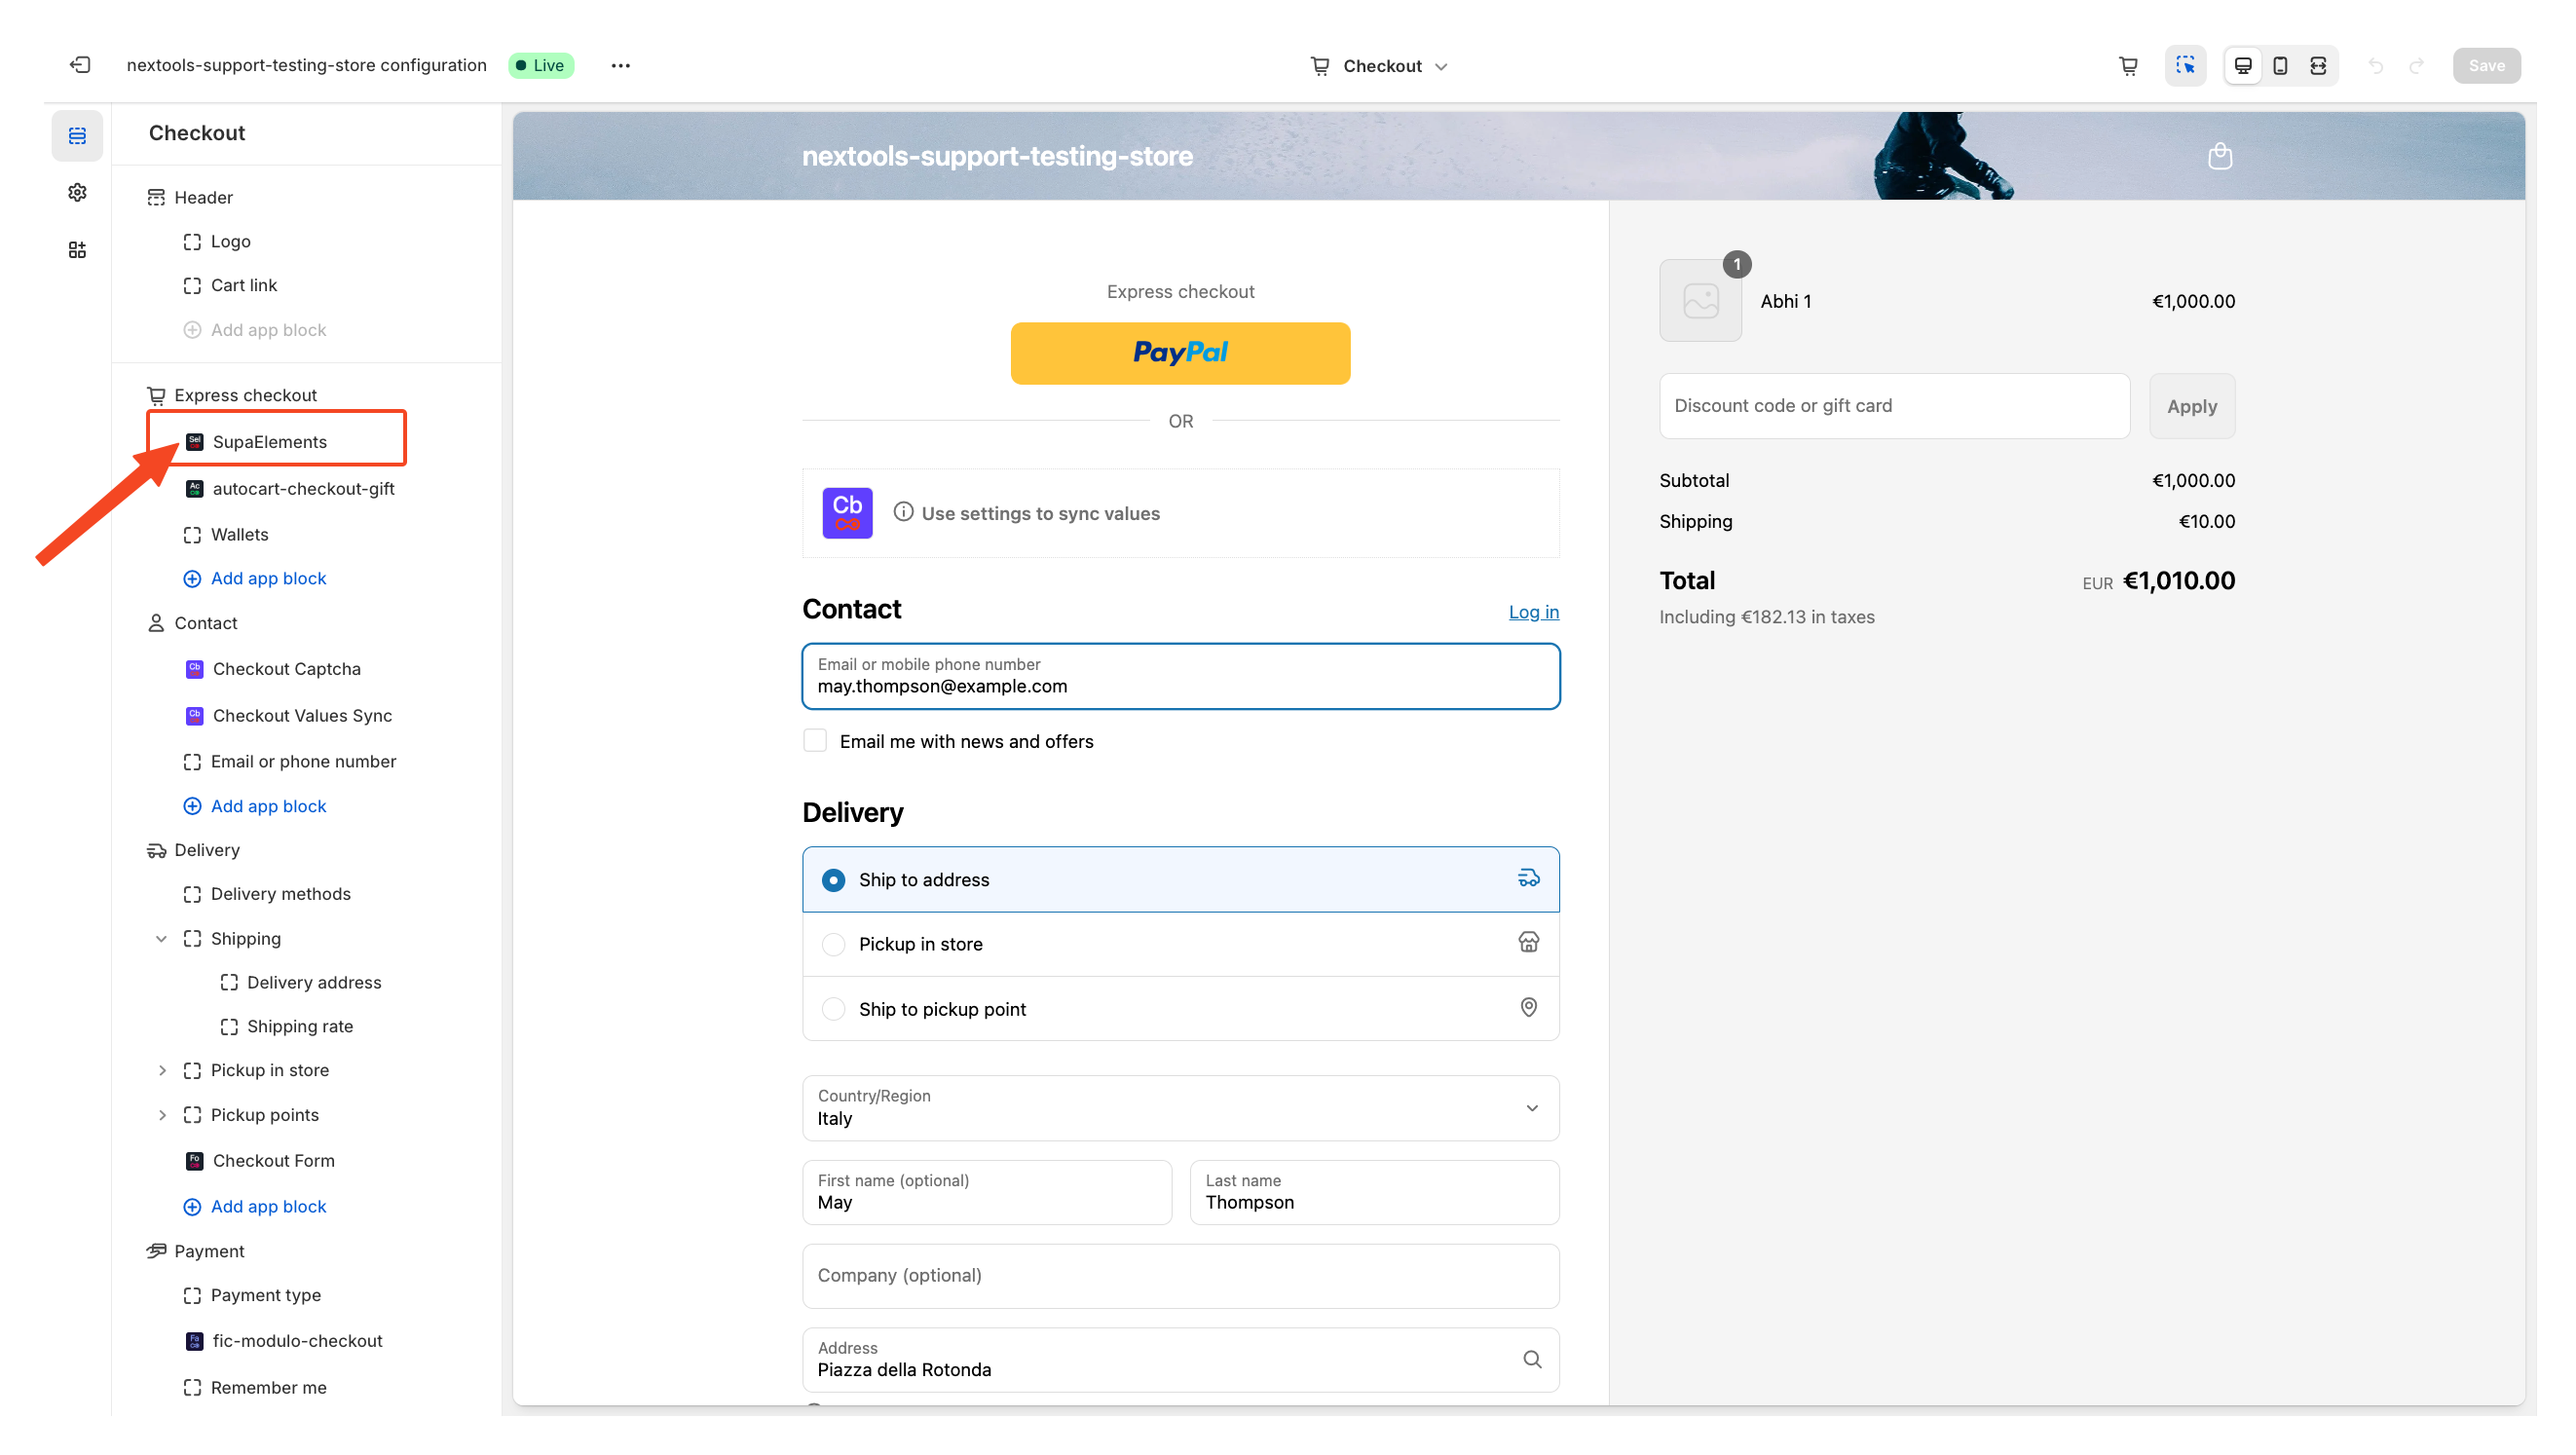
Next, open the element, and add the name of the elements you have created in the “Element Name” field.
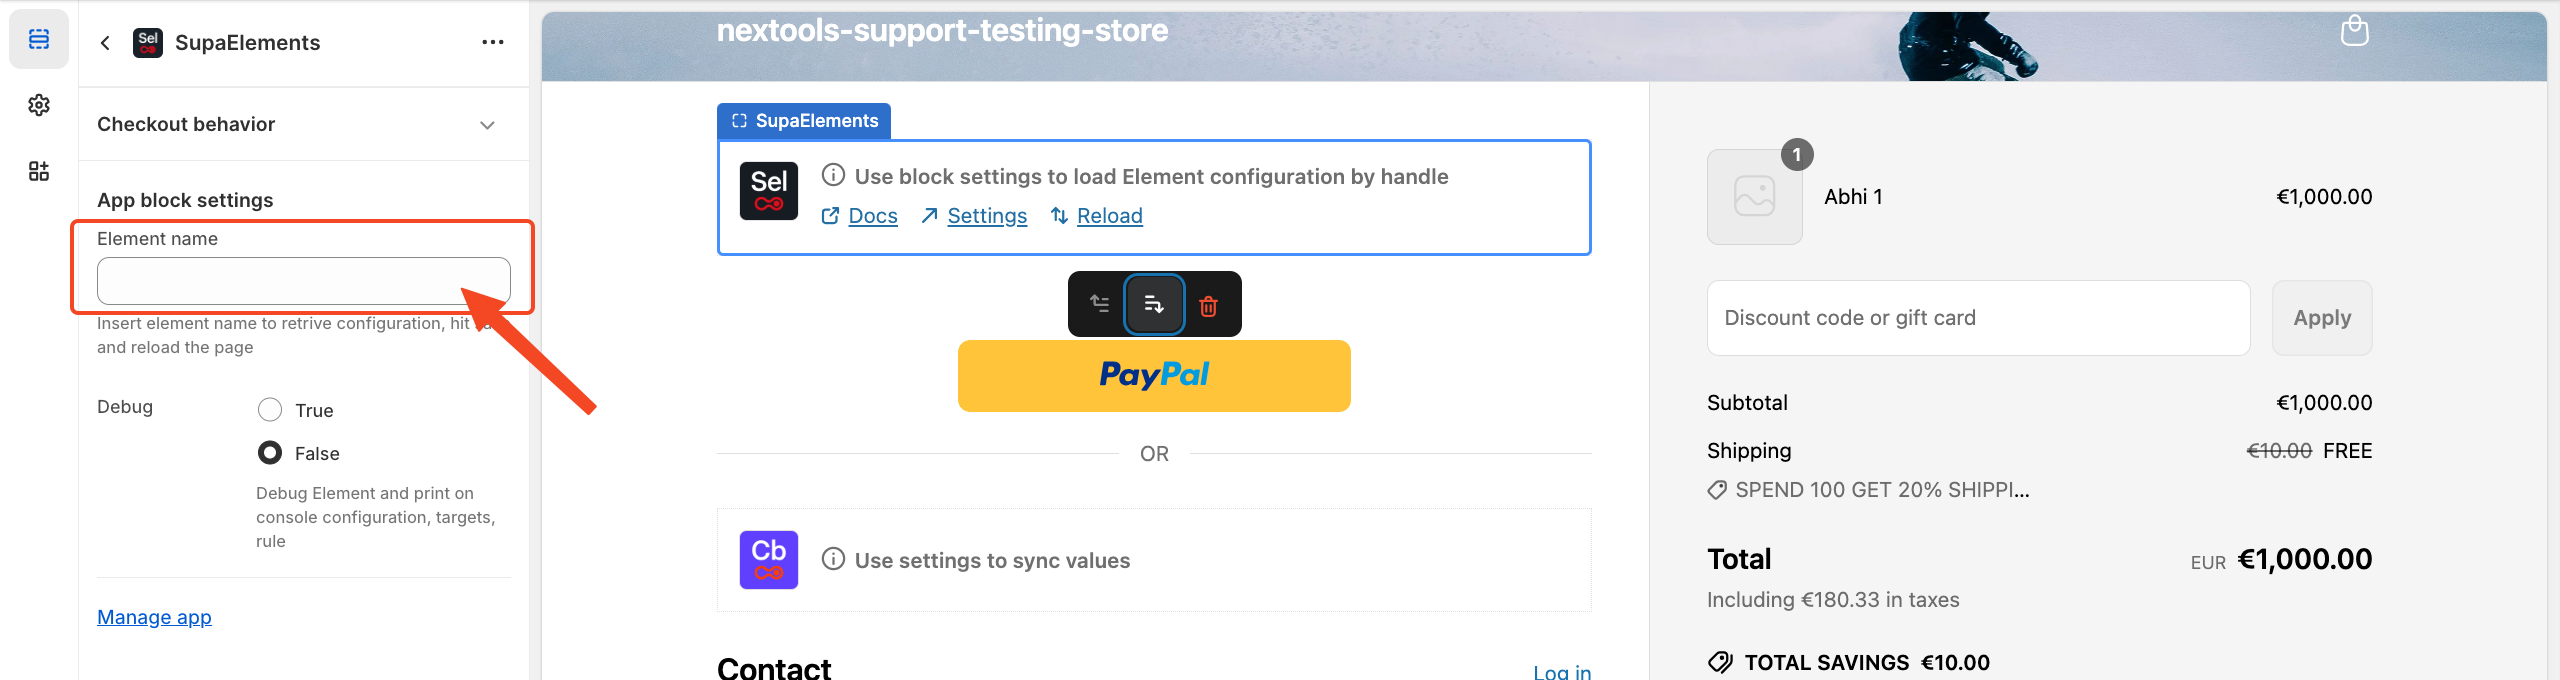
You have three options on how you can get the correct name:
- Copy it from the configuration page,
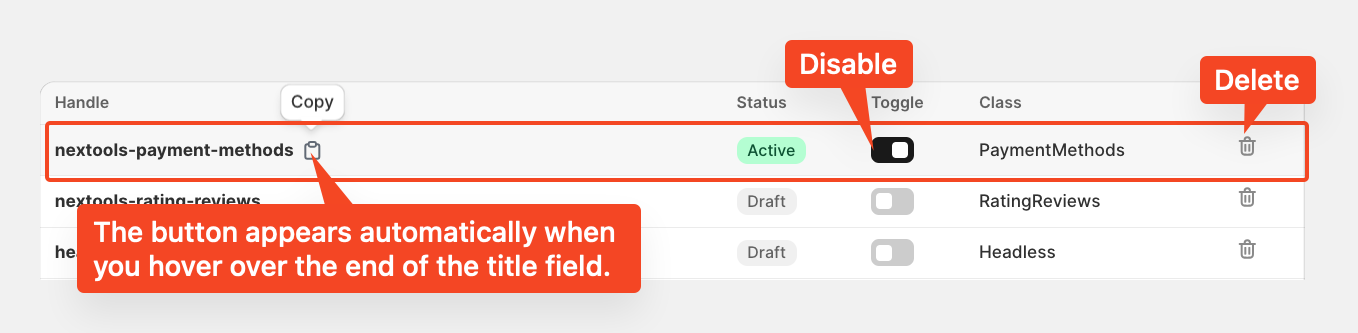
- Copy it from the dashboard
- Manually type the name.
 OR from Dashboard
Enter the title of the newly created element, which exactly matches the name used in the configuration, then save the page.
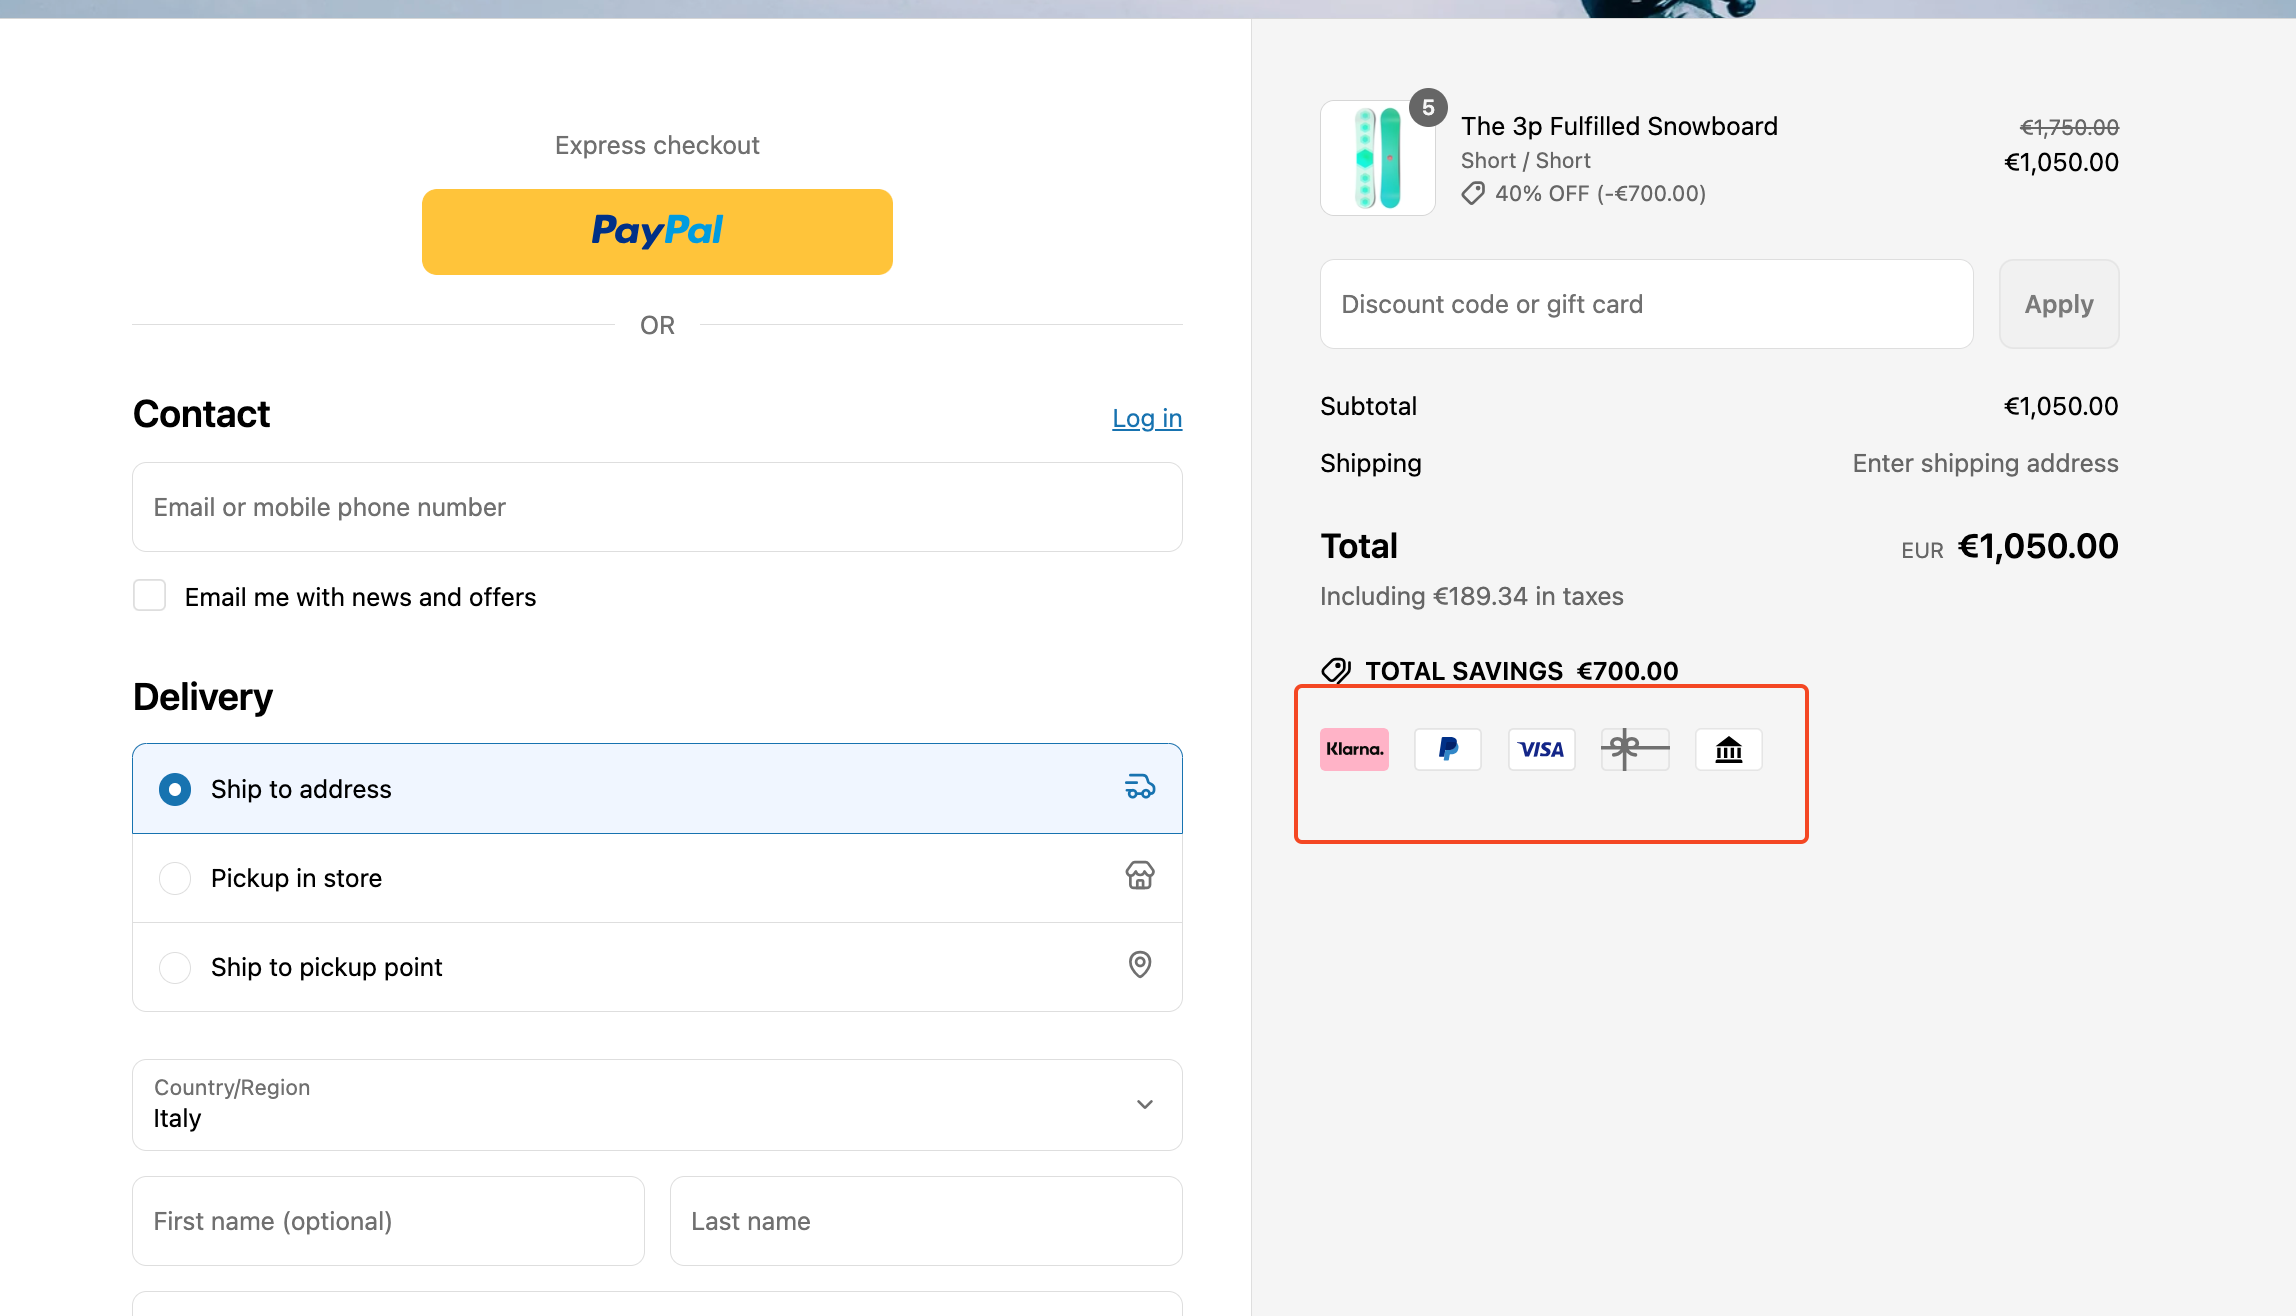
After entering all the information in the above step, you will see the final result displayed on your checkout page, like this.
Activate any plan today and enjoy a 7-day free trial to explore all the features risk-free.
Want to know how to get SupaElements for free or at a discount? Please take a look at our FAQ for all the details!
If you need further assistance, feel free to contact us via support email or connect with us directly through HelpCrunch.