Once your conditions and logic are in place, the final step is telling Flow what to display at checkout. This happens through the Result node, where you define the actual Logic shown to customers.
To add it, click the + icon and select Result.
A new Result node will appear in your flow. Click it to open the full configuration menu.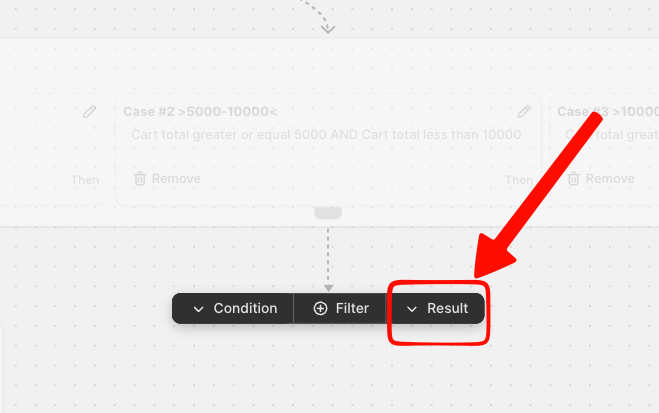
Customizing Your Result Node based on the Flow you are creating
-
Discount Result node
This allow you to determinate what type of discount apply to the flow you have just created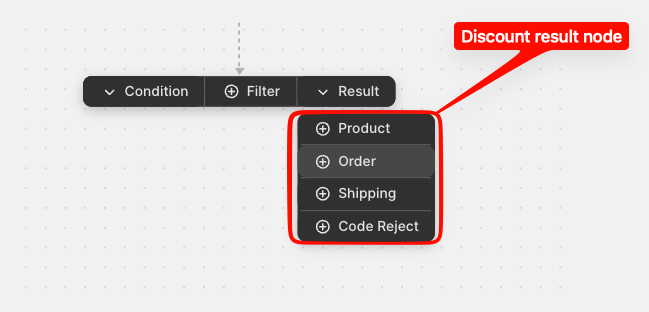
-
Delivery Function
This will give you control over the shipping rates already present in your store, and you can decide if you hide, move, or rename based on the flow that you have just created.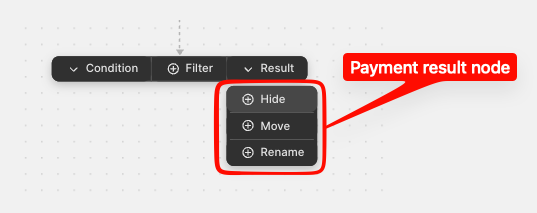
-
Payment Function
The payment result node helps you to have full control to customize the payments that you are going to offer to your clients, especially the ones that go through the flow that you have created.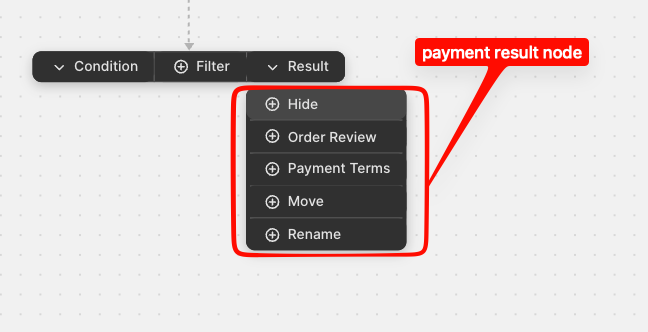
-
Validation Function
In this validation result node you can set the message and where the message will appear in the checkout page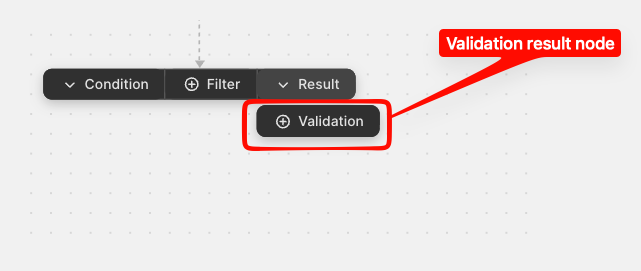
After saving, the result node is instantly active and ready to be used in checkout whenever its conditions are met.
You can update, disable, or manage the rate at any time from the dashboard via the status button. 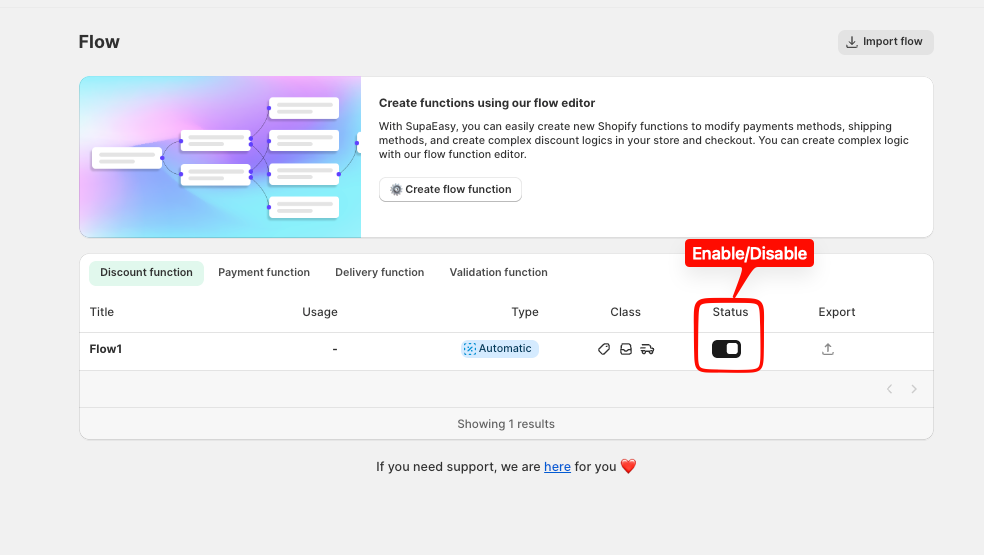
Flow’s Result node is the essential node that finalize your flows giveing the exact output you want to obtain with the flow you have created
If you have any questions or need assistance during setup, our team is here to help. You can contact the Nextools Support Team anytime via the in-app live chat or by email. We’ll be happy to assist you.
