After selecting the plan, you can proceed with your first customization.
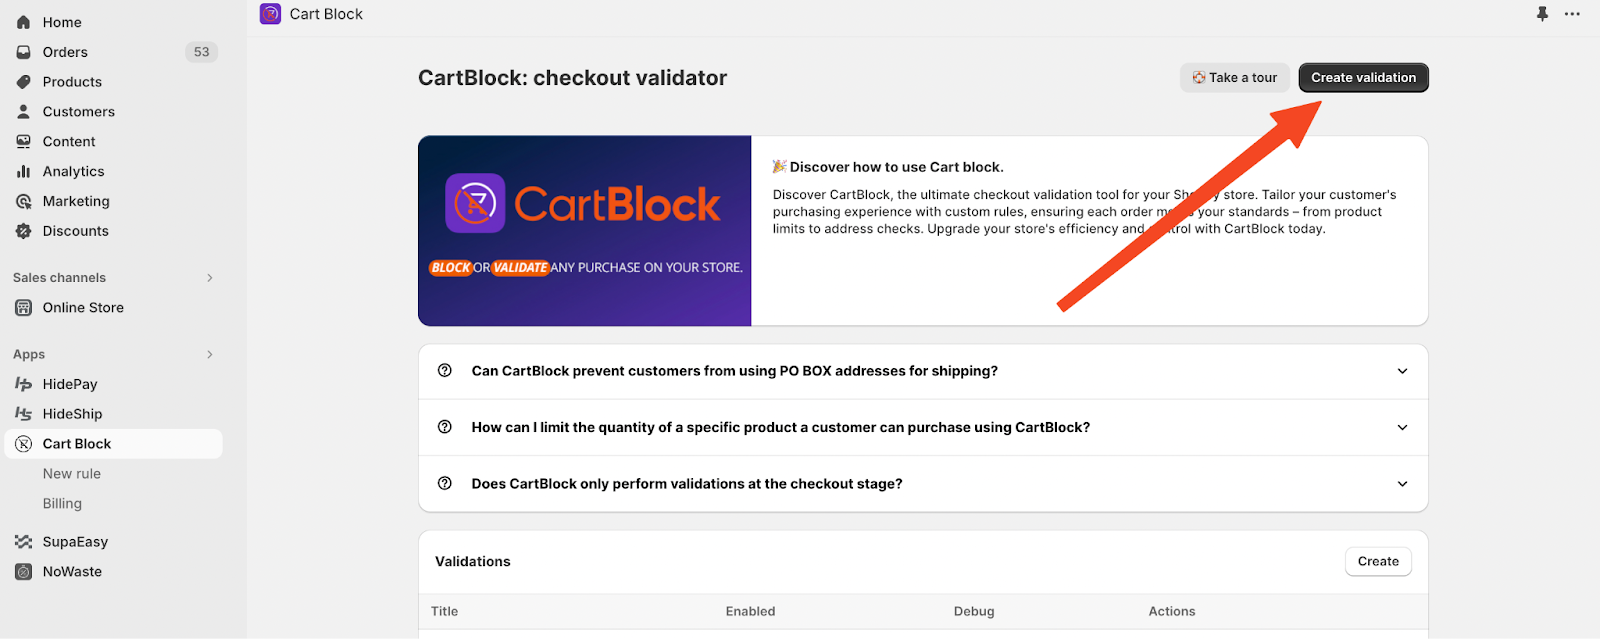
The first step is to click on Create validation
Provide a title for the validation, which will be used internally.
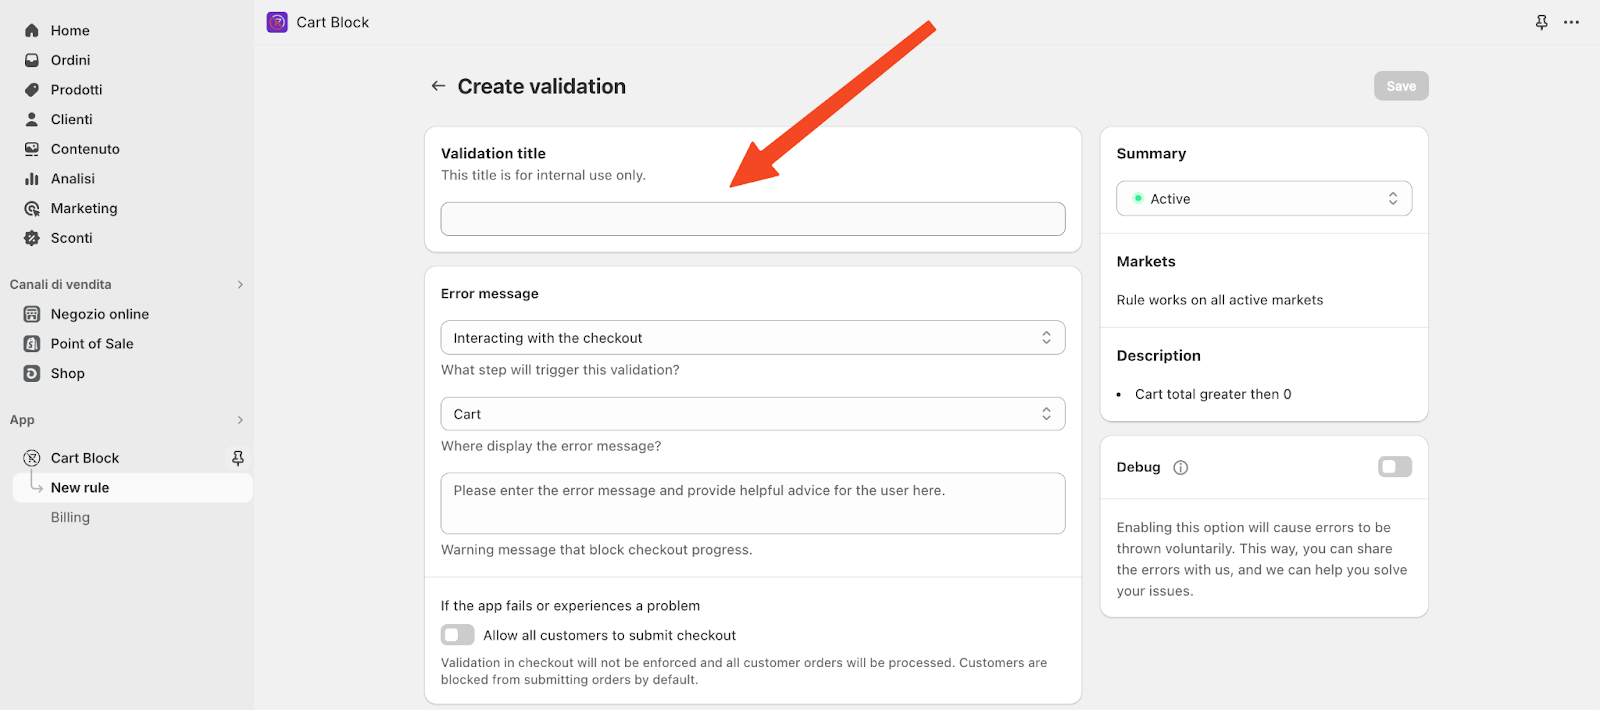
Error message
Let's give the instructions:
-
In the first window, specify the step where you want the validation to be triggered.
-
In the second window, indicate where your customers will see the error message.
-
In the third window, compose a clear and friendly error message for your customers to read.
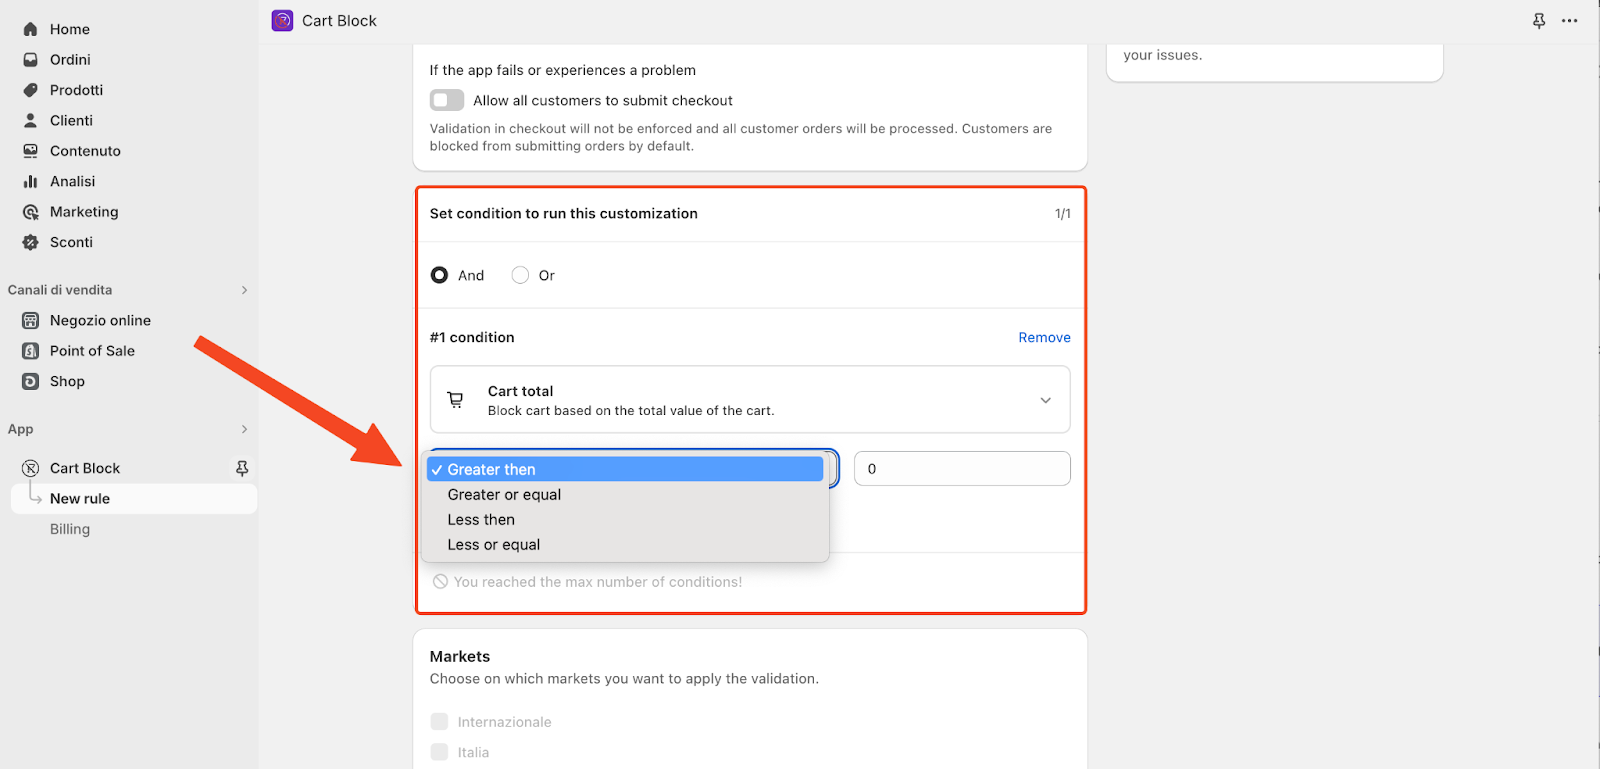
Set your condition
Now you need only to choose the conditions you prefer and the amount for the rule you want.
Save and well done! 🎉
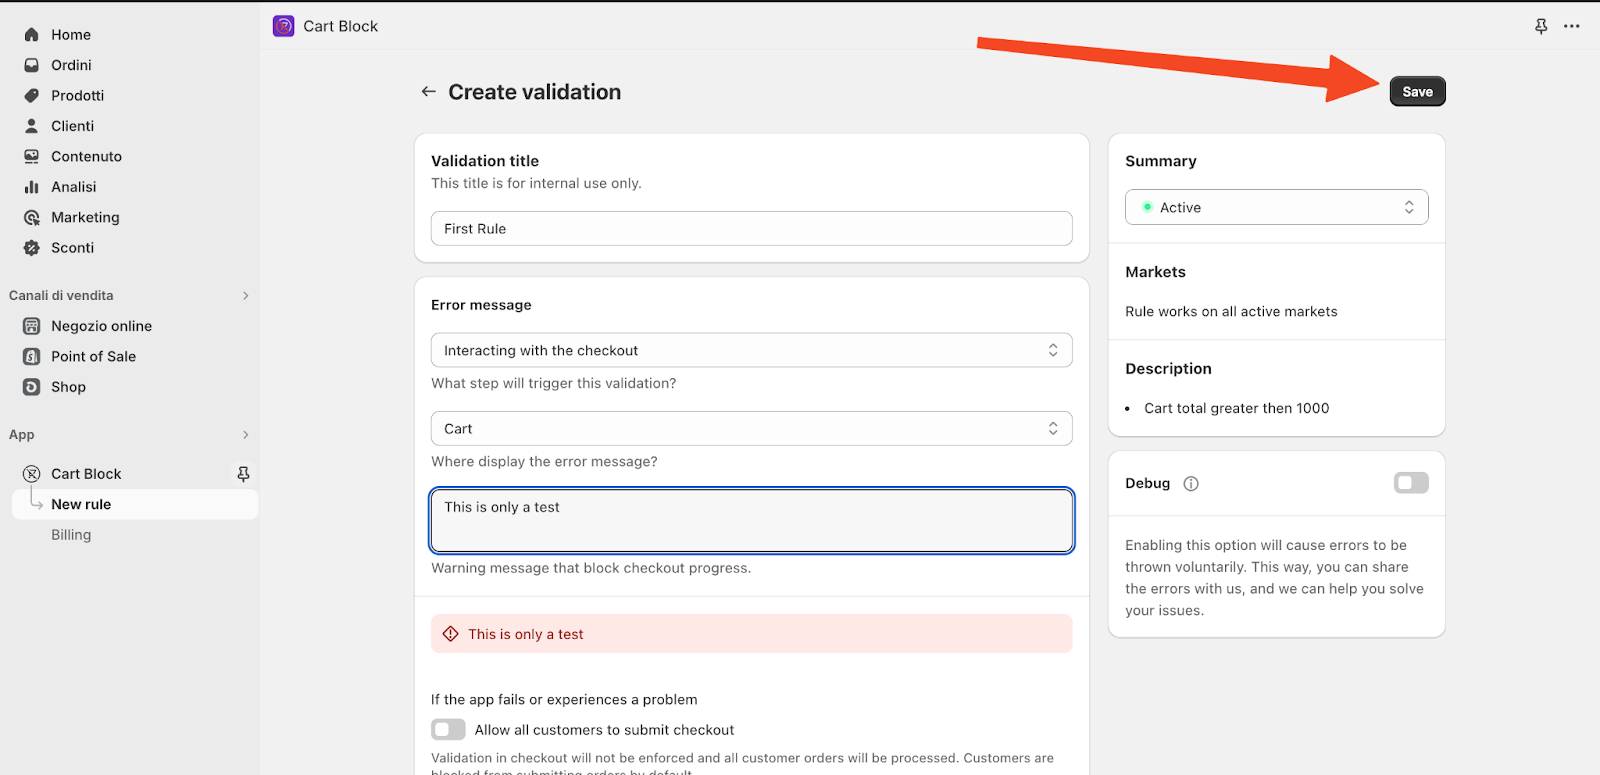
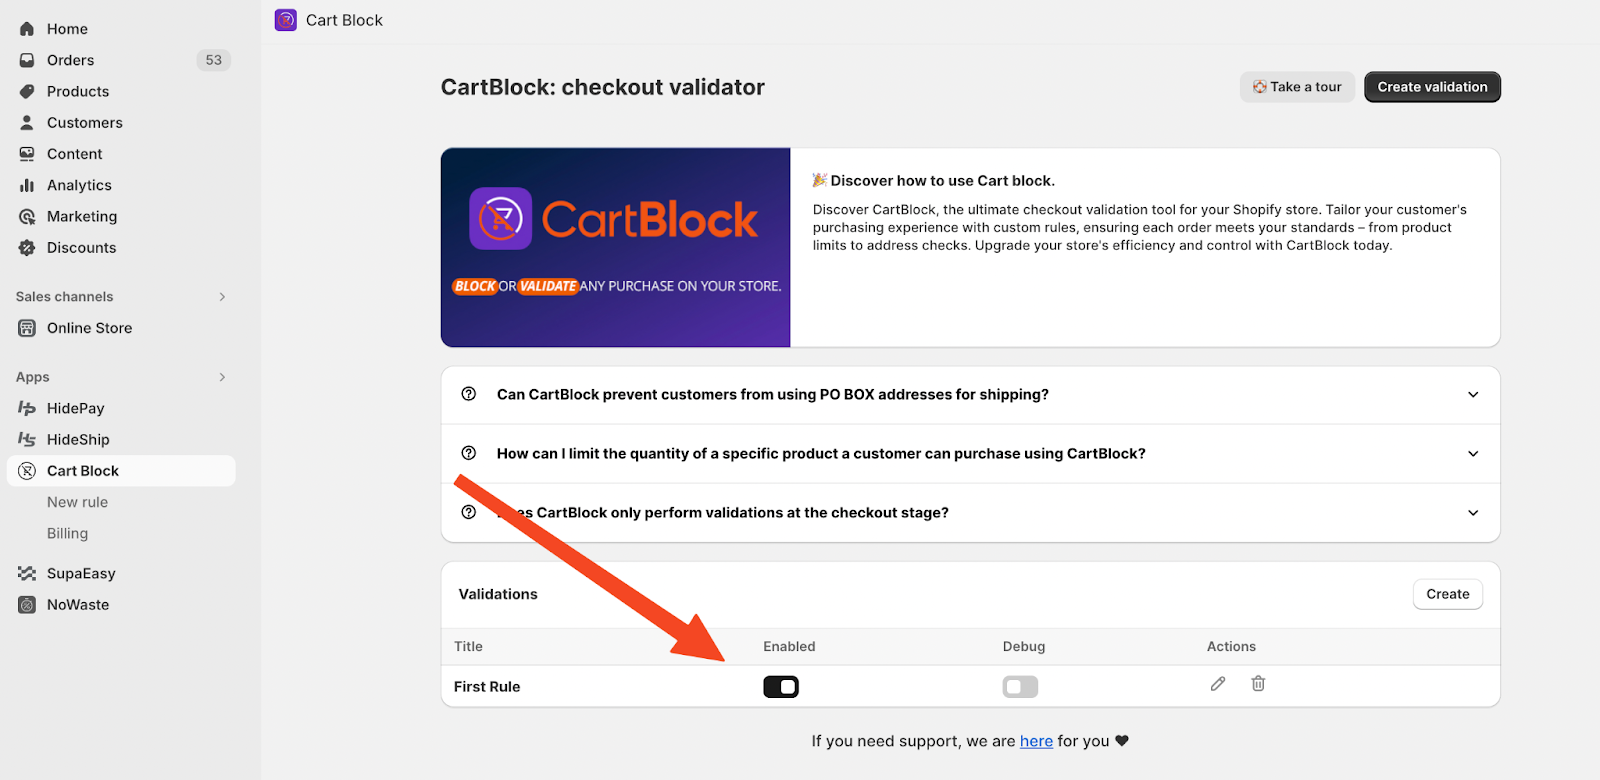
🎉Your first condition is created!🎉
Please remember to check the ENABLE switch and ensure it is turned on!
Feel free to reach out to us if you need further assistance or have any questions. We're here to help!