Learn how to set up your first experiment to test different payment variations and find the best strategy for your Shopify store.
In this guide, we’ll walk you through a simple configuration of how to set up an experiment and configure your variations.
Step 1: Access the Experiments Dashboard
After opening the AB Check app from your Shopify admin, look at the main navigation menu. Click on the Experiments section. This is your command center for all A/B tests.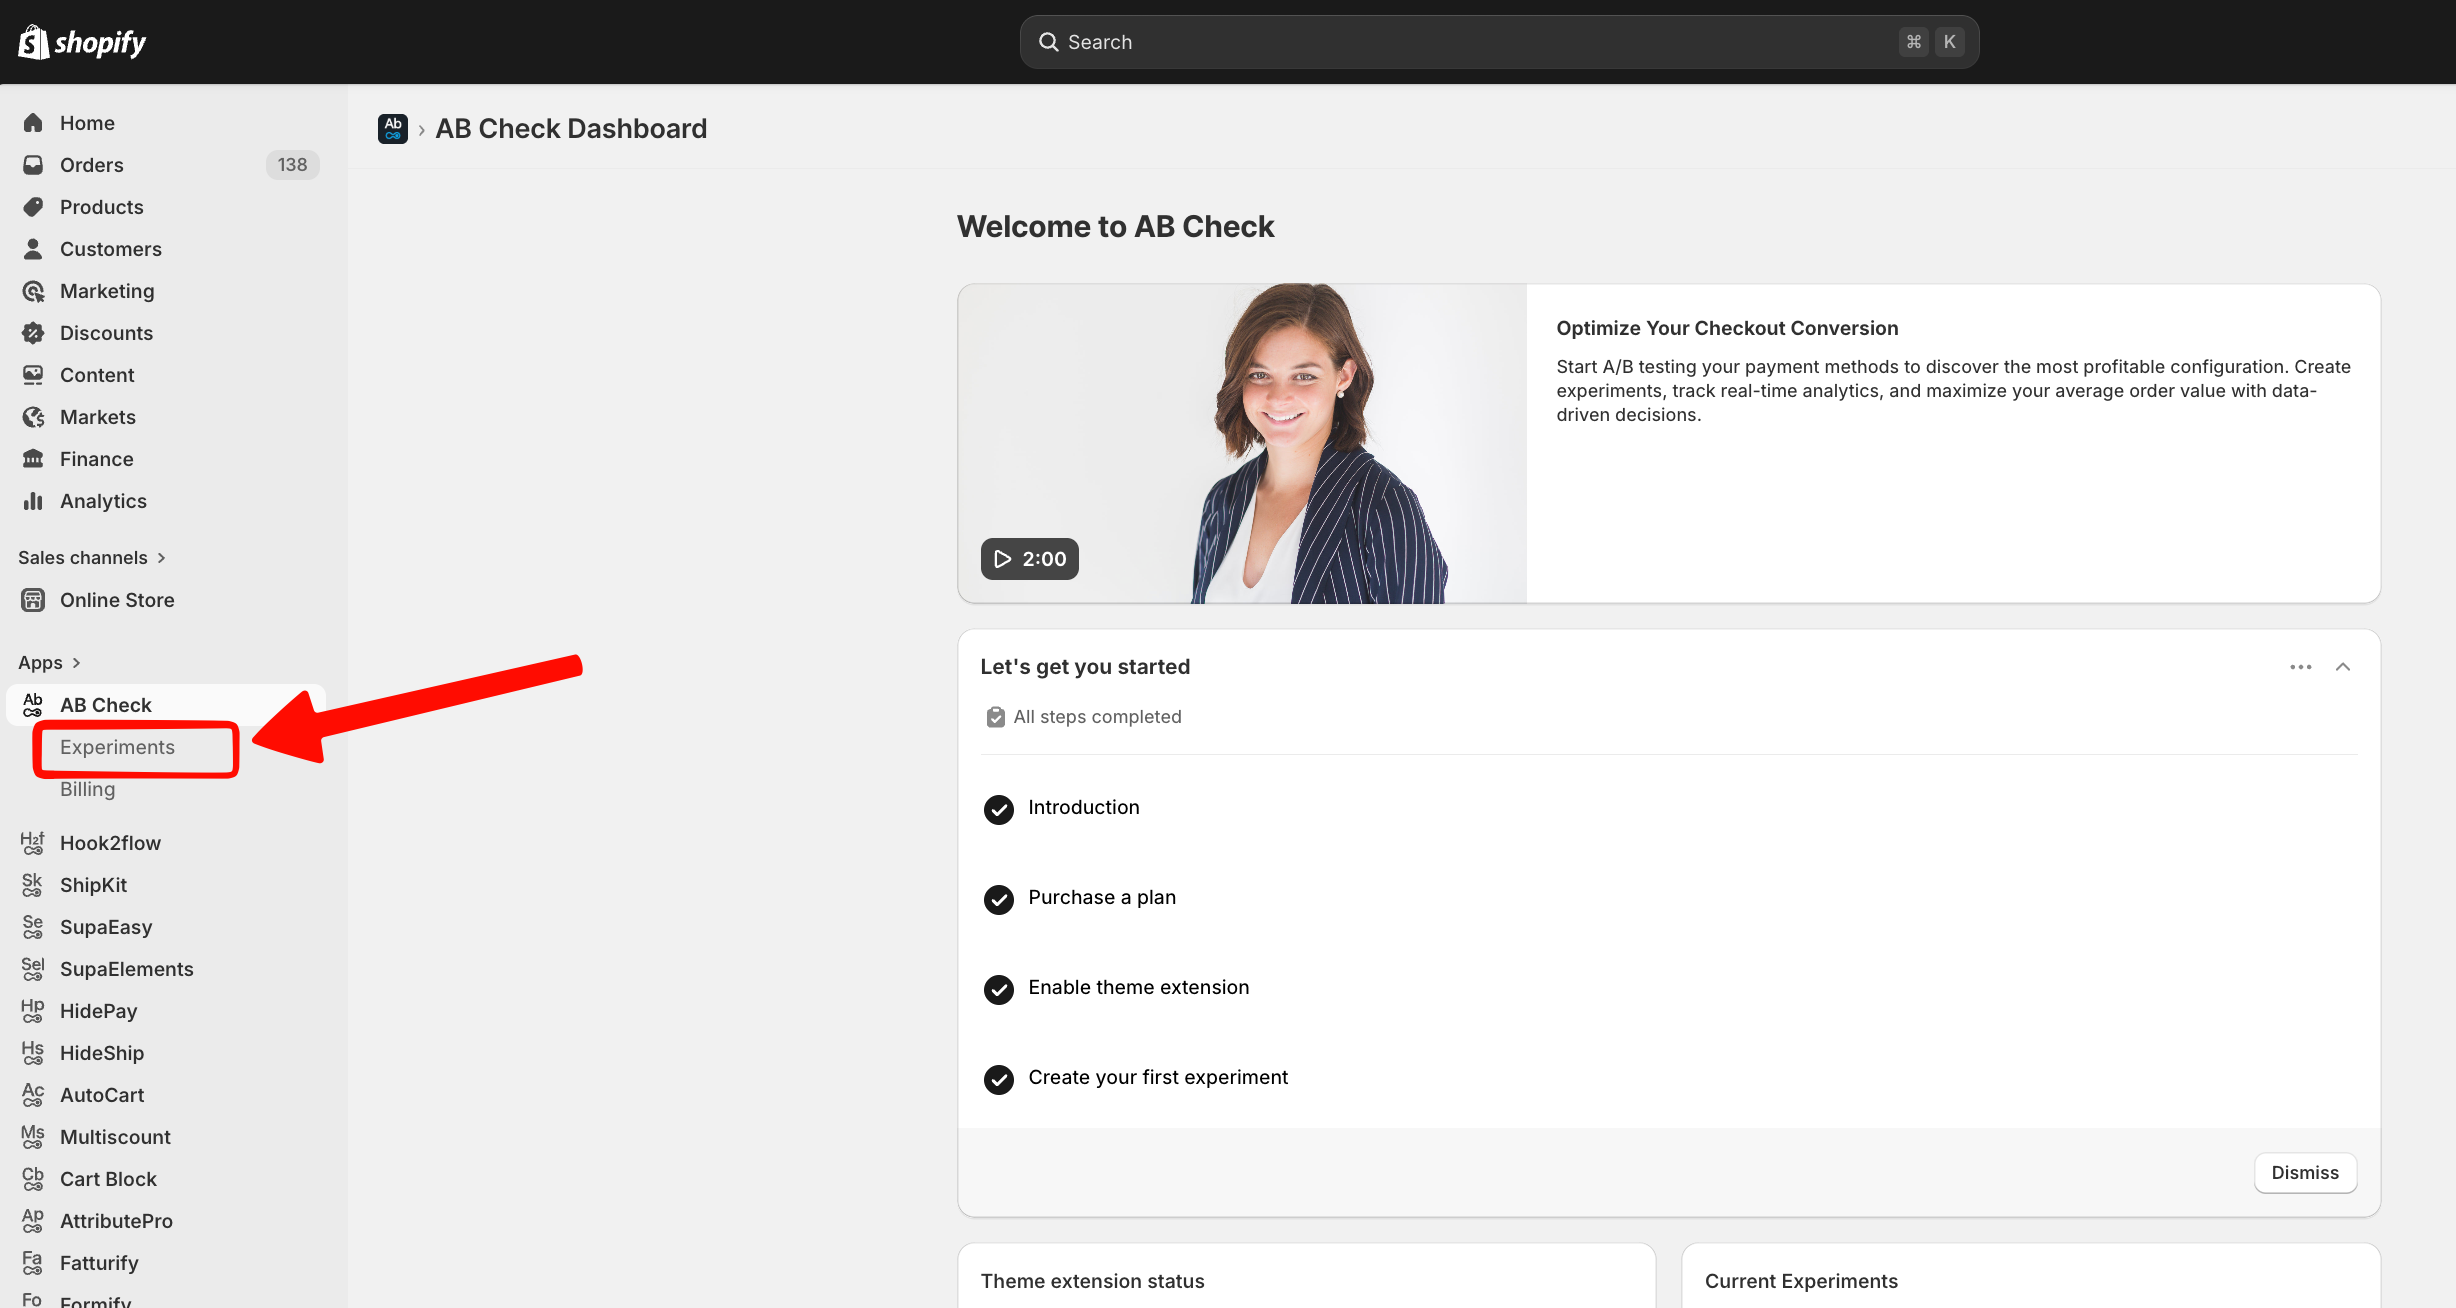
Step 2: Create a New Experiment
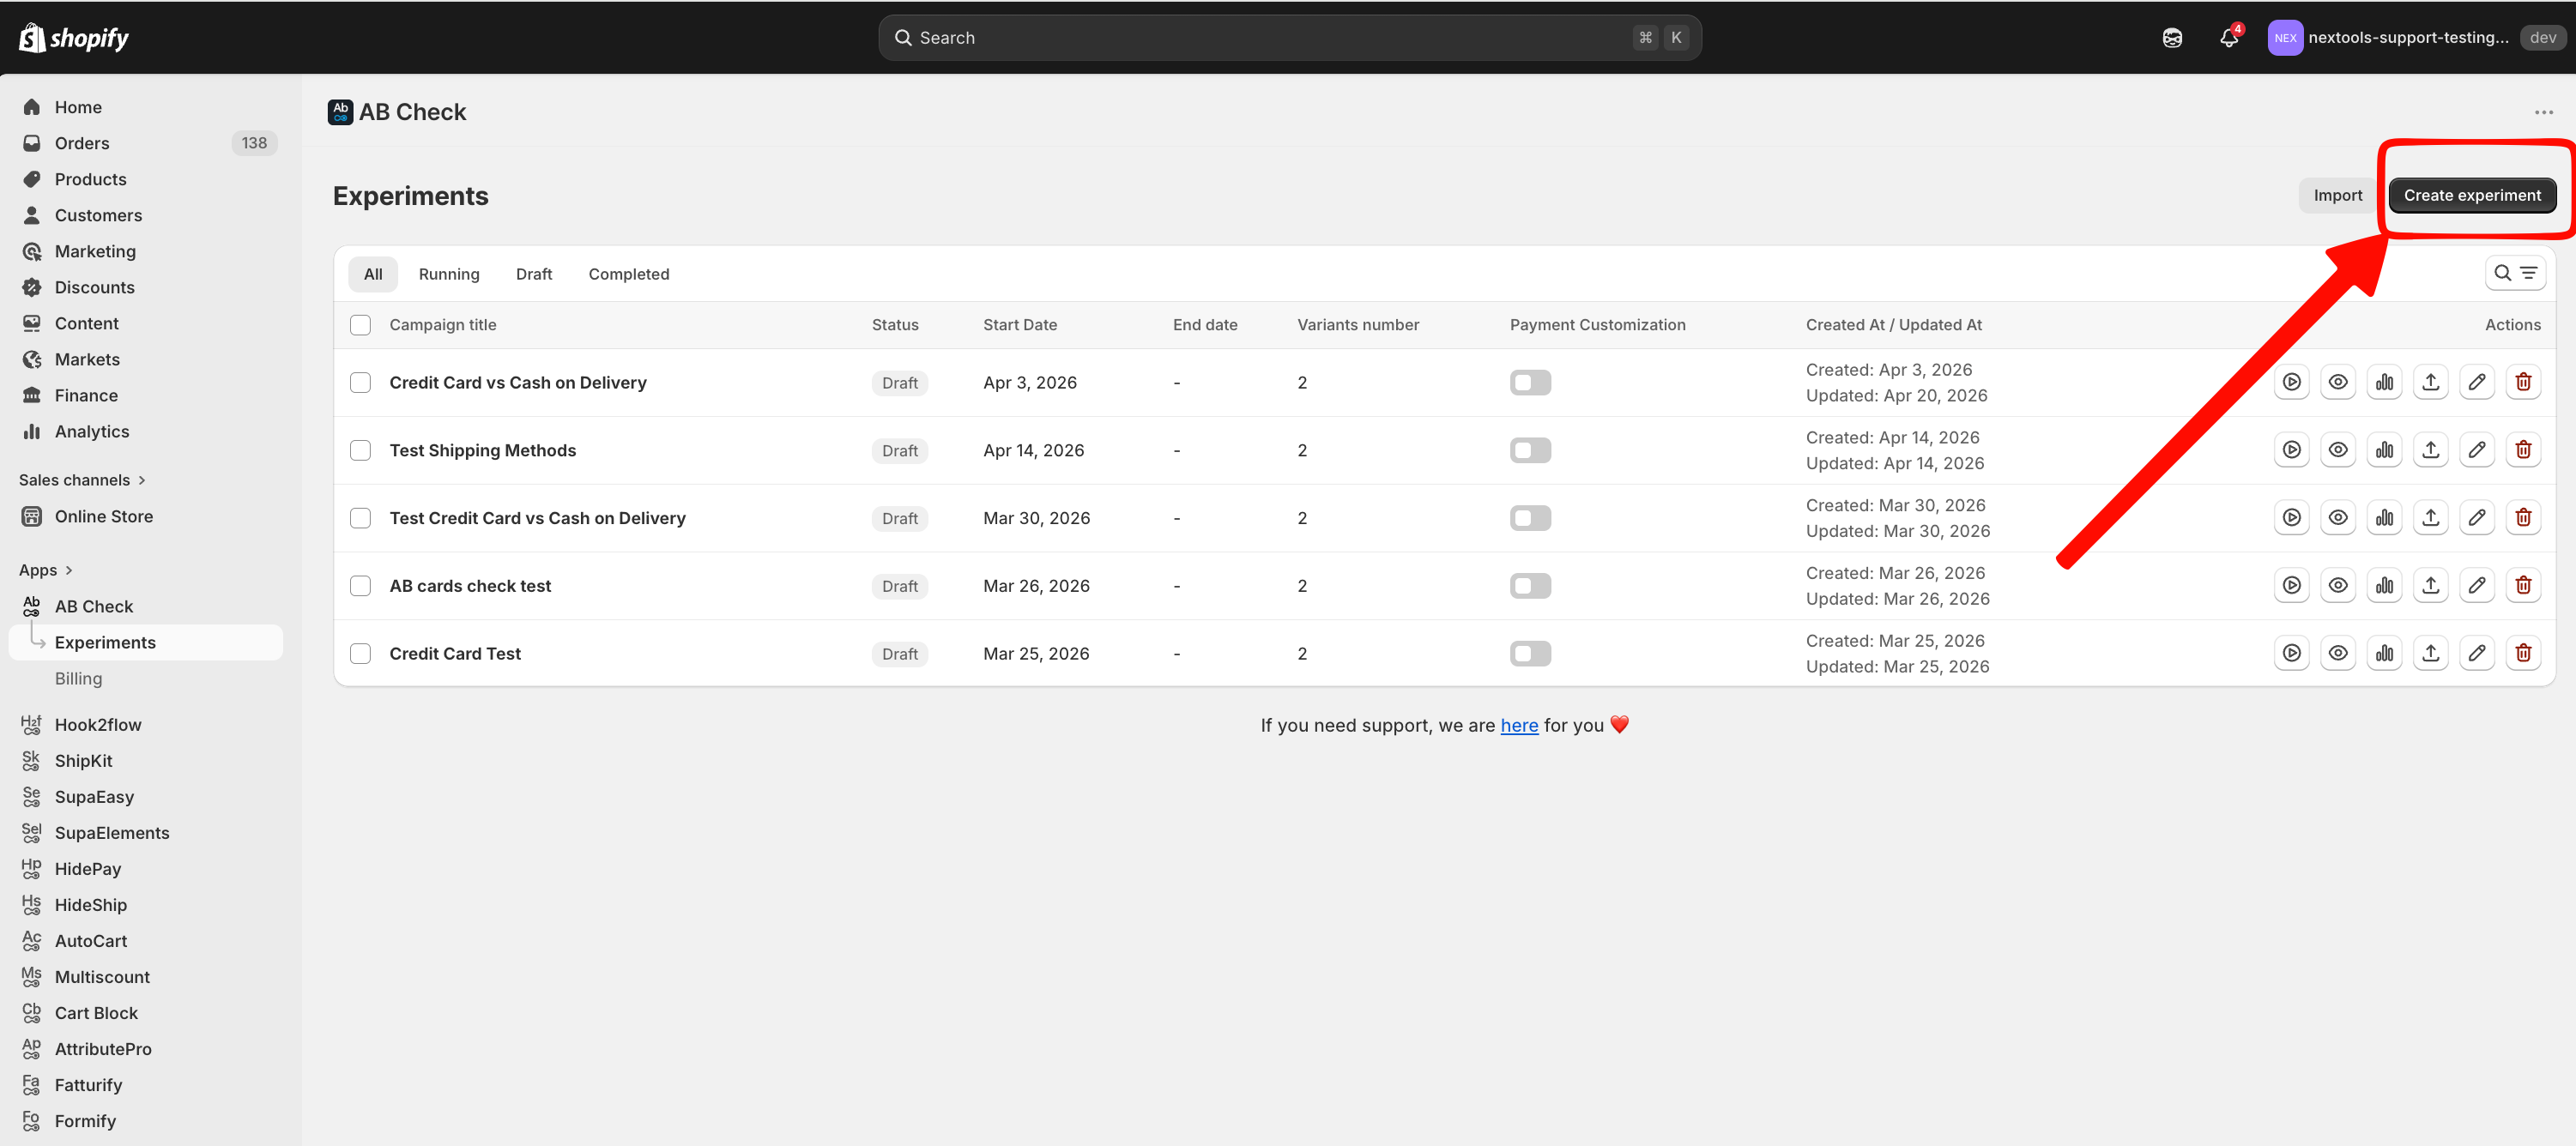
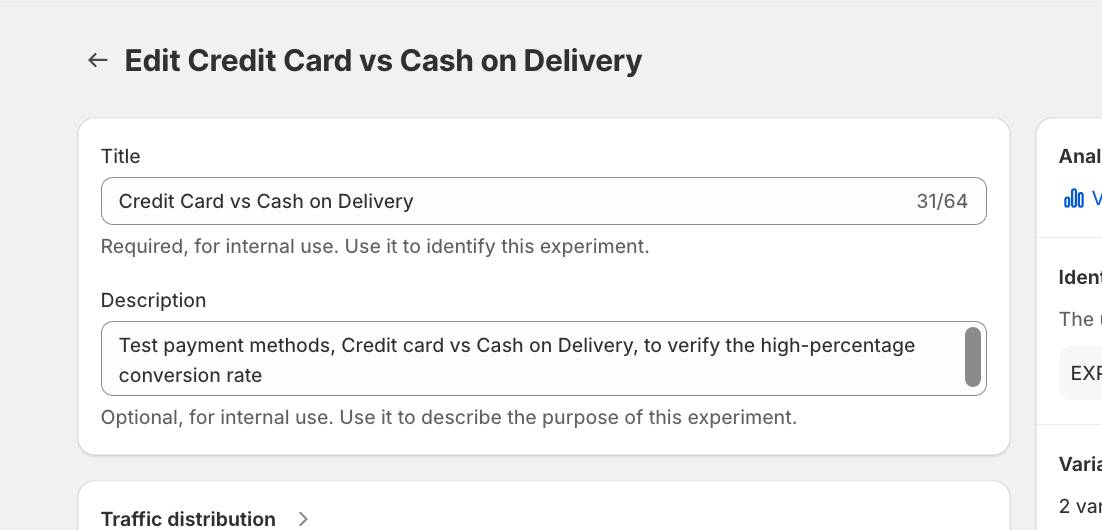
Click the Create button in the top right corner. You’ll be prompted to give your experiment a name.
-
Tip: Use a clear internal name so you can easily identify it later in your reports.
-
Create a description clear and easy to understand to all your collaborators
Step 3: Define Your Variations
Enter in the Traffic Distribution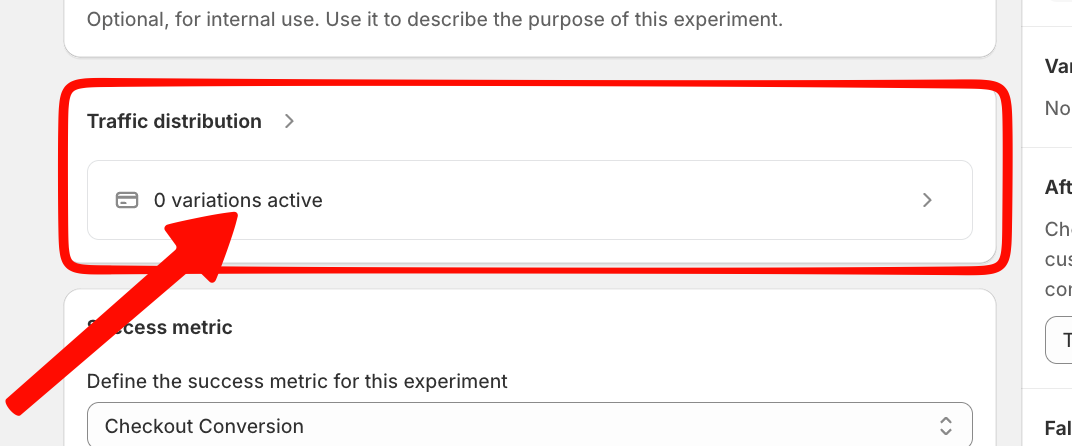
An experiment needs at least two versions to compare. In the configuration panel, you will see options to add variations.
-
Original Rate: This is usually your current payments setup.
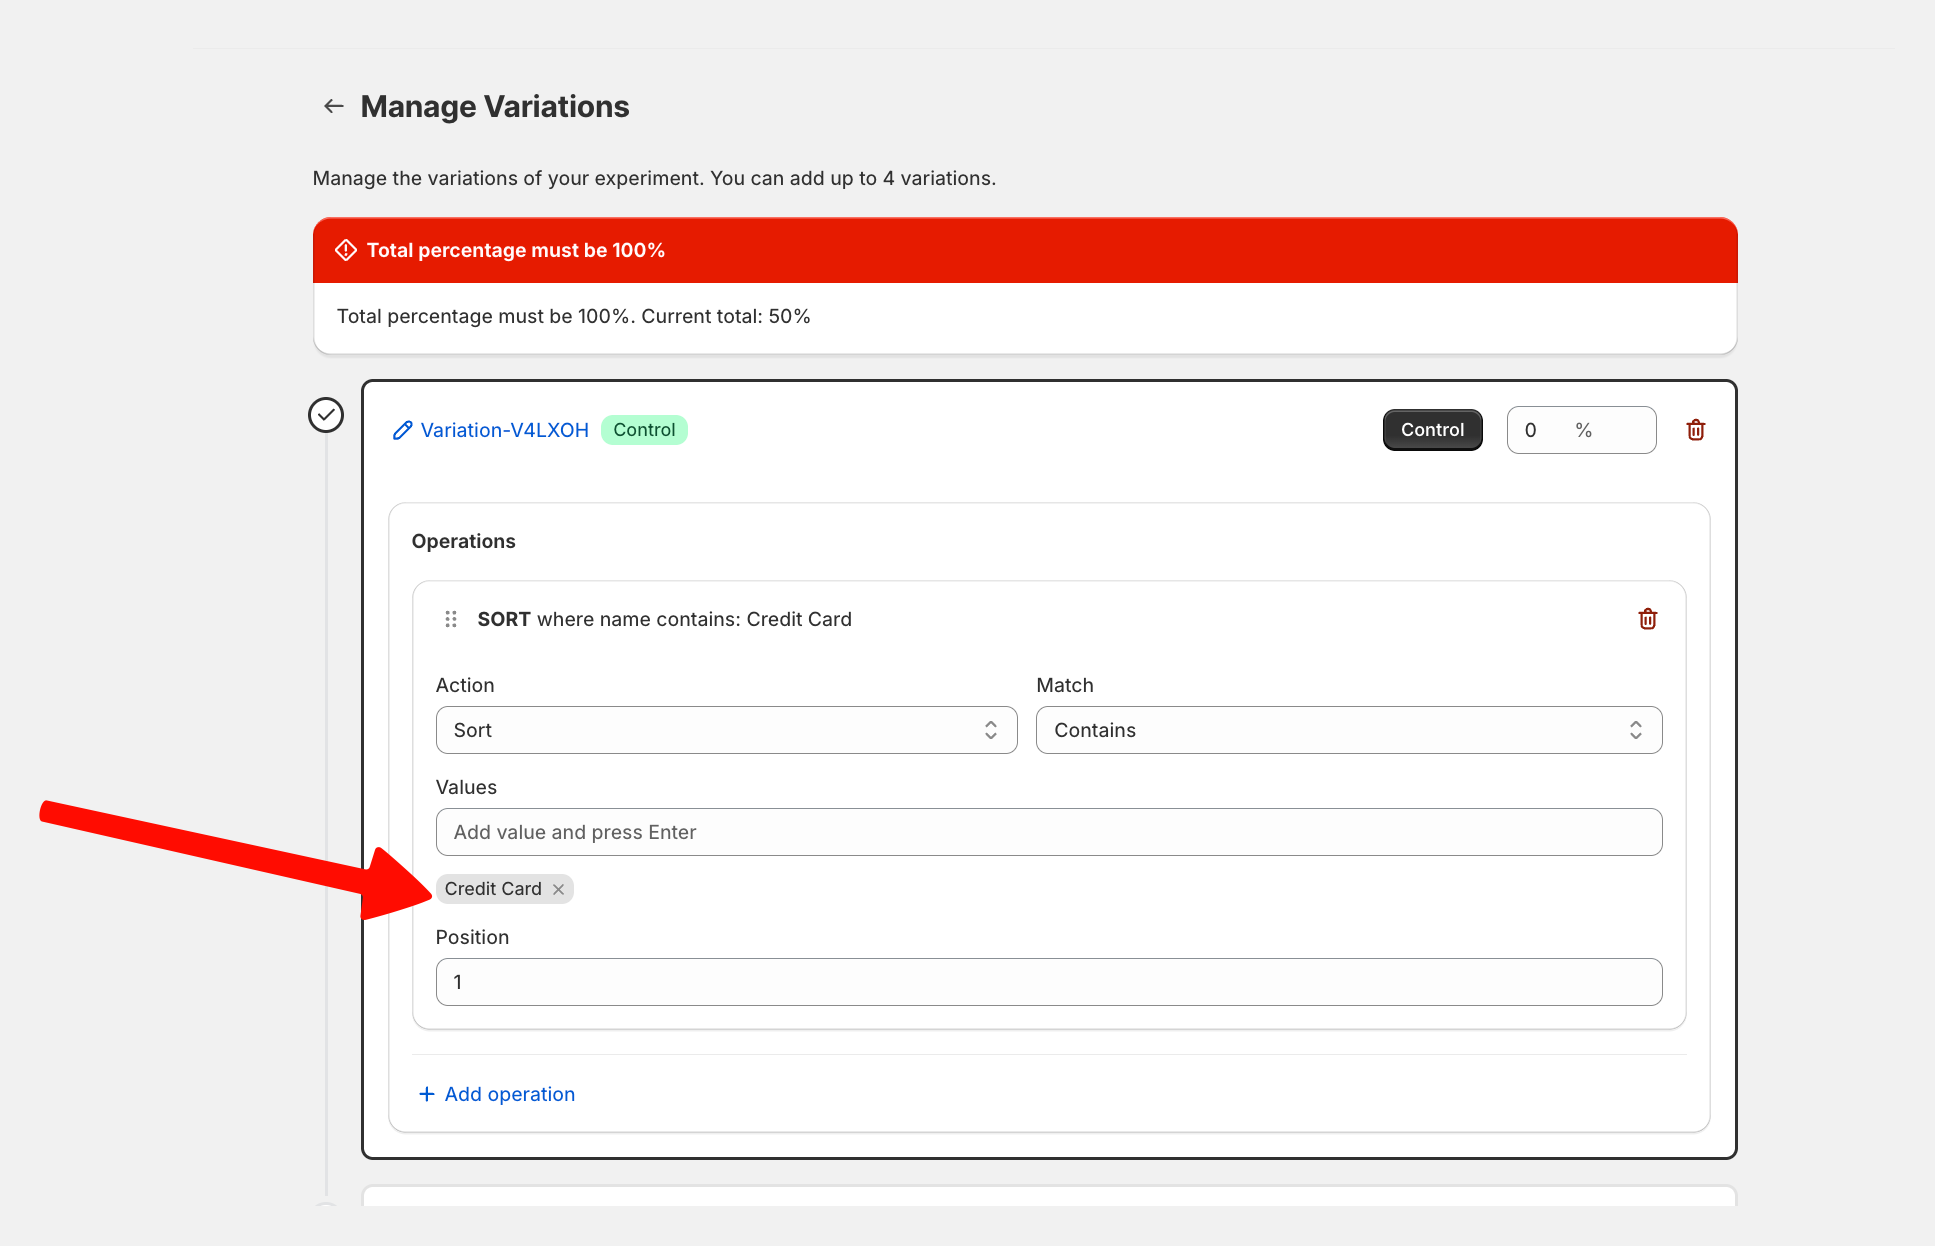
-
Variation B: This is the new rate or rule you want to test (e.g., Credit Cards vs. Cash on Delivery) in this case we are testing Cash on Delivery.
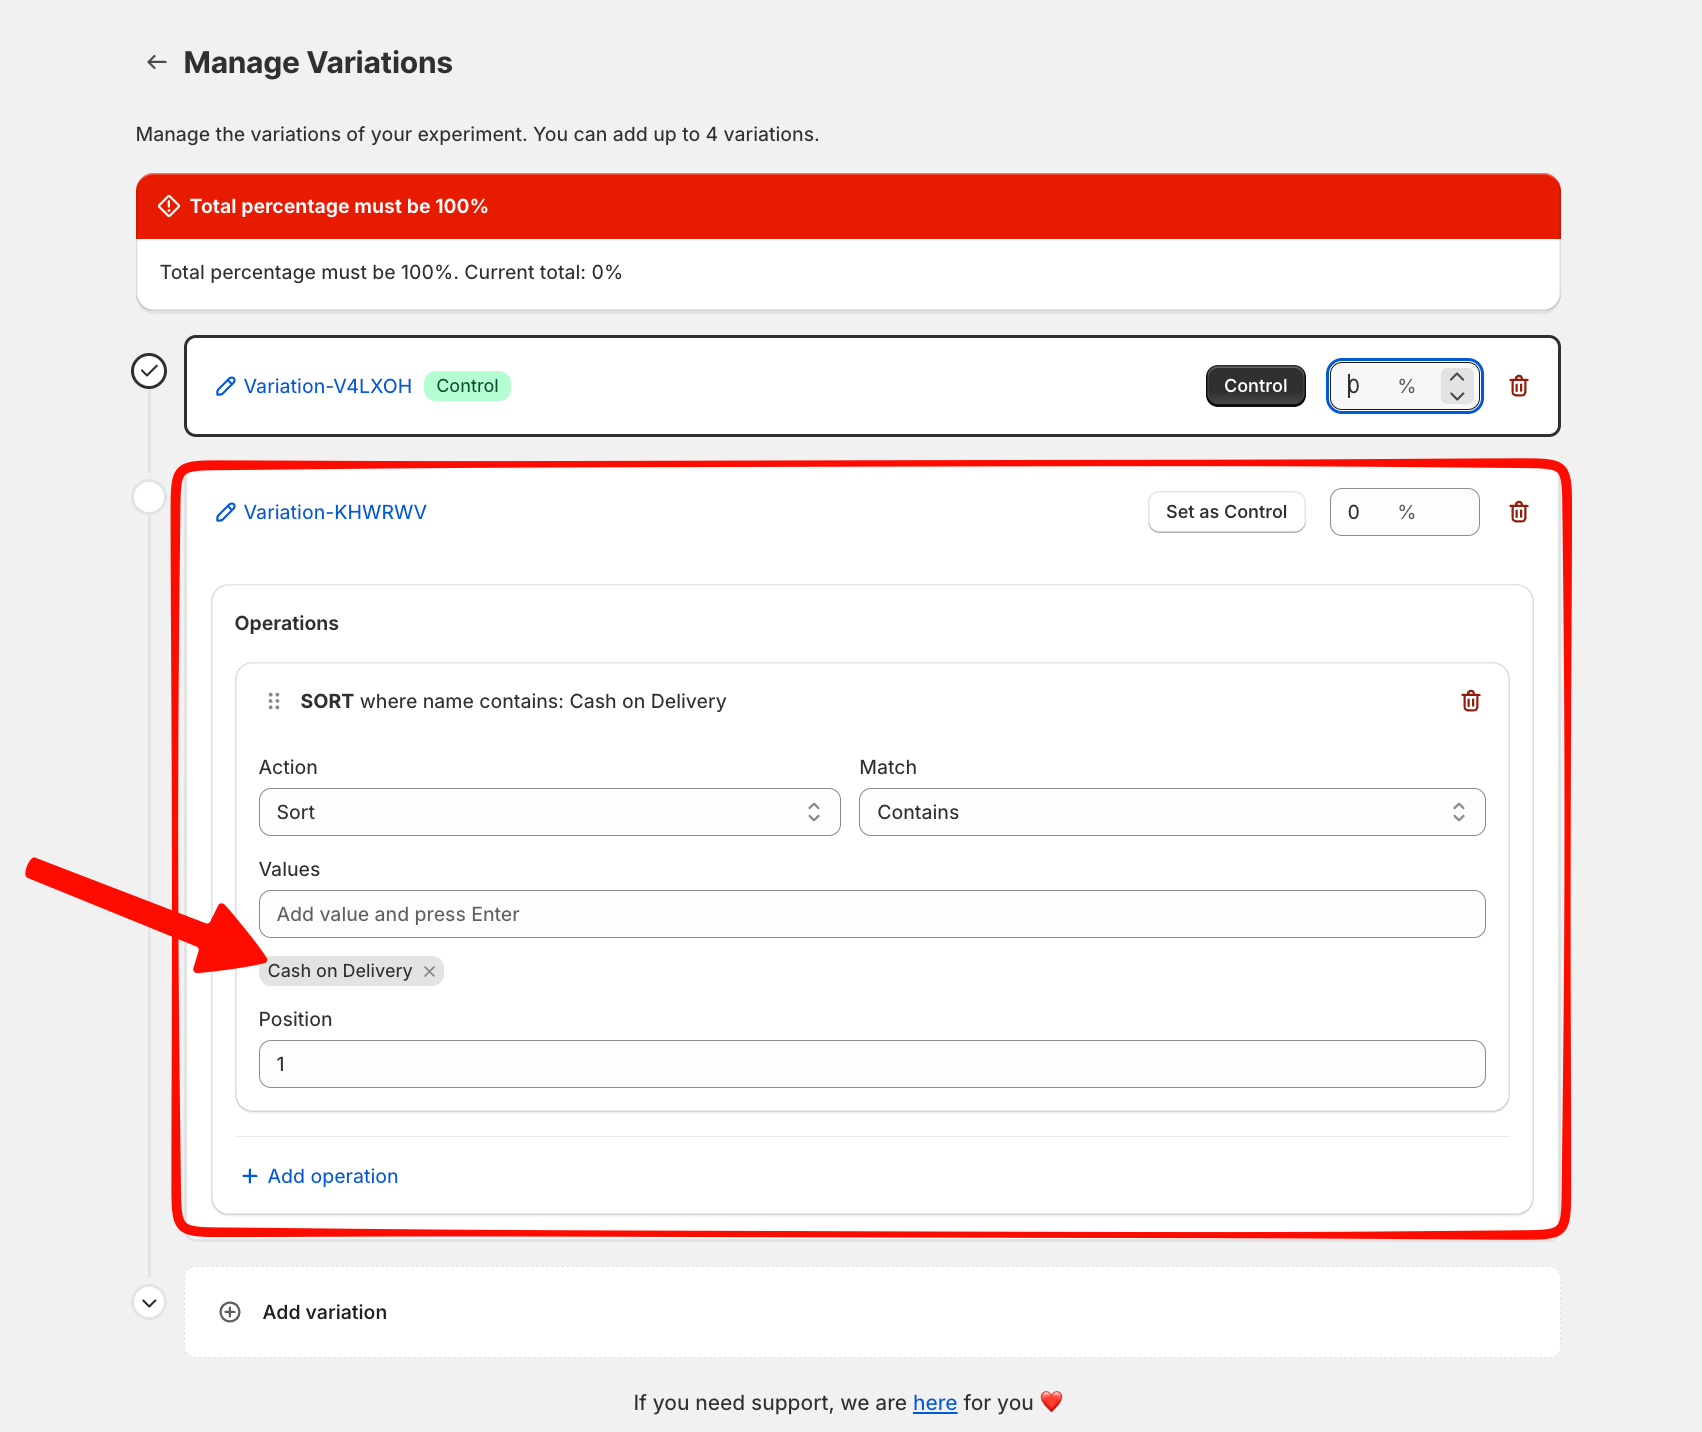
For each variation, you can select the specific payment rules you’ve previously built in the Rates section.
Step 4: Configure Traffic Split
Decide how many customers should see each version. Most merchants start with a 50/50 split, meaning half of your checkout visitors will see the first rate, and the other half will see the second. AB Check handles this distribution automatically and ensures a consistent experience for each unique customer.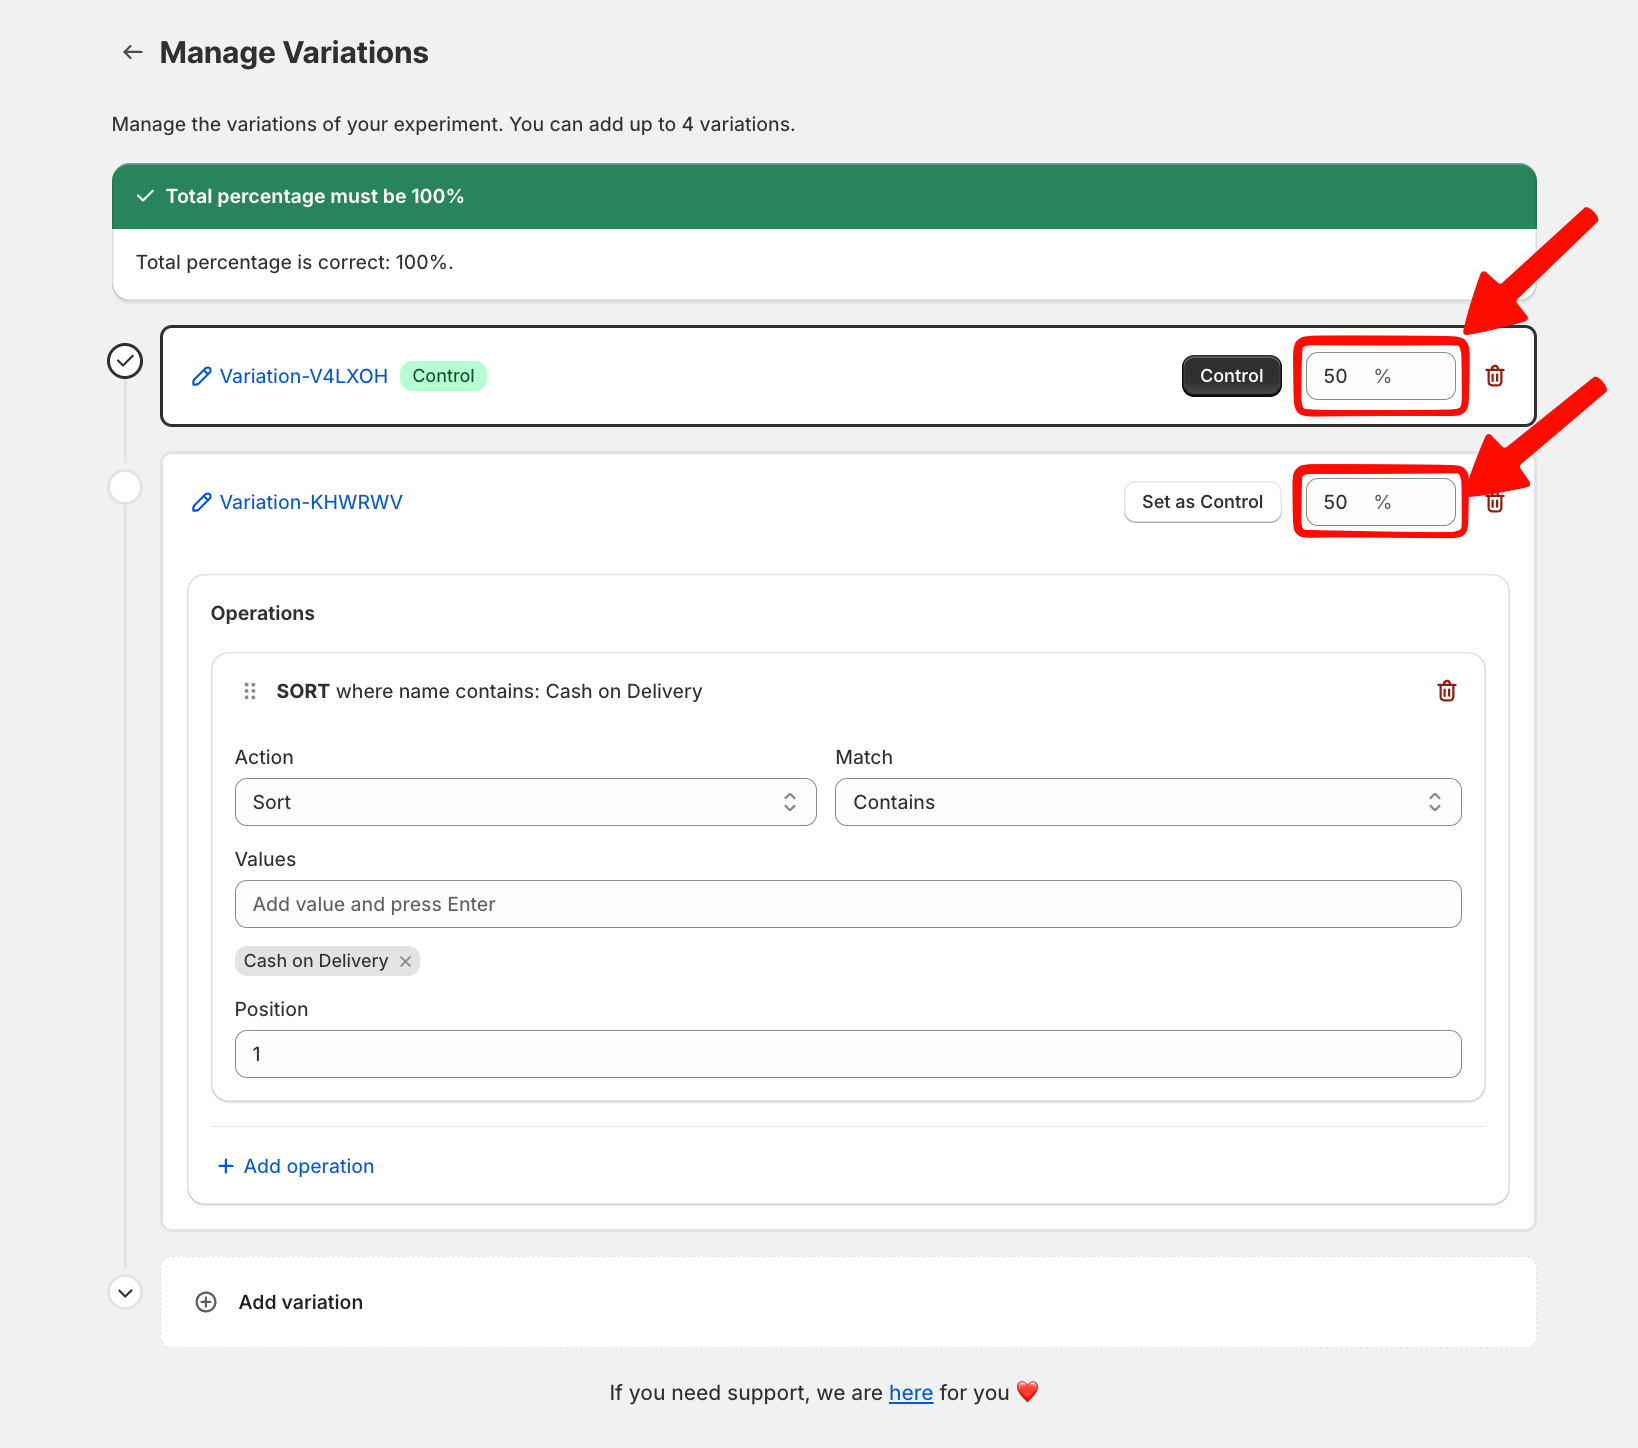
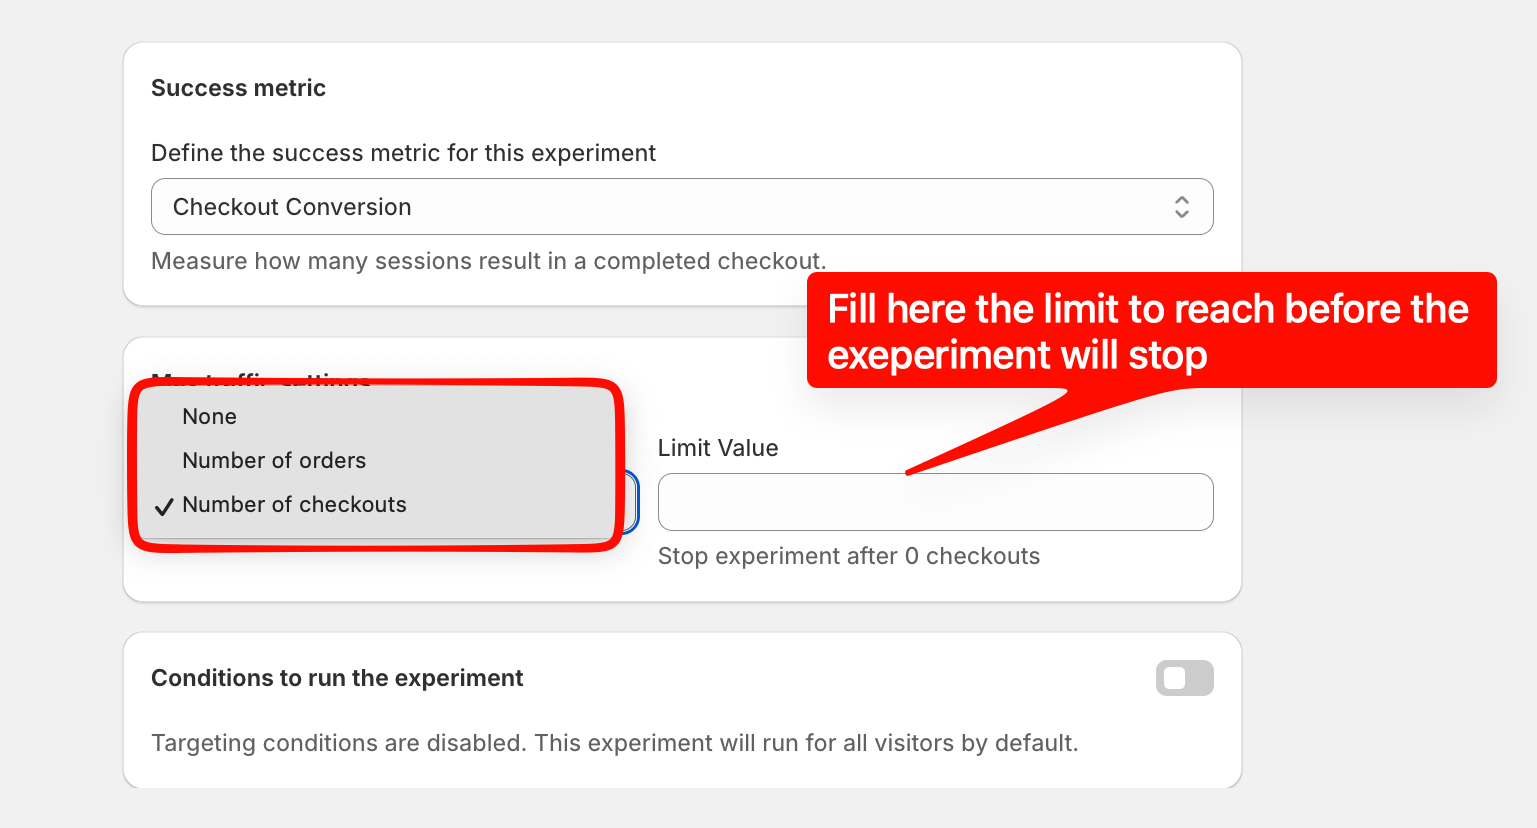
Step 5: Setup metrics and traffic
Now is time To set up the metric, how do we define the success metric of this experiment and you have two options:
-
Check out Conversation
-
Avarage Order Value
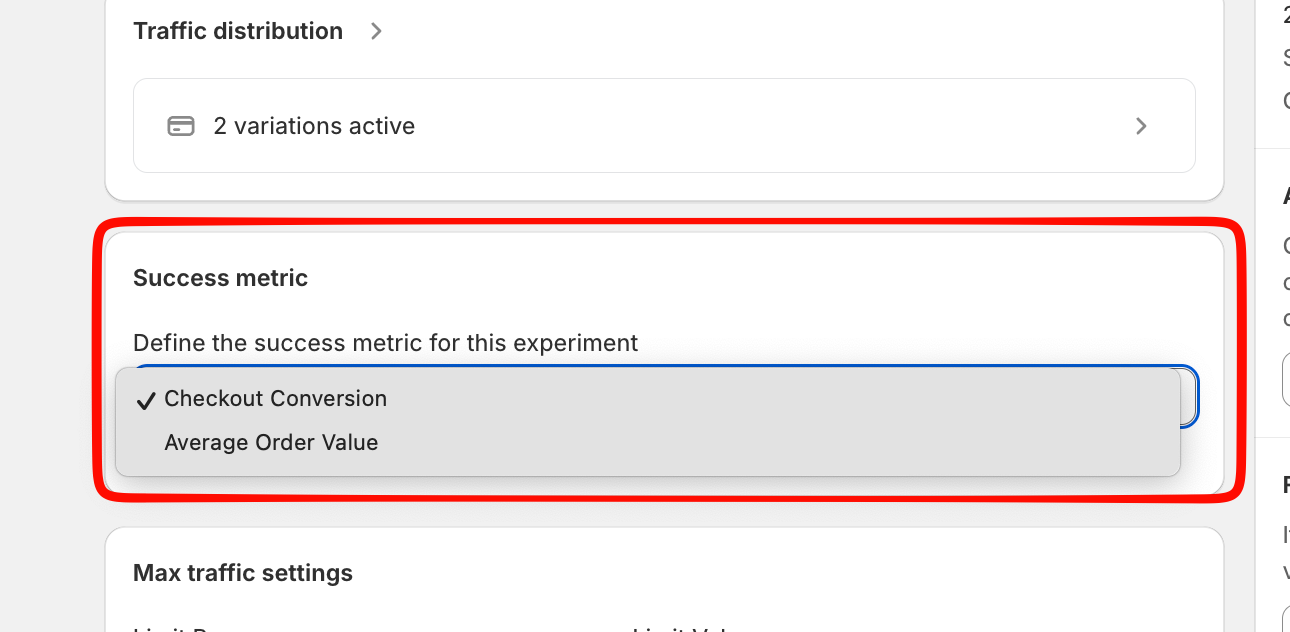
Then you need to Set up the limit to stop this experiment, and you can set this limit in true values Number of orders received or number of checkouts
Step 6: Additional Condition
Use the Conditions window to refine your experiment’s scope. You can set specific triggers based on minimum cart totals, specific currencies, or specific selling plans. This gives you full control over exactly which orders are included in your test.

Step 7: Launch and Monitor
Once you are happy with the setup, hit Save and Activate the test. 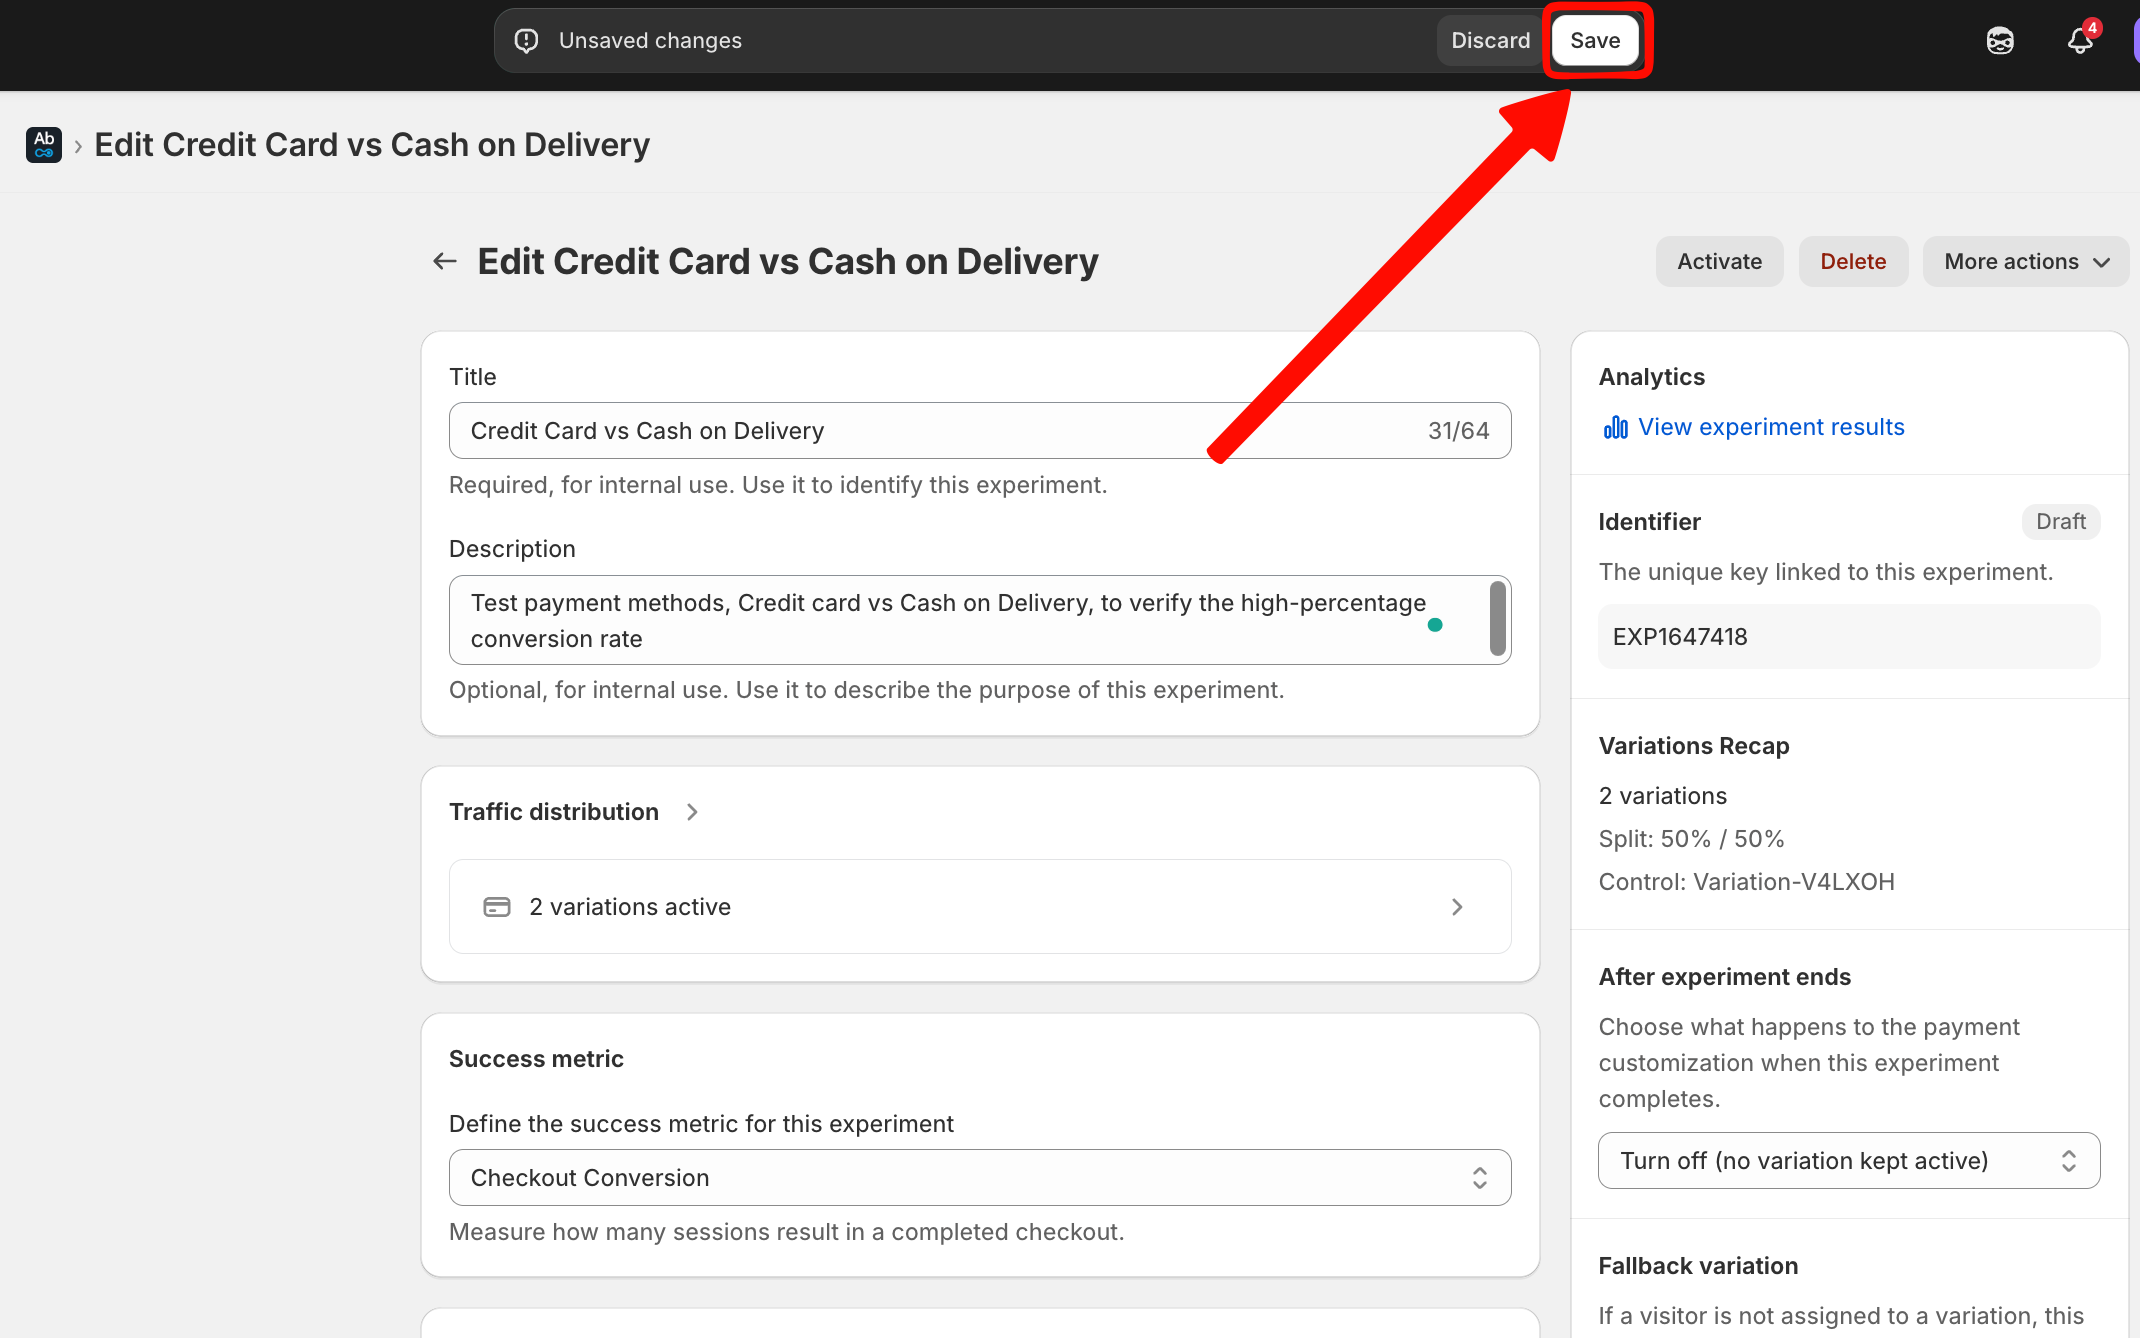
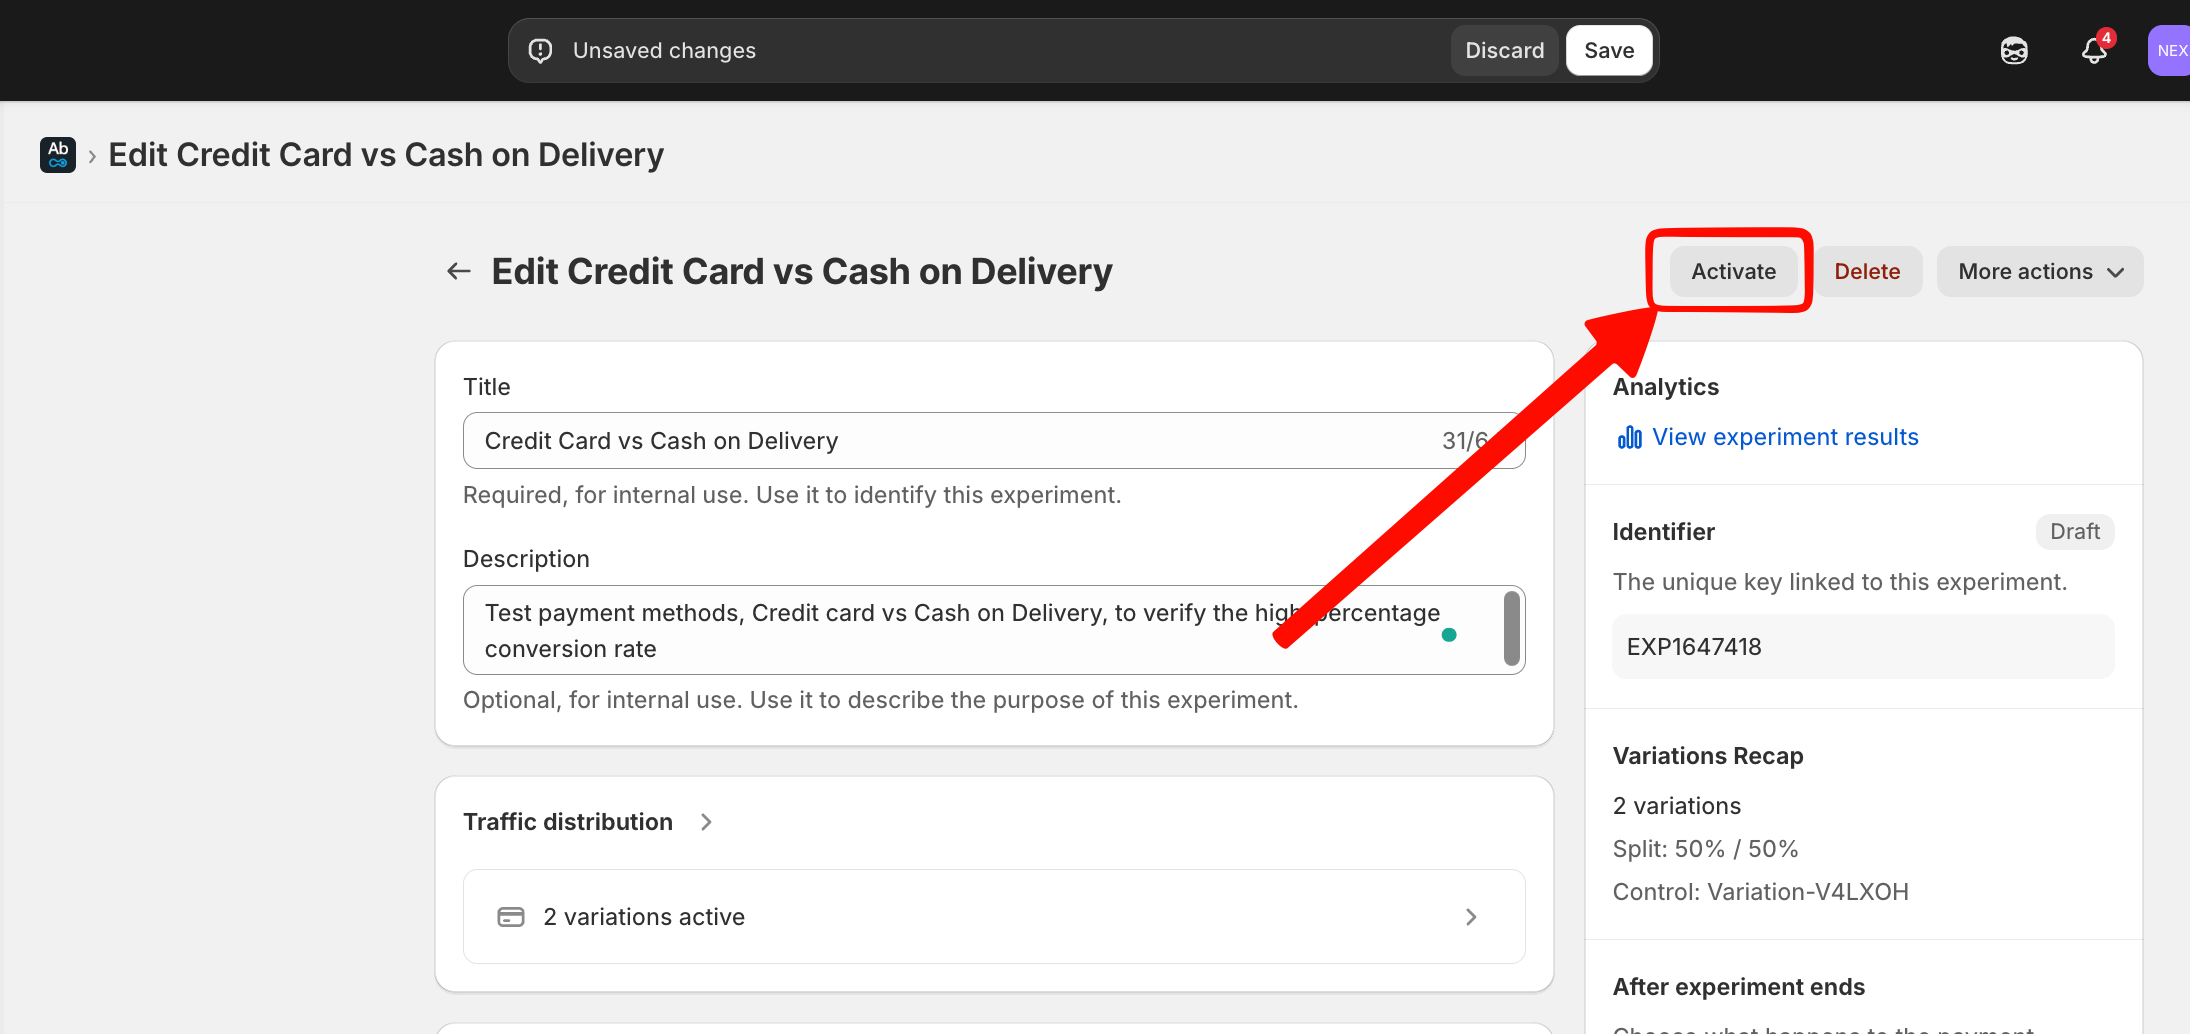
You can always Activate or Stop the test anytime from the dashboard.

An active test can’t be changed or modified in any way.
To modify it you need to stop the test and put in a draft model.
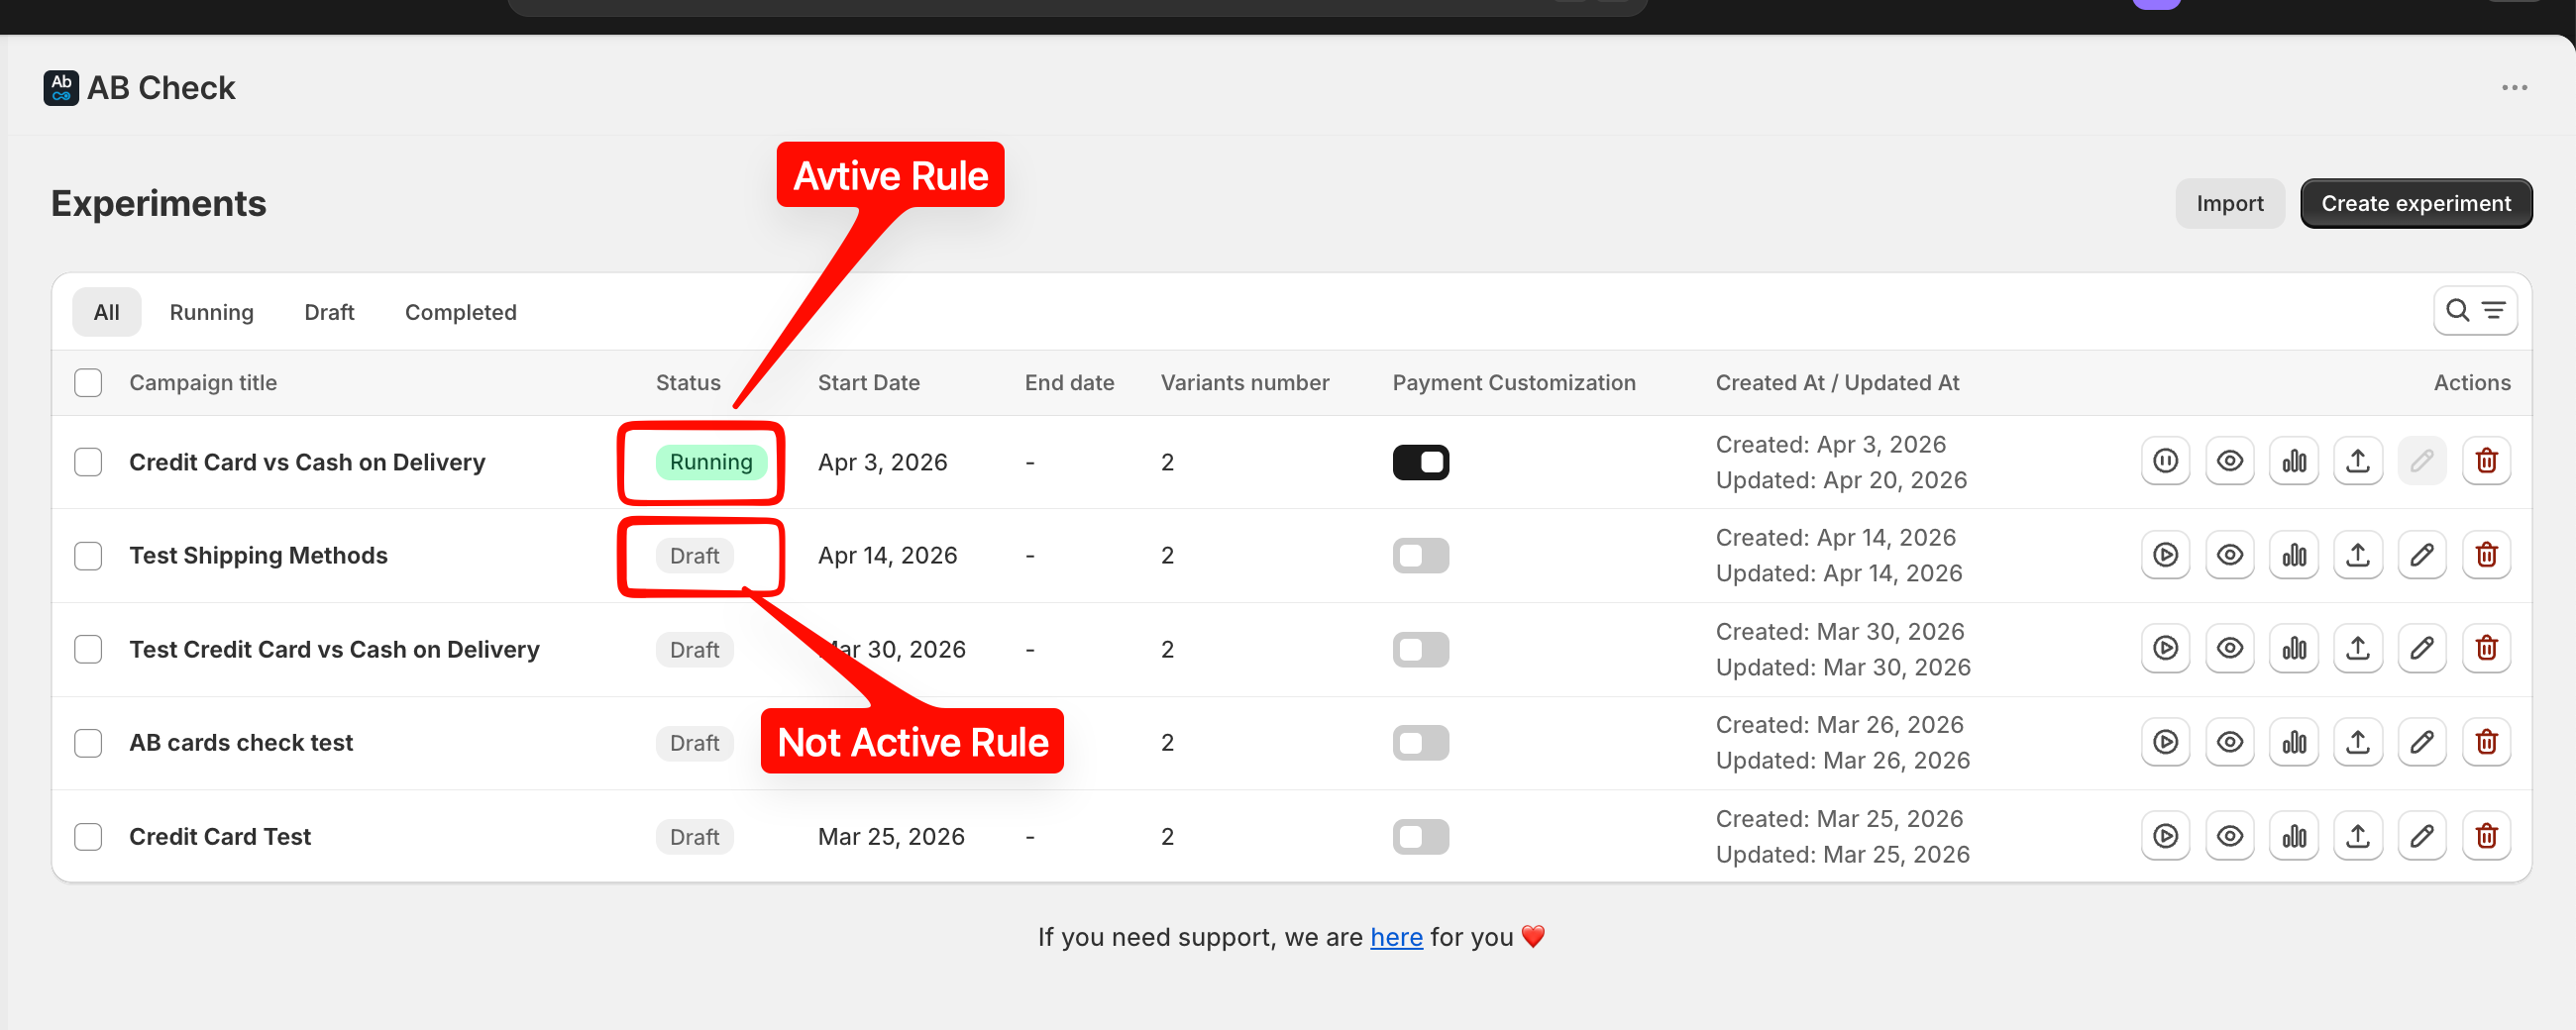
Your experiment is now live! The app will begin collecting data on which variation leads to more completed checkouts.
-
Be Patient: Let your experiment run for at least 7–14 days to collect enough data to make a confident decision.
-
Test One Variable: To get the clearest results, try testing only one thing at a time (like the price) rather than changing the price and the delivery name simultaneously.