In this guide, we’ll walk you through the steps to install and set up AutoCart on your Shopify store, helping you get started quickly and easily.
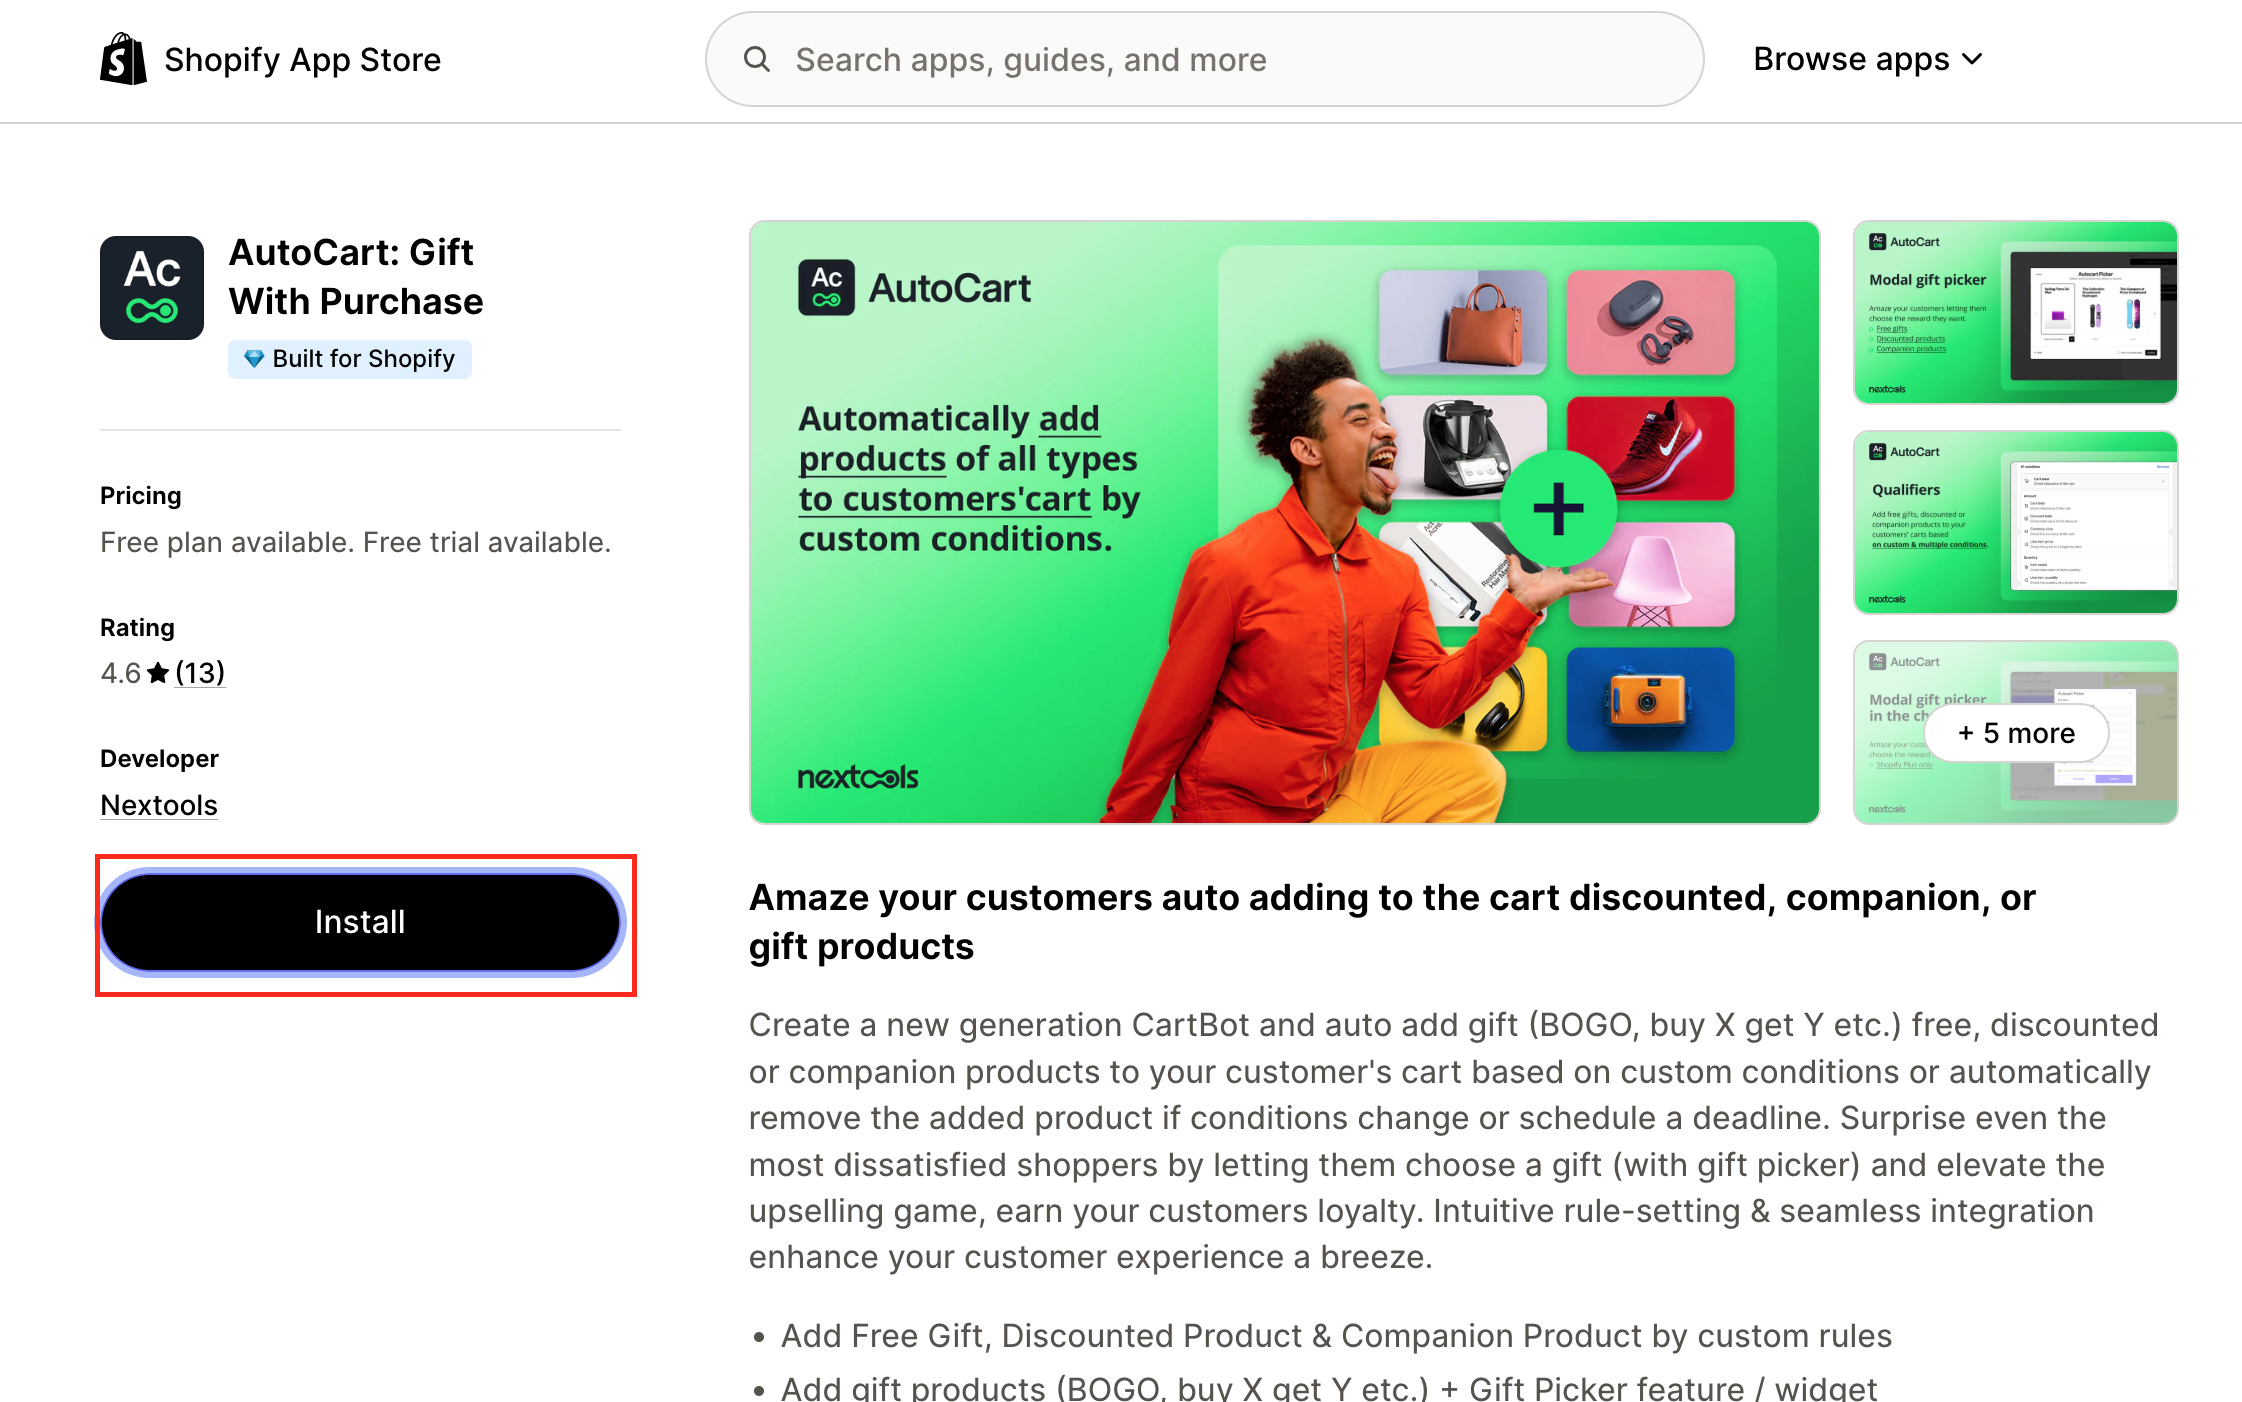
To begin, visit the Shopify App Store and install AutoCart by going to:
https://apps.shopify.com/autocart-auto-add-to-cart.
Simply click Install and add the app to your Shopify store.
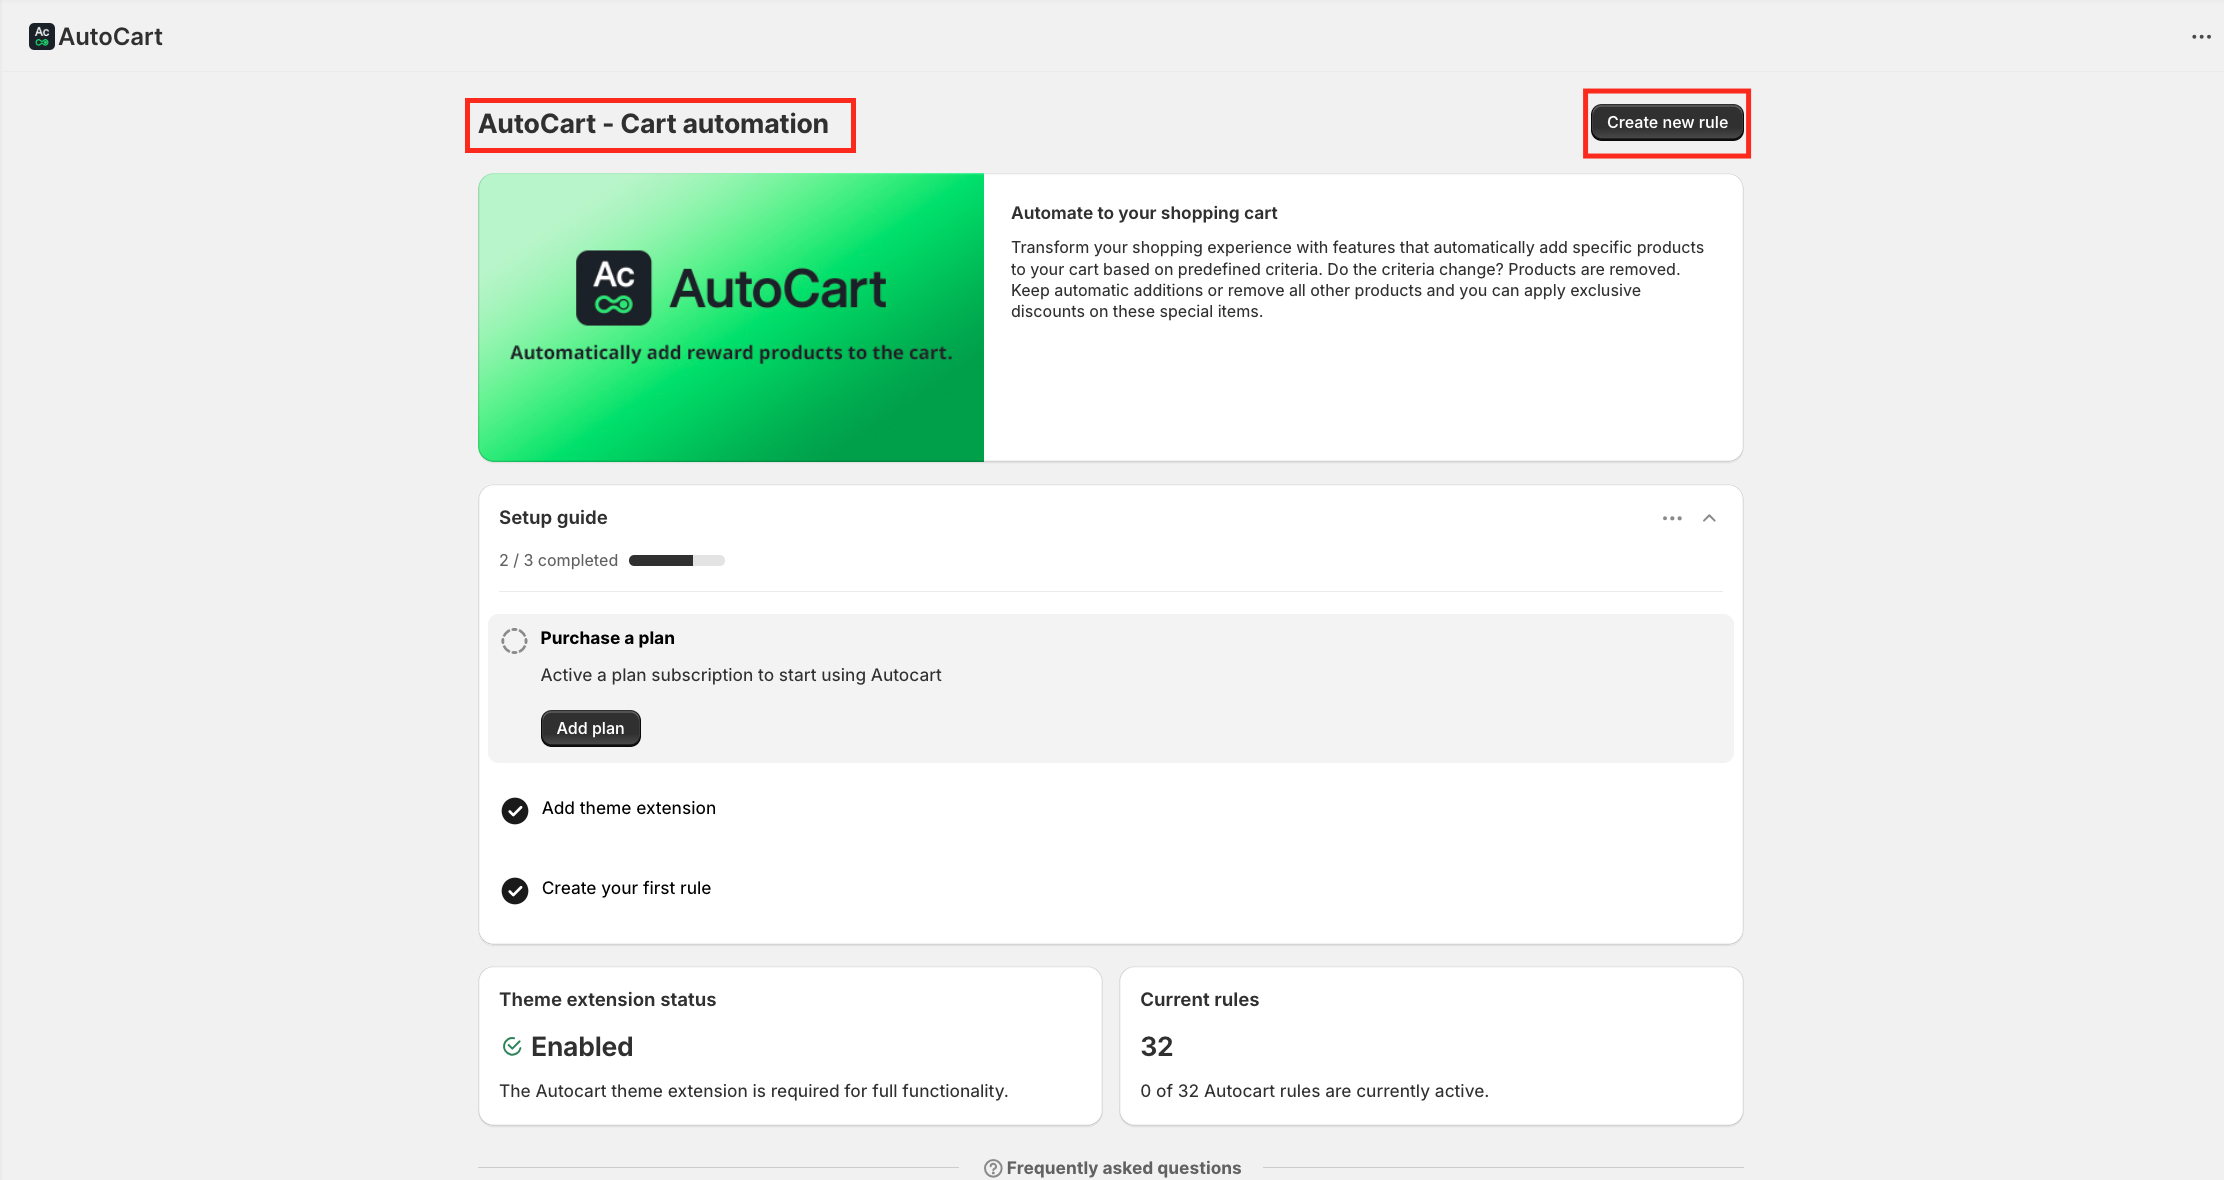
Once the installation is complete, you’ll be guided through the onboarding process. This will prepare your store and help you set things up so you can start creating your first customisation.
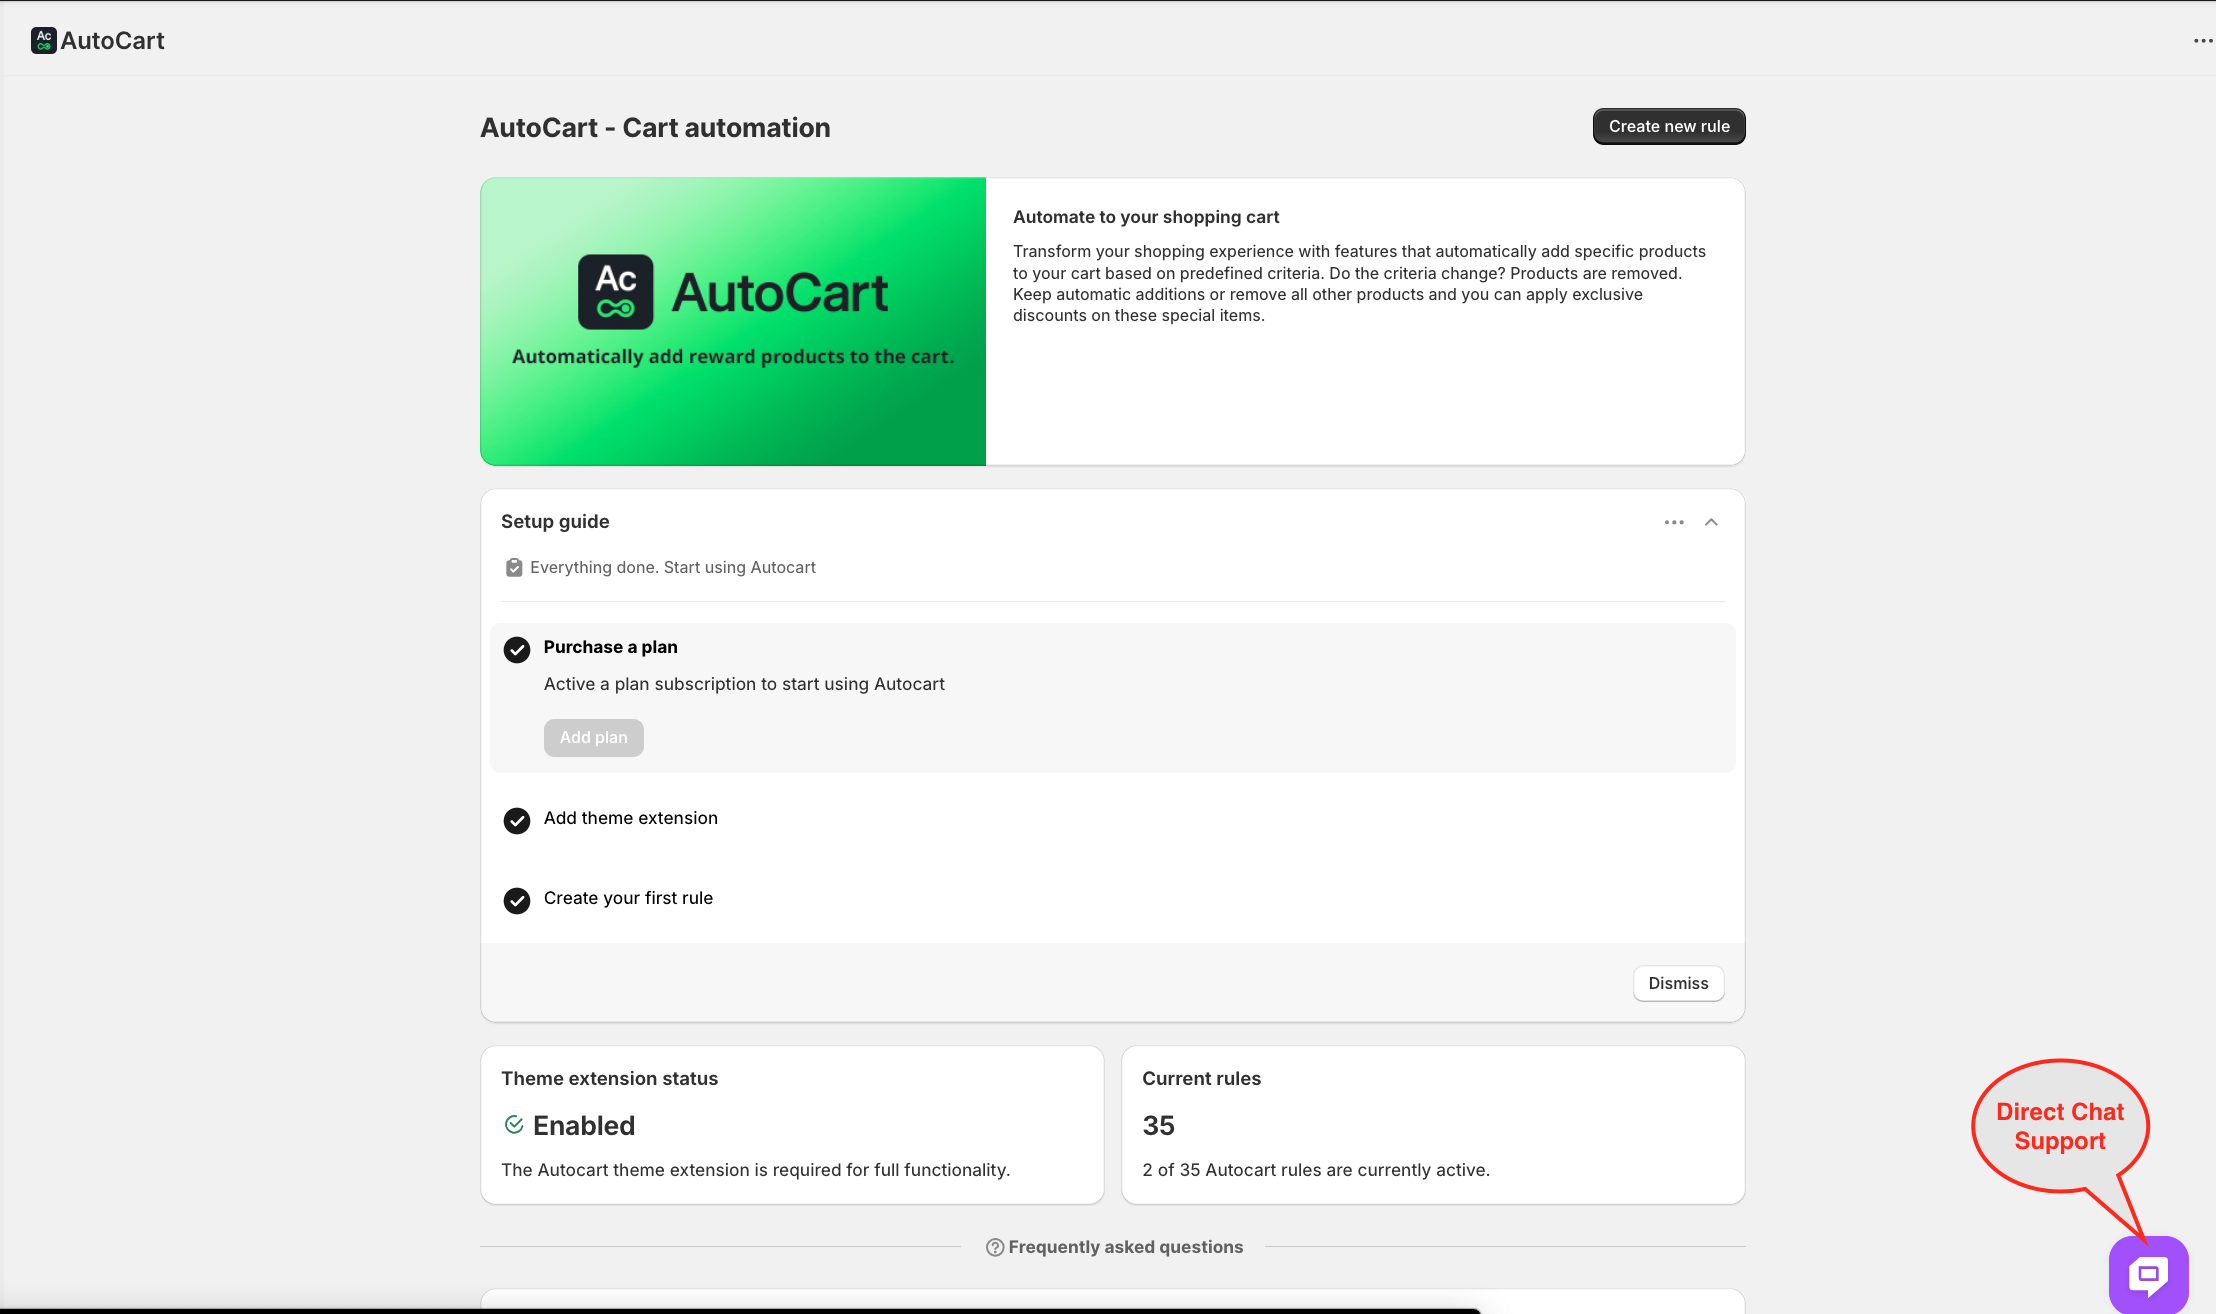
After installing AutoCart, you’ll need to choose a subscription plan based on your store’s requirements. We offer multiple plans to suit different Shopify businesses, with the option to pay monthly or annually. Annual plans come with a 21% savings.
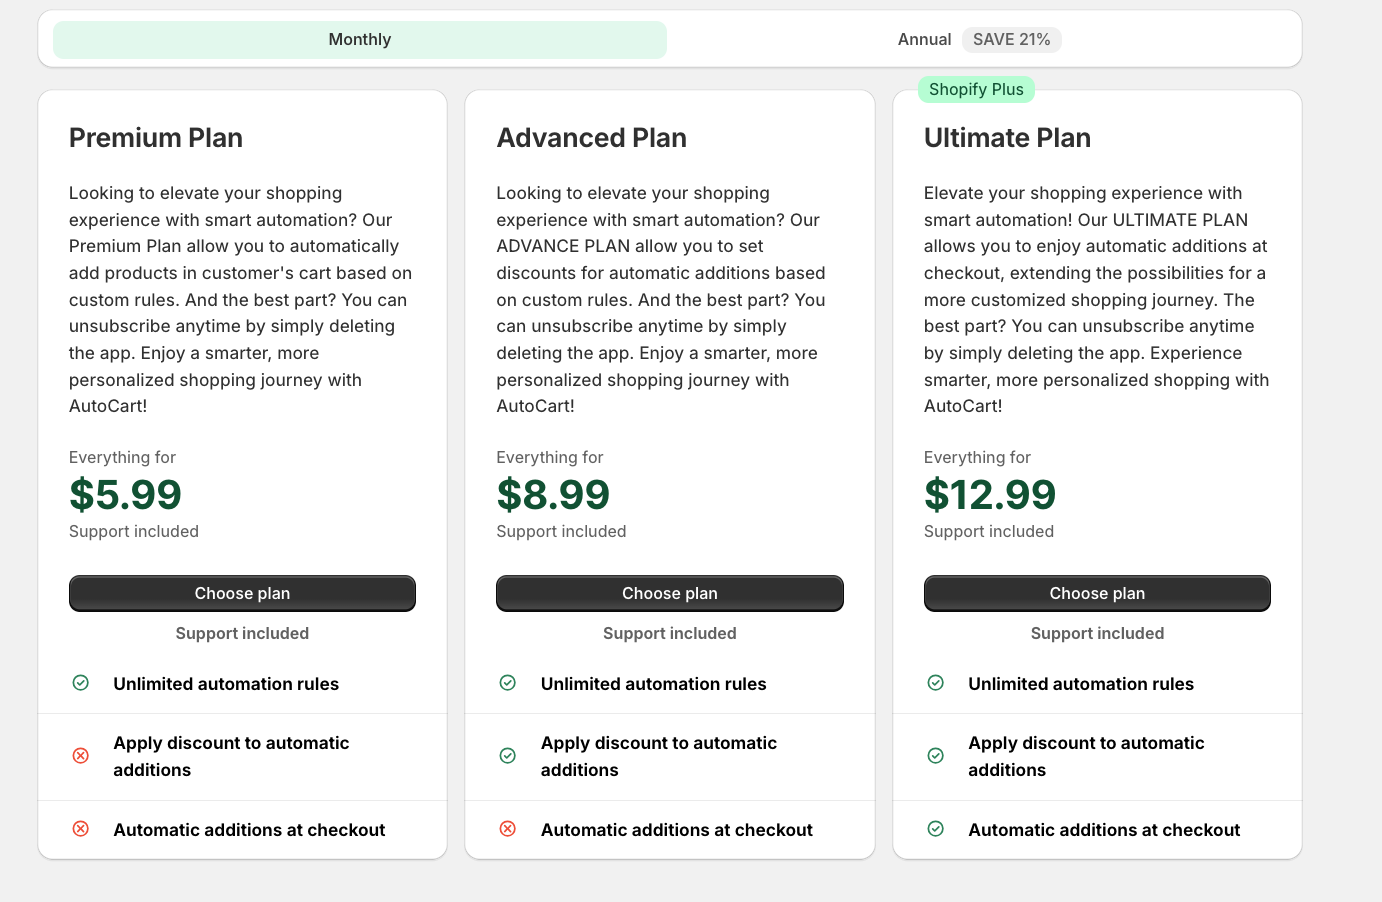
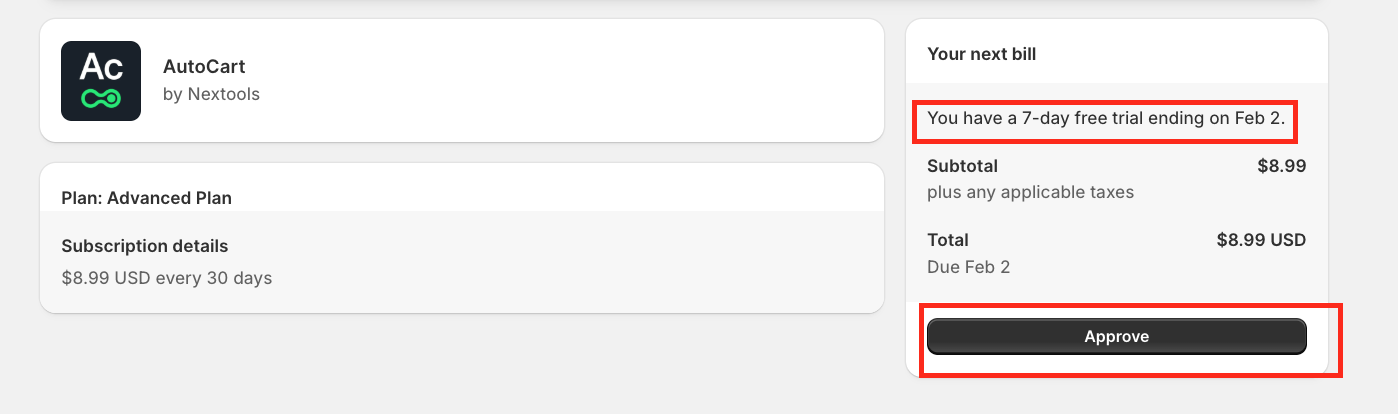
After selecting your preferred plan, click Approve to activate it. Choose the plan that best fits your needs to continue enjoying uninterrupted access to AutoCart’s features.
With your plan activated, you’re all set to create your first rule and start automating your cart experience.

Thank you for choosing and trusting the AutoCart application! 🚀